 Installing the NGINX Web Server (v. 1.24.0) for Raspberry Pi OS on a Raspberry Pi 3B+/4/400/5
 NGINX Open Source
This page describes how to install the NGINX HTTP Web Server (v. 1.24.0) on
a Raspberry Pi (running the Raspbian Desktop OS).
You will require the GCC >4.0 (C language) development tools
(along with the "make" utility). The default installation installs NGINX
Web Server in the /usr/local/ directory on your Raspberry Pi.
NOTE: Once the install has completed, you will have to ensure that
you have the path to the NGINX interpretor listed in your $PATH
(in your .profile file) environment variable in order for the web server to work.
STEP 1: Login to your Raspberry Pi (the default user id should
be pi). the default password will be "raspberry", but You can change this using
the passwd command.
The correct .profile may be obtained by navigating to your home directory on your
Raspberry Pi and issuing the following commands:
sudo apt install bsdmainutils -y
sudo apt install fastfetch -y
curl -O https://matrix.senecapolytechnic.ca/~danny.abesdris/utils/installs/profile
curl -O https://matrix.senecapolytechnic.ca/~danny.abesdris/utils/installs/bashrc
mv profile .profile
mv bashrc .bashrc
. .profile
STEP 2: If not already created, create the software/ directory.
In your pi user account, create a directory called "software" by issuing the
following command:
/home/pi>mkdir software
STEP 3: Change directories to the /software directory.
/home/pi>cd /software
STEP 4a: Within the software/ directory, (again, if not already
created), create a new directory called src by issuing the following command:
/home/pi/software>mkdir src
STEP 4b: Change to the src/ directory:
/home/pi/software>cd src
STEP 4c: Download the NGINX 1.24.0 source tree by issuing the
following command:
/home/pi/software/src>curl -O https://nginx.org/download/nginx-1.24.0.tar.gz
STEP 4d: Now, before compiling the NGINX distribution, some additional
developent tools and libraries/packages will be required.
Issue the following command (one command):
/home/pi/software/src>sudo apt install libpcre2-dev -y zlib1g -y libssl-dev -y fcgiwrap -y
STEP 5: Extract the NGINX installation source tree.
/home/pi/software/src>tar -xzf nginx-1.24.0.tar.gz
This will create a new directory 'nginx-1.24.0' in the /home/pi/software/src
directory containing the source code for the distribution.
You must "cd" into that directory before proceeding with configuration
and compiling the source.
STEP 6: Change directories.
/home/pi/software/src>cd nginx-1.24.0
STEP 7: Configure the NGINX installation:
PLEASE TAKE NOTE OF THE SPECIAL INSTRUCTION HERE!
(one command: highlight and copy all 5 lines):
/home/pi/software/src/nginx-1.24.0>./configure \
--sbin-path=/usr/local/nginx/nginx \
--conf-path=/usr/local/nginx/nginx.conf \
--pid-path=/usr/local/nginx/nginx.pid \
--with-http_ssl_module
STEP 8: Build.
This next step will now compile all of the source files into
a machine-specific binary (nginx) that can be run from the shell.
NOTE: Depending on the speed of your Raspberry Pi's CPU, this may take
several minutes to complete.
/home/pi/software/src/nginx-1.24.0>make -j $(nproc)
NOTE: On a Raspberry Pi 3B+ with a micro-SD card, this operation took
approx. 3 minutes and 32 seconds to complete.
NOTE: On a Raspberry Pi 4 with an attached USB SSD, this operation took
approx. 1 minute and 41 seconds minutes to complete.
STEP 9: Install.
Once compiled, your NGINX distribution can now be installed
on your system.
/home/pi/software/src/nginx-1.24.0>sudo make install
STEP 10: Now move back to your home directory by entering the cd command.
/home/pi/software/src/nginx-1.24.0>cd
STEP 11: Now download and install the following configuration files:
/home/pi/>curl -O https://matrix.senecapolytechnic.ca/~danny.abesdris/utils/installs/nginx.conf
/home/pi/>sudo mv nginx.conf /usr/local/nginx
/home/pi/>curl -O https://matrix.senecapolytechnic.ca/~danny.abesdris/utils/installs/fcgiwrap.conf
/home/pi/>sudo mv fcgiwrap.conf /usr/local/nginx
/home/pi/>curl -O https://matrix.senecapolytechnic.ca/~danny.abesdris/utils/installs/fcgiwrap.service
/home/pi/>sudo mv fcgiwrap.service /lib/systemd/system/fcgiwrap.service
/home/pi/>curl -O https://matrix.senecapolytechnic.ca/~danny.abesdris/utils/installs/startWeb
/home/pi/>chmod 755 startWeb
STEP 12: Now change ownership of the nginx/ install directory to the pi user using the command:
/home/pi/>sudo chown -R pi:pi /usr/local/nginx
STEP 13: *** IMPORTANT: Now reboot the Raspberry Pi using the command:
/home/pi/>sudo reboot
NOTE: You will be logged out from your Putty/SSH session.
Wait approx. 30 seconds and login again.
STEP 14: Now start the NGINX web server by issuing the command:
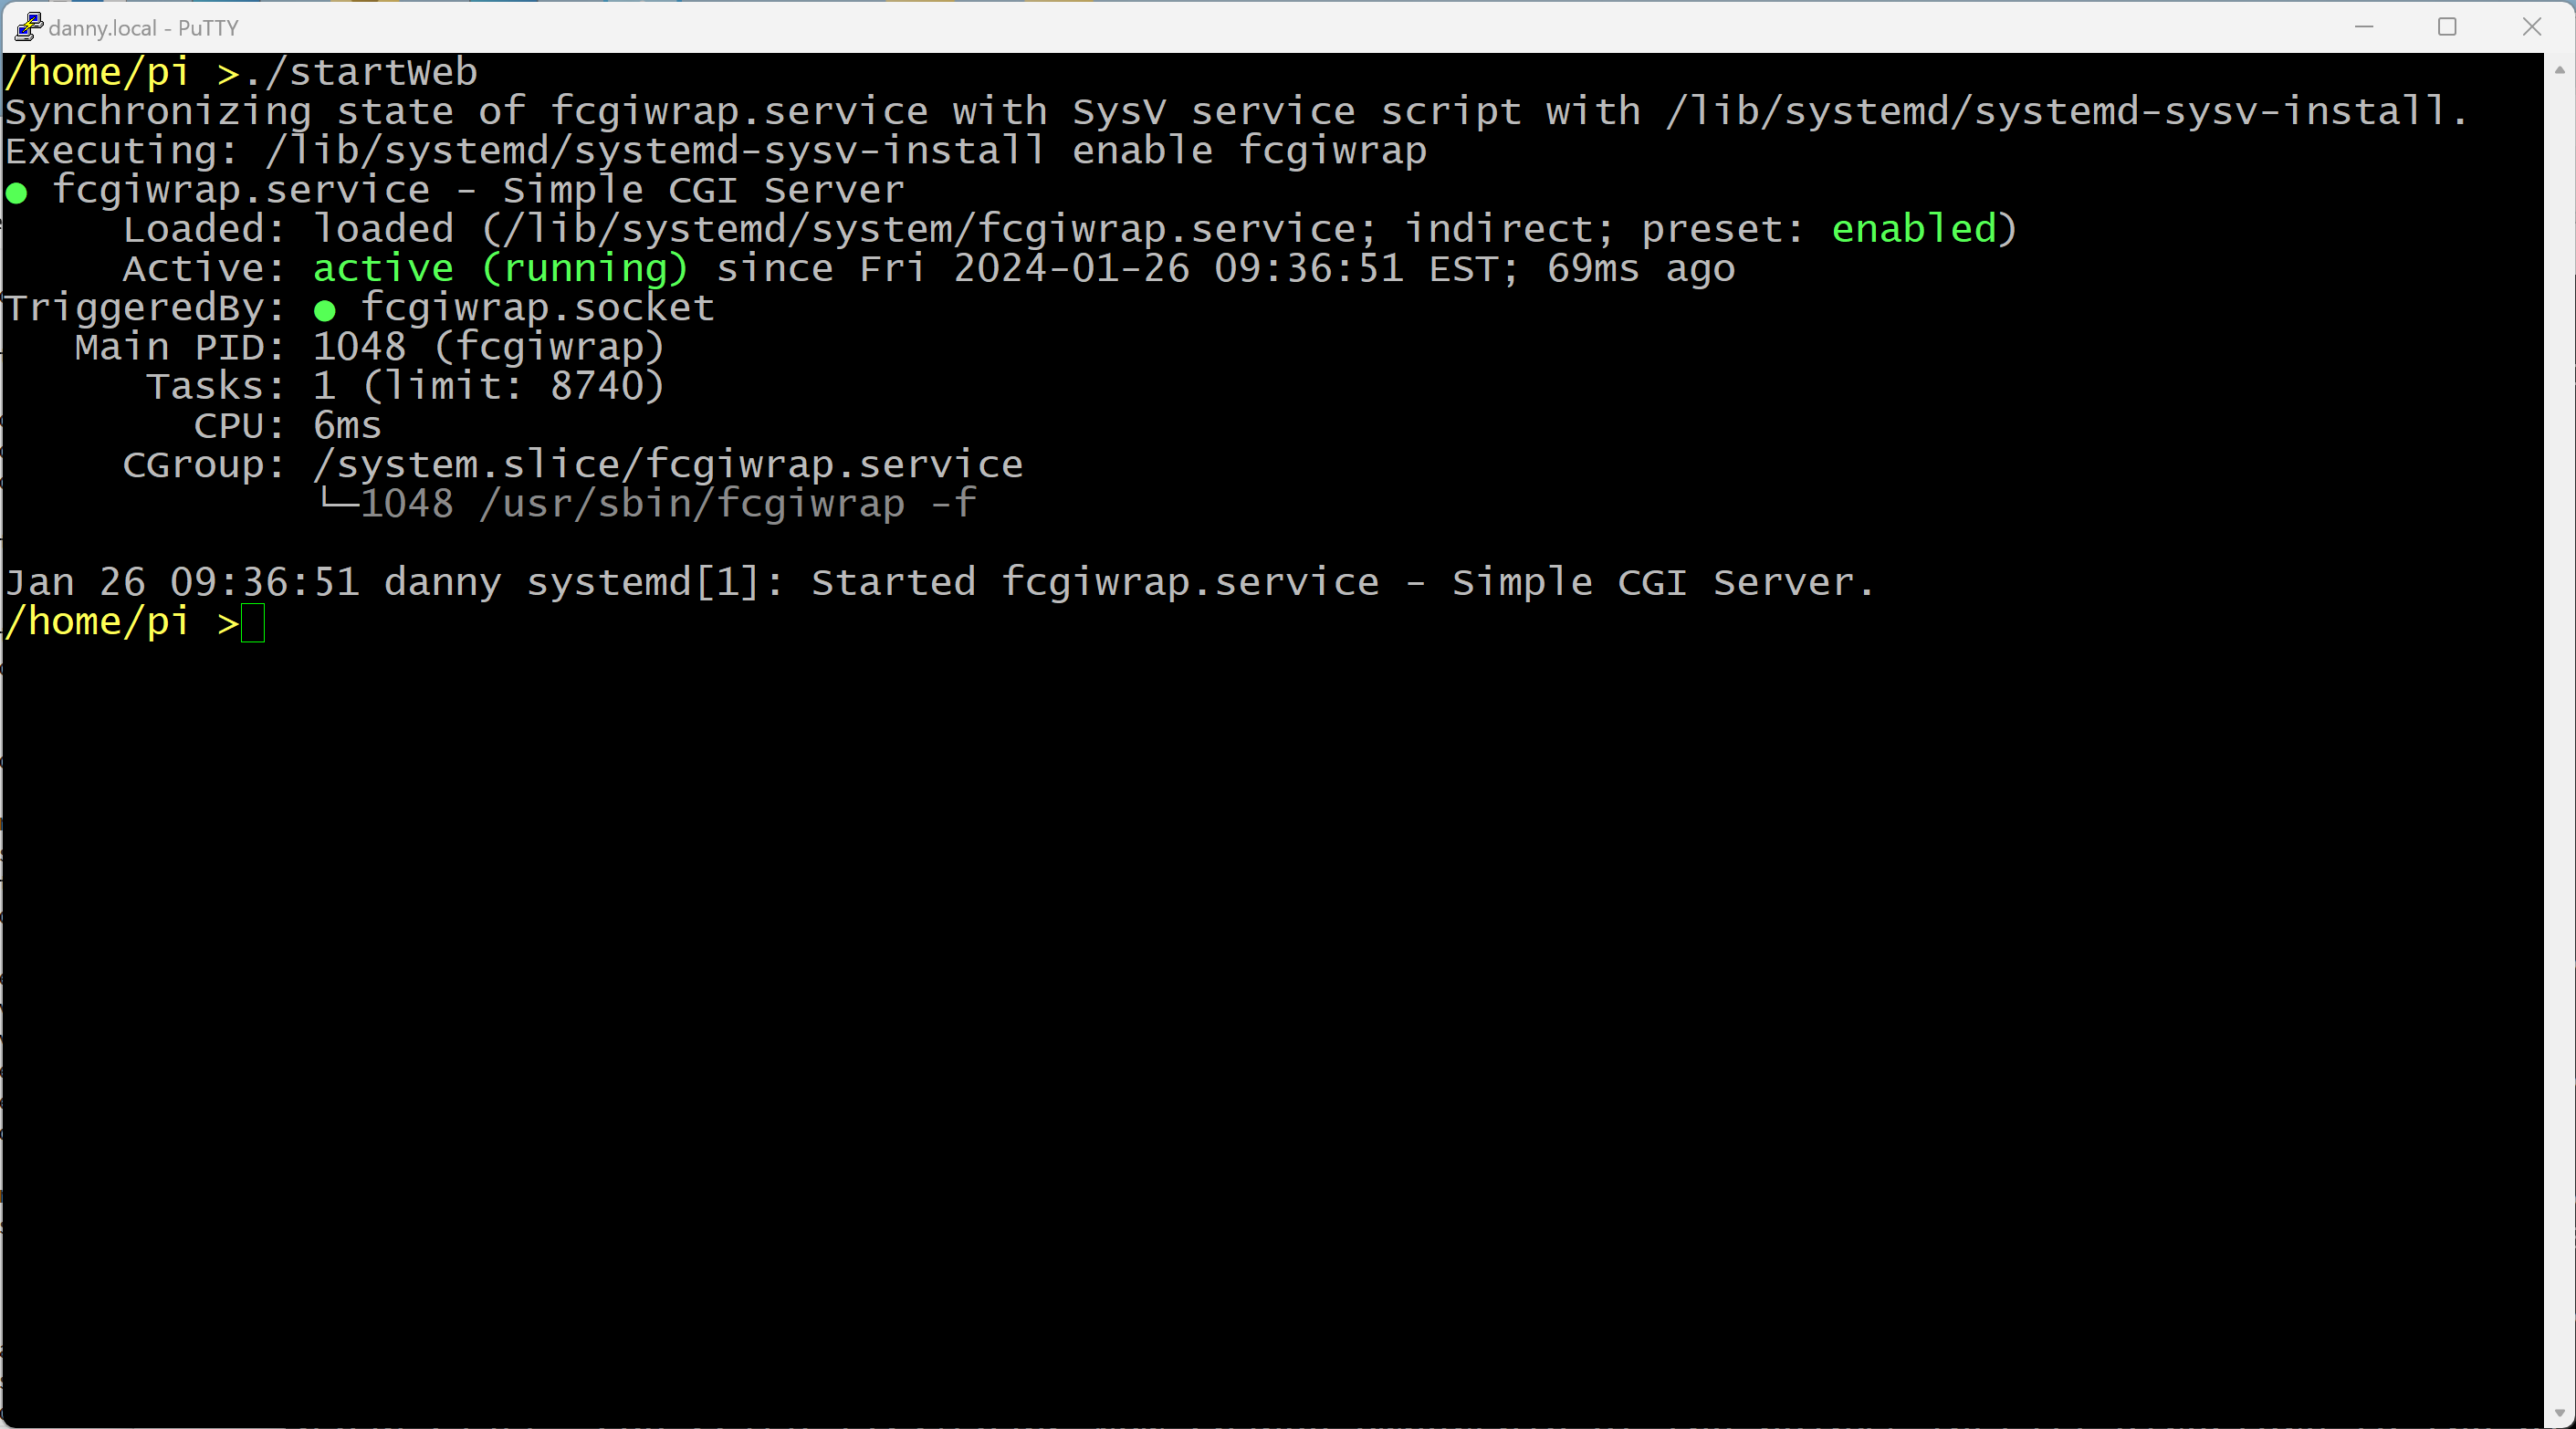
/home/pi/>./startWeb
If you didn't make any errors, the command prompt should display the following output
(or similar) (see image below):
Synchronizing state of fcgiwrap.service with SysV service script with /lib/systemd/systemd-sysv-install.
Executing: /lib/systemd/systemd-sysv-install enable fcgiwrap
fcgiwrap.service - Simple CGI Server
Loaded: loaded (/lib/systemd/system/fcgiwrap.service; indirect; preset: enabled)
Active: active (running) since Fri 2024-01-26 09:36:51 EST; 69ms ago
TriggeredBy: fcgiwrap.socket
Main PID: 1048 (fcgiwrap)
Tasks: 1 (limit: 8740)
CPU: 6ms
CGroup: /system.slice/fcgiwrap.service
1048 /usr/sbin/fcgiwrap -f
NGINX Open Source
This page describes how to install the NGINX HTTP Web Server (v. 1.24.0) on
a Raspberry Pi (running the Raspbian Desktop OS).
You will require the GCC >4.0 (C language) development tools
(along with the "make" utility). The default installation installs NGINX
Web Server in the /usr/local/ directory on your Raspberry Pi.
NOTE: Once the install has completed, you will have to ensure that
you have the path to the NGINX interpretor listed in your $PATH
(in your .profile file) environment variable in order for the web server to work.
STEP 1: Login to your Raspberry Pi (the default user id should
be pi). the default password will be "raspberry", but You can change this using
the passwd command.
The correct .profile may be obtained by navigating to your home directory on your
Raspberry Pi and issuing the following commands:
sudo apt install bsdmainutils -y
sudo apt install fastfetch -y
curl -O https://matrix.senecapolytechnic.ca/~danny.abesdris/utils/installs/profile
curl -O https://matrix.senecapolytechnic.ca/~danny.abesdris/utils/installs/bashrc
mv profile .profile
mv bashrc .bashrc
. .profile
STEP 2: If not already created, create the software/ directory.
In your pi user account, create a directory called "software" by issuing the
following command:
/home/pi>mkdir software
STEP 3: Change directories to the /software directory.
/home/pi>cd /software
STEP 4a: Within the software/ directory, (again, if not already
created), create a new directory called src by issuing the following command:
/home/pi/software>mkdir src
STEP 4b: Change to the src/ directory:
/home/pi/software>cd src
STEP 4c: Download the NGINX 1.24.0 source tree by issuing the
following command:
/home/pi/software/src>curl -O https://nginx.org/download/nginx-1.24.0.tar.gz
STEP 4d: Now, before compiling the NGINX distribution, some additional
developent tools and libraries/packages will be required.
Issue the following command (one command):
/home/pi/software/src>sudo apt install libpcre2-dev -y zlib1g -y libssl-dev -y fcgiwrap -y
STEP 5: Extract the NGINX installation source tree.
/home/pi/software/src>tar -xzf nginx-1.24.0.tar.gz
This will create a new directory 'nginx-1.24.0' in the /home/pi/software/src
directory containing the source code for the distribution.
You must "cd" into that directory before proceeding with configuration
and compiling the source.
STEP 6: Change directories.
/home/pi/software/src>cd nginx-1.24.0
STEP 7: Configure the NGINX installation:
PLEASE TAKE NOTE OF THE SPECIAL INSTRUCTION HERE!
(one command: highlight and copy all 5 lines):
/home/pi/software/src/nginx-1.24.0>./configure \
--sbin-path=/usr/local/nginx/nginx \
--conf-path=/usr/local/nginx/nginx.conf \
--pid-path=/usr/local/nginx/nginx.pid \
--with-http_ssl_module
STEP 8: Build.
This next step will now compile all of the source files into
a machine-specific binary (nginx) that can be run from the shell.
NOTE: Depending on the speed of your Raspberry Pi's CPU, this may take
several minutes to complete.
/home/pi/software/src/nginx-1.24.0>make -j $(nproc)
NOTE: On a Raspberry Pi 3B+ with a micro-SD card, this operation took
approx. 3 minutes and 32 seconds to complete.
NOTE: On a Raspberry Pi 4 with an attached USB SSD, this operation took
approx. 1 minute and 41 seconds minutes to complete.
STEP 9: Install.
Once compiled, your NGINX distribution can now be installed
on your system.
/home/pi/software/src/nginx-1.24.0>sudo make install
STEP 10: Now move back to your home directory by entering the cd command.
/home/pi/software/src/nginx-1.24.0>cd
STEP 11: Now download and install the following configuration files:
/home/pi/>curl -O https://matrix.senecapolytechnic.ca/~danny.abesdris/utils/installs/nginx.conf
/home/pi/>sudo mv nginx.conf /usr/local/nginx
/home/pi/>curl -O https://matrix.senecapolytechnic.ca/~danny.abesdris/utils/installs/fcgiwrap.conf
/home/pi/>sudo mv fcgiwrap.conf /usr/local/nginx
/home/pi/>curl -O https://matrix.senecapolytechnic.ca/~danny.abesdris/utils/installs/fcgiwrap.service
/home/pi/>sudo mv fcgiwrap.service /lib/systemd/system/fcgiwrap.service
/home/pi/>curl -O https://matrix.senecapolytechnic.ca/~danny.abesdris/utils/installs/startWeb
/home/pi/>chmod 755 startWeb
STEP 12: Now change ownership of the nginx/ install directory to the pi user using the command:
/home/pi/>sudo chown -R pi:pi /usr/local/nginx
STEP 13: *** IMPORTANT: Now reboot the Raspberry Pi using the command:
/home/pi/>sudo reboot
NOTE: You will be logged out from your Putty/SSH session.
Wait approx. 30 seconds and login again.
STEP 14: Now start the NGINX web server by issuing the command:
/home/pi/>./startWeb
If you didn't make any errors, the command prompt should display the following output
(or similar) (see image below):
Synchronizing state of fcgiwrap.service with SysV service script with /lib/systemd/systemd-sysv-install.
Executing: /lib/systemd/systemd-sysv-install enable fcgiwrap
fcgiwrap.service - Simple CGI Server
Loaded: loaded (/lib/systemd/system/fcgiwrap.service; indirect; preset: enabled)
Active: active (running) since Fri 2024-01-26 09:36:51 EST; 69ms ago
TriggeredBy: fcgiwrap.socket
Main PID: 1048 (fcgiwrap)
Tasks: 1 (limit: 8740)
CPU: 6ms
CGroup: /system.slice/fcgiwrap.service
1048 /usr/sbin/fcgiwrap -f
 STEP 15: Test that the NGINX Web Server is running:
First, determine the IP address of your Raspberry Pi, by issuing either
of the commands below:
hostname -I
Or:
ifconfig | grep inet
You should see something similar to 192.168.0.x (where x is a number from 1 to 255) or
10.0.x.y (where x and y are numbers from 1 to 255).
Assuming your Pi's IP address is 192.168.0.55, then visiting this page:
http://192.168.0.55:8080
should display the following:
Welcome to nginx!
If you see this page, the nginx web server is successfully installed and working.
Further configuration is required.
For online documentation and support please refer to nginx.org.
Commercial support is available at nginx.com.
Thank you for using nginx.
STEP 15: Test that the NGINX Web Server is running:
First, determine the IP address of your Raspberry Pi, by issuing either
of the commands below:
hostname -I
Or:
ifconfig | grep inet
You should see something similar to 192.168.0.x (where x is a number from 1 to 255) or
10.0.x.y (where x and y are numbers from 1 to 255).
Assuming your Pi's IP address is 192.168.0.55, then visiting this page:
http://192.168.0.55:8080
should display the following:
Welcome to nginx!
If you see this page, the nginx web server is successfully installed and working.
Further configuration is required.
For online documentation and support please refer to nginx.org.
Commercial support is available at nginx.com.
Thank you for using nginx.
 All of your HTML documents will be served on your Raspberry Pi from the
following directory:
/usr/local/nginx/html/
STEP 16: Create NGINX cgi-bin/ directory by issuing the commands:
/home/pi>cd /usr/local/nginx
/usr/local/nginx>mkdir cgi-bin
Now download, copy, and change permissions on the following file "testEnv.txt" with:
/usr/local/nginx>curl -O https://matrix.senecapolytechnic.ca/~danny.abesdris/utils/installs/testEnv.txt
/usr/local/nginx>mv testEnv.txt testEnv.py
/usr/local/nginx>mv testEnv.py cgi-bin
/usr/local/nginx>chmod 755 cgi-bin/testEnv.py
STEP 17: Test the NGINX Web Server CGI Environment:
Now once again, open a browser and visit:
http://192.168.0.55:8080/cgi-bin/testEnv.py (your ip address will be different)
You should see the following output (or similar):
FCGI_ROLE: RESPONDER
QUERY_STRING:
REQUEST_METHOD: GET
CONTENT_TYPE:
CONTENT_LENGTH:
SCRIPT_NAME: /cgi-bin/testEnv.py
REQUEST_URI: /cgi-bin/testEnv.py
DOCUMENT_URI: /cgi-bin/testEnv.py
DOCUMENT_ROOT: /usr/local/nginx
SERVER_PROTOCOL: HTTP/1.1
REQUEST_SCHEME: http
GATEWAY_INTERFACE: CGI/1.1
SERVER_SOFTWARE: nginx/1.24.0
REMOTE_ADDR: 192.168.0.151
REMOTE_PORT: 39408
SERVER_ADDR: 192.168.0.55
SERVER_PORT: 8080
SERVER_NAME: _
REDIRECT_STATUS: 200
SCRIPT_FILENAME: /usr/local/nginx/cgi-bin/testEnv.py
HTTP_HOST: 192.168.0.55:8080
HTTP_CONNECTION: keep-alive
HTTP_UPGRADE_INSECURE_REQUESTS: 1
HTTP_USER_AGENT: Mozilla/5.0 (X11; Linux x86_64) AppleWebKit/537.36 (KHTML, like Gecko) Chrome/99.0.4844.51 Safari/537.36
HTTP_ACCEPT: text/html,application/xhtml+xml,application/xml;q=0.9,image/avif,image/webp,image/apng,*/*;q=0.8,application/signed-exchange;v=b3;q=0.9
HTTP_SEC_GPC: 1
HTTP_ACCEPT_ENCODING: gzip, deflate
HTTP_ACCEPT_LANGUAGE: en-GB,en-US;q=0.9,en;q=0.8
LANG: en_CA
LANGUAGE: en_CA
PATH: /usr/local/sbin:/usr/local/bin:/usr/sbin:/usr/bin:/sbin:/bin
HOME: /var/www
LOGNAME: www-data
USER: www-data
INVOCATION_ID: 36b8b2087d344280b3770eed155ab58a
JOURNAL_STREAM: 8:108071
DAEMON_OPTS: -f
Congratulations, it worked!
STEP 18: Stop the NGINX Web Server with:
/home/pi>/usr/local/nginx/nginx -s stop
To start the NGINX Web Server use:
./startWeb
All of your HTML documents will be served on your Raspberry Pi from the
following directory:
/usr/local/nginx/html/
STEP 16: Create NGINX cgi-bin/ directory by issuing the commands:
/home/pi>cd /usr/local/nginx
/usr/local/nginx>mkdir cgi-bin
Now download, copy, and change permissions on the following file "testEnv.txt" with:
/usr/local/nginx>curl -O https://matrix.senecapolytechnic.ca/~danny.abesdris/utils/installs/testEnv.txt
/usr/local/nginx>mv testEnv.txt testEnv.py
/usr/local/nginx>mv testEnv.py cgi-bin
/usr/local/nginx>chmod 755 cgi-bin/testEnv.py
STEP 17: Test the NGINX Web Server CGI Environment:
Now once again, open a browser and visit:
http://192.168.0.55:8080/cgi-bin/testEnv.py (your ip address will be different)
You should see the following output (or similar):
FCGI_ROLE: RESPONDER
QUERY_STRING:
REQUEST_METHOD: GET
CONTENT_TYPE:
CONTENT_LENGTH:
SCRIPT_NAME: /cgi-bin/testEnv.py
REQUEST_URI: /cgi-bin/testEnv.py
DOCUMENT_URI: /cgi-bin/testEnv.py
DOCUMENT_ROOT: /usr/local/nginx
SERVER_PROTOCOL: HTTP/1.1
REQUEST_SCHEME: http
GATEWAY_INTERFACE: CGI/1.1
SERVER_SOFTWARE: nginx/1.24.0
REMOTE_ADDR: 192.168.0.151
REMOTE_PORT: 39408
SERVER_ADDR: 192.168.0.55
SERVER_PORT: 8080
SERVER_NAME: _
REDIRECT_STATUS: 200
SCRIPT_FILENAME: /usr/local/nginx/cgi-bin/testEnv.py
HTTP_HOST: 192.168.0.55:8080
HTTP_CONNECTION: keep-alive
HTTP_UPGRADE_INSECURE_REQUESTS: 1
HTTP_USER_AGENT: Mozilla/5.0 (X11; Linux x86_64) AppleWebKit/537.36 (KHTML, like Gecko) Chrome/99.0.4844.51 Safari/537.36
HTTP_ACCEPT: text/html,application/xhtml+xml,application/xml;q=0.9,image/avif,image/webp,image/apng,*/*;q=0.8,application/signed-exchange;v=b3;q=0.9
HTTP_SEC_GPC: 1
HTTP_ACCEPT_ENCODING: gzip, deflate
HTTP_ACCEPT_LANGUAGE: en-GB,en-US;q=0.9,en;q=0.8
LANG: en_CA
LANGUAGE: en_CA
PATH: /usr/local/sbin:/usr/local/bin:/usr/sbin:/usr/bin:/sbin:/bin
HOME: /var/www
LOGNAME: www-data
USER: www-data
INVOCATION_ID: 36b8b2087d344280b3770eed155ab58a
JOURNAL_STREAM: 8:108071
DAEMON_OPTS: -f
Congratulations, it worked!
STEP 18: Stop the NGINX Web Server with:
/home/pi>/usr/local/nginx/nginx -s stop
To start the NGINX Web Server use:
./startWeb
