 Internet Connection Sharing from Windows 10/11 PC to Raspberry Pi 3B+/4


 This page describes how to share your Windows 10/11 wifi or ethernet network
connection from your PC with the Raspberry Pi 3B+/4.
Materials required for this connection will be a USB Type-A or Type-C to Ethernet
adapter and any length CAT 5/6/7 ethernet cable.
Apapter links are available below:
UGreen USB Type-A Ethernet Adapter
UGreen USB Type-C Ethernet Adapter
You will also need to know the Hostname of your Raspberry Pi when it was first
configured when you installed the 64-bit Raspberry Pi OS Lite version.
The Hostname should be your Seneca student e-mail id without the @myseneca.ca.
For example, student named Tom Swift may have an e-mail id of tswift2.
The example in this instruction uses voyagerPi.local.
STEP 1: Make sure your Raspberry Pi 3B+/4 is powered on
and is running 64-bit Raspberry Pi OS Lite. Use an available USB port on your PC
running Windows 10/11 for the ethernet adapter and connect the ethernet cable from
the adapter to the ethernet port on the Raspberry Pi.
STEP 2: Navigate and open the Control Panel.
If the icon is not available on your Desktop, it can be accessed by searching
for Control Panel in a search from the start/windows menu.
This page describes how to share your Windows 10/11 wifi or ethernet network
connection from your PC with the Raspberry Pi 3B+/4.
Materials required for this connection will be a USB Type-A or Type-C to Ethernet
adapter and any length CAT 5/6/7 ethernet cable.
Apapter links are available below:
UGreen USB Type-A Ethernet Adapter
UGreen USB Type-C Ethernet Adapter
You will also need to know the Hostname of your Raspberry Pi when it was first
configured when you installed the 64-bit Raspberry Pi OS Lite version.
The Hostname should be your Seneca student e-mail id without the @myseneca.ca.
For example, student named Tom Swift may have an e-mail id of tswift2.
The example in this instruction uses voyagerPi.local.
STEP 1: Make sure your Raspberry Pi 3B+/4 is powered on
and is running 64-bit Raspberry Pi OS Lite. Use an available USB port on your PC
running Windows 10/11 for the ethernet adapter and connect the ethernet cable from
the adapter to the ethernet port on the Raspberry Pi.
STEP 2: Navigate and open the Control Panel.
If the icon is not available on your Desktop, it can be accessed by searching
for Control Panel in a search from the start/windows menu.
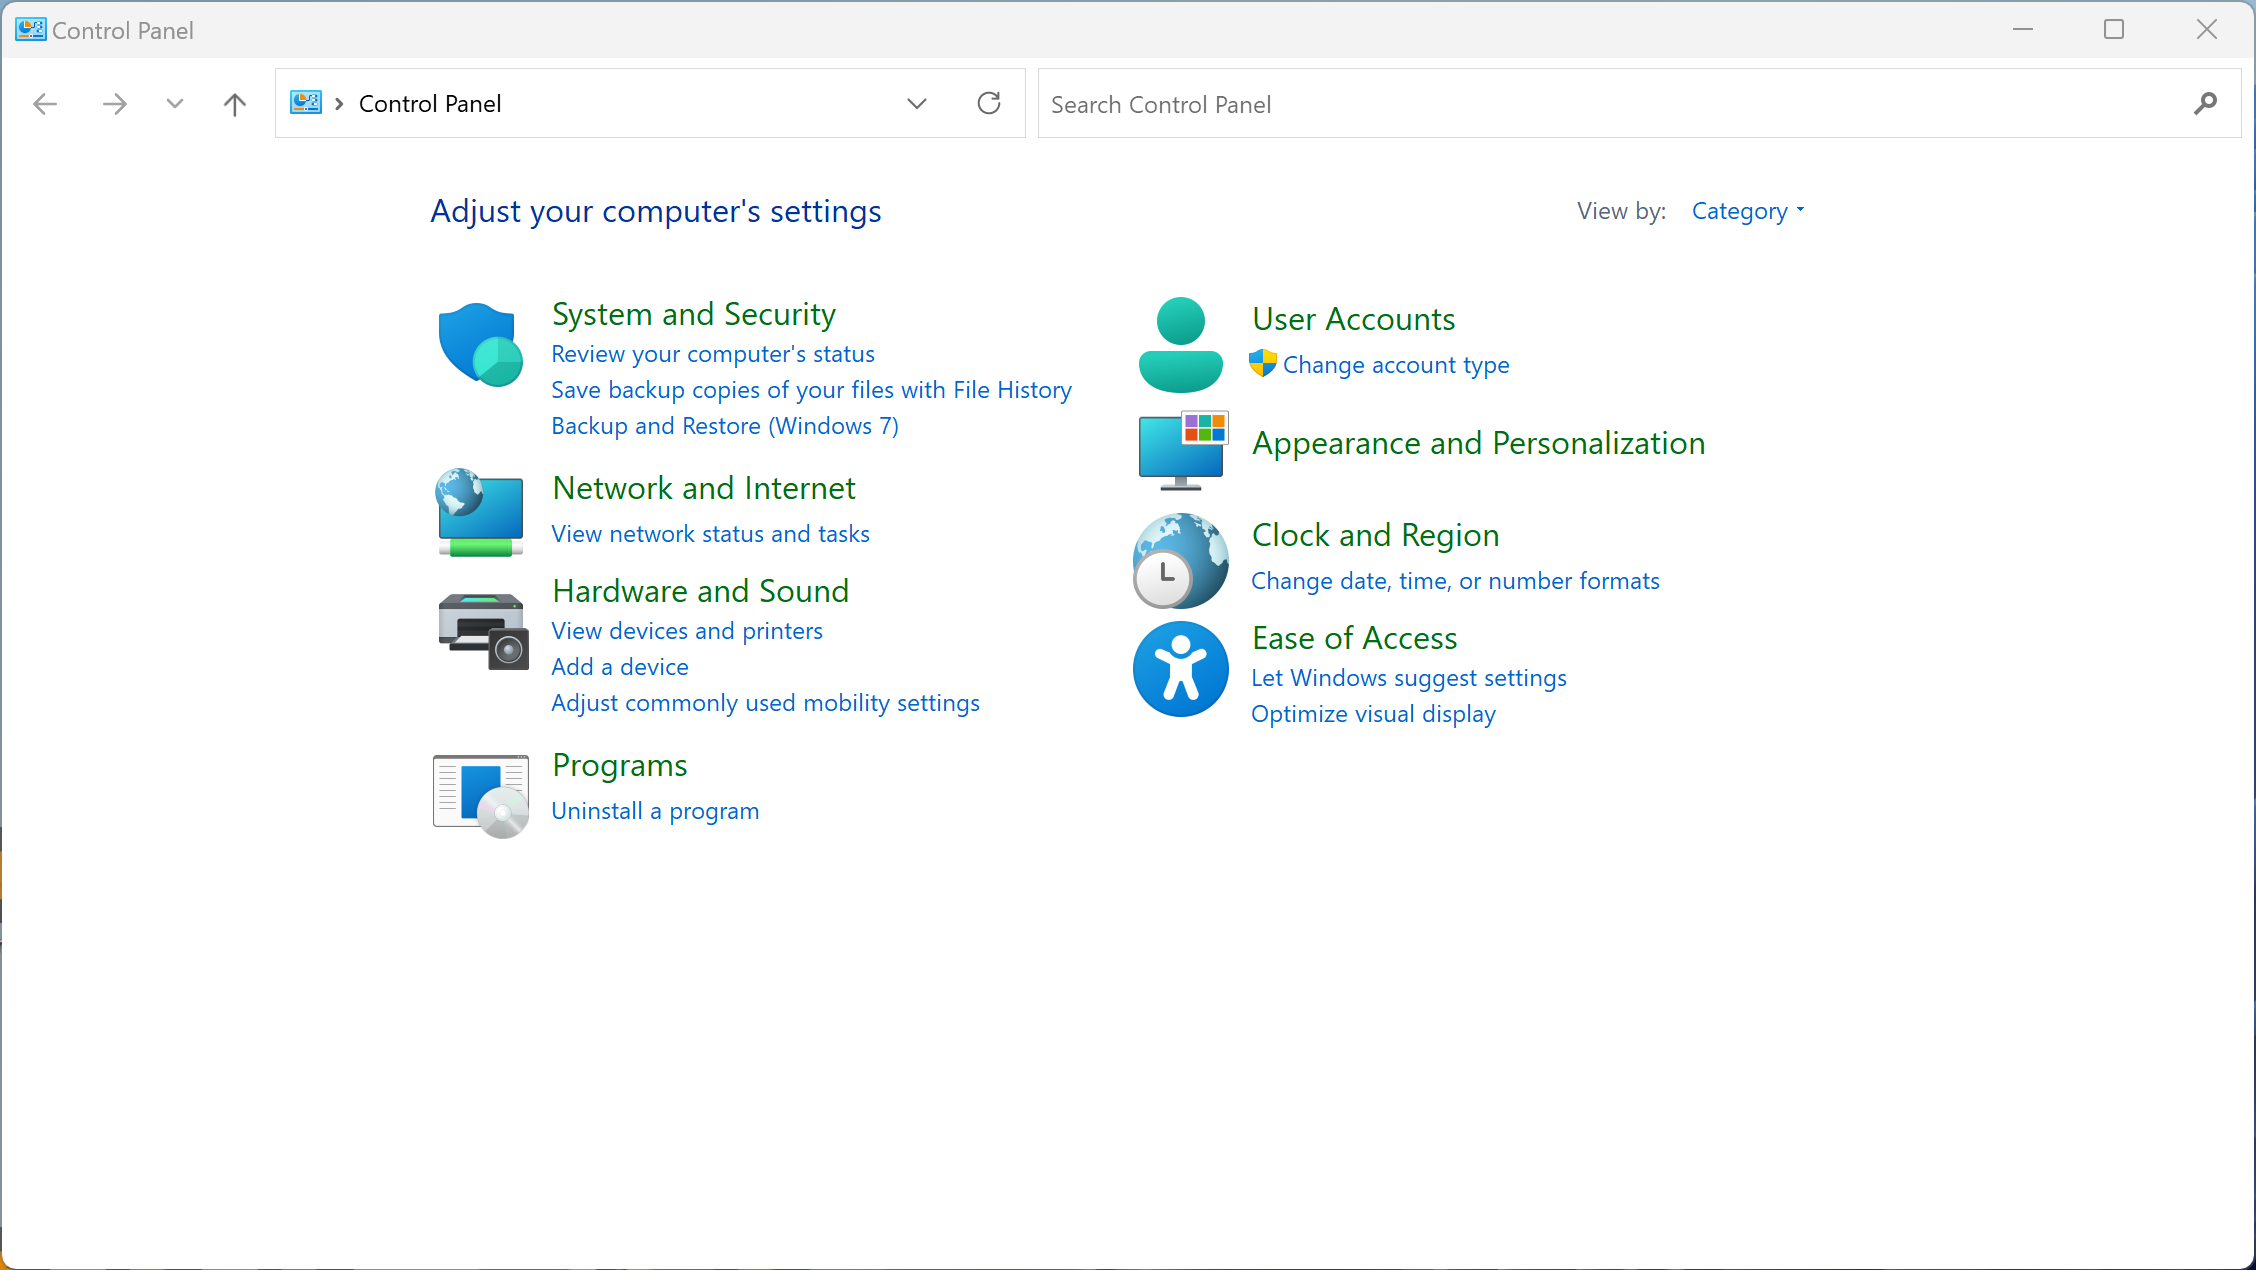 STEP 3: Click on Network and Internet
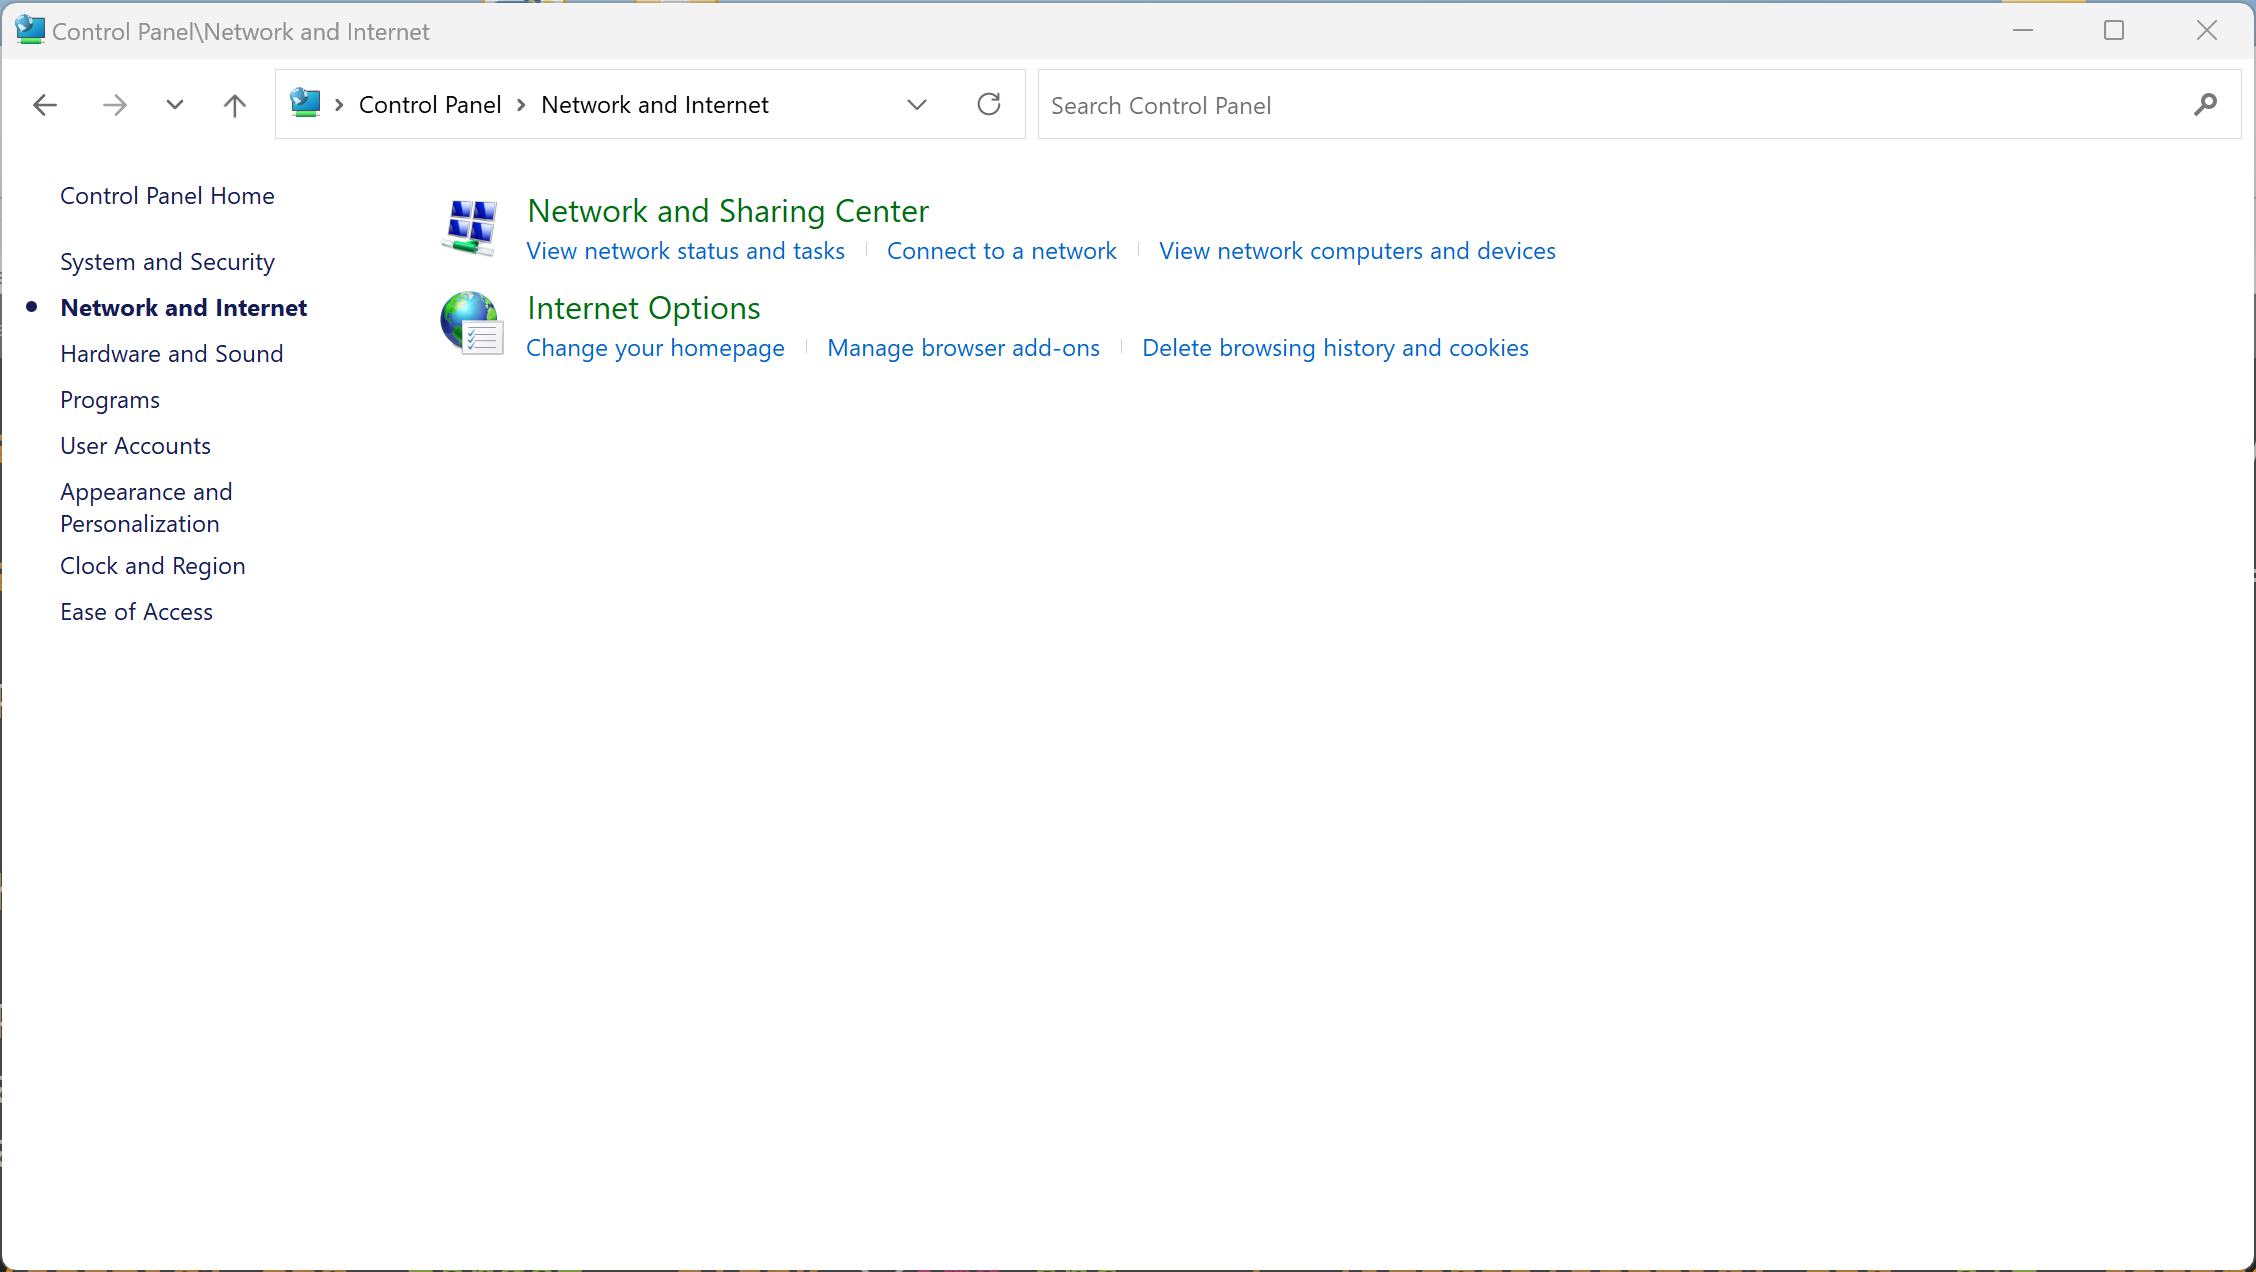 STEP 4: Click on View network status and tasks
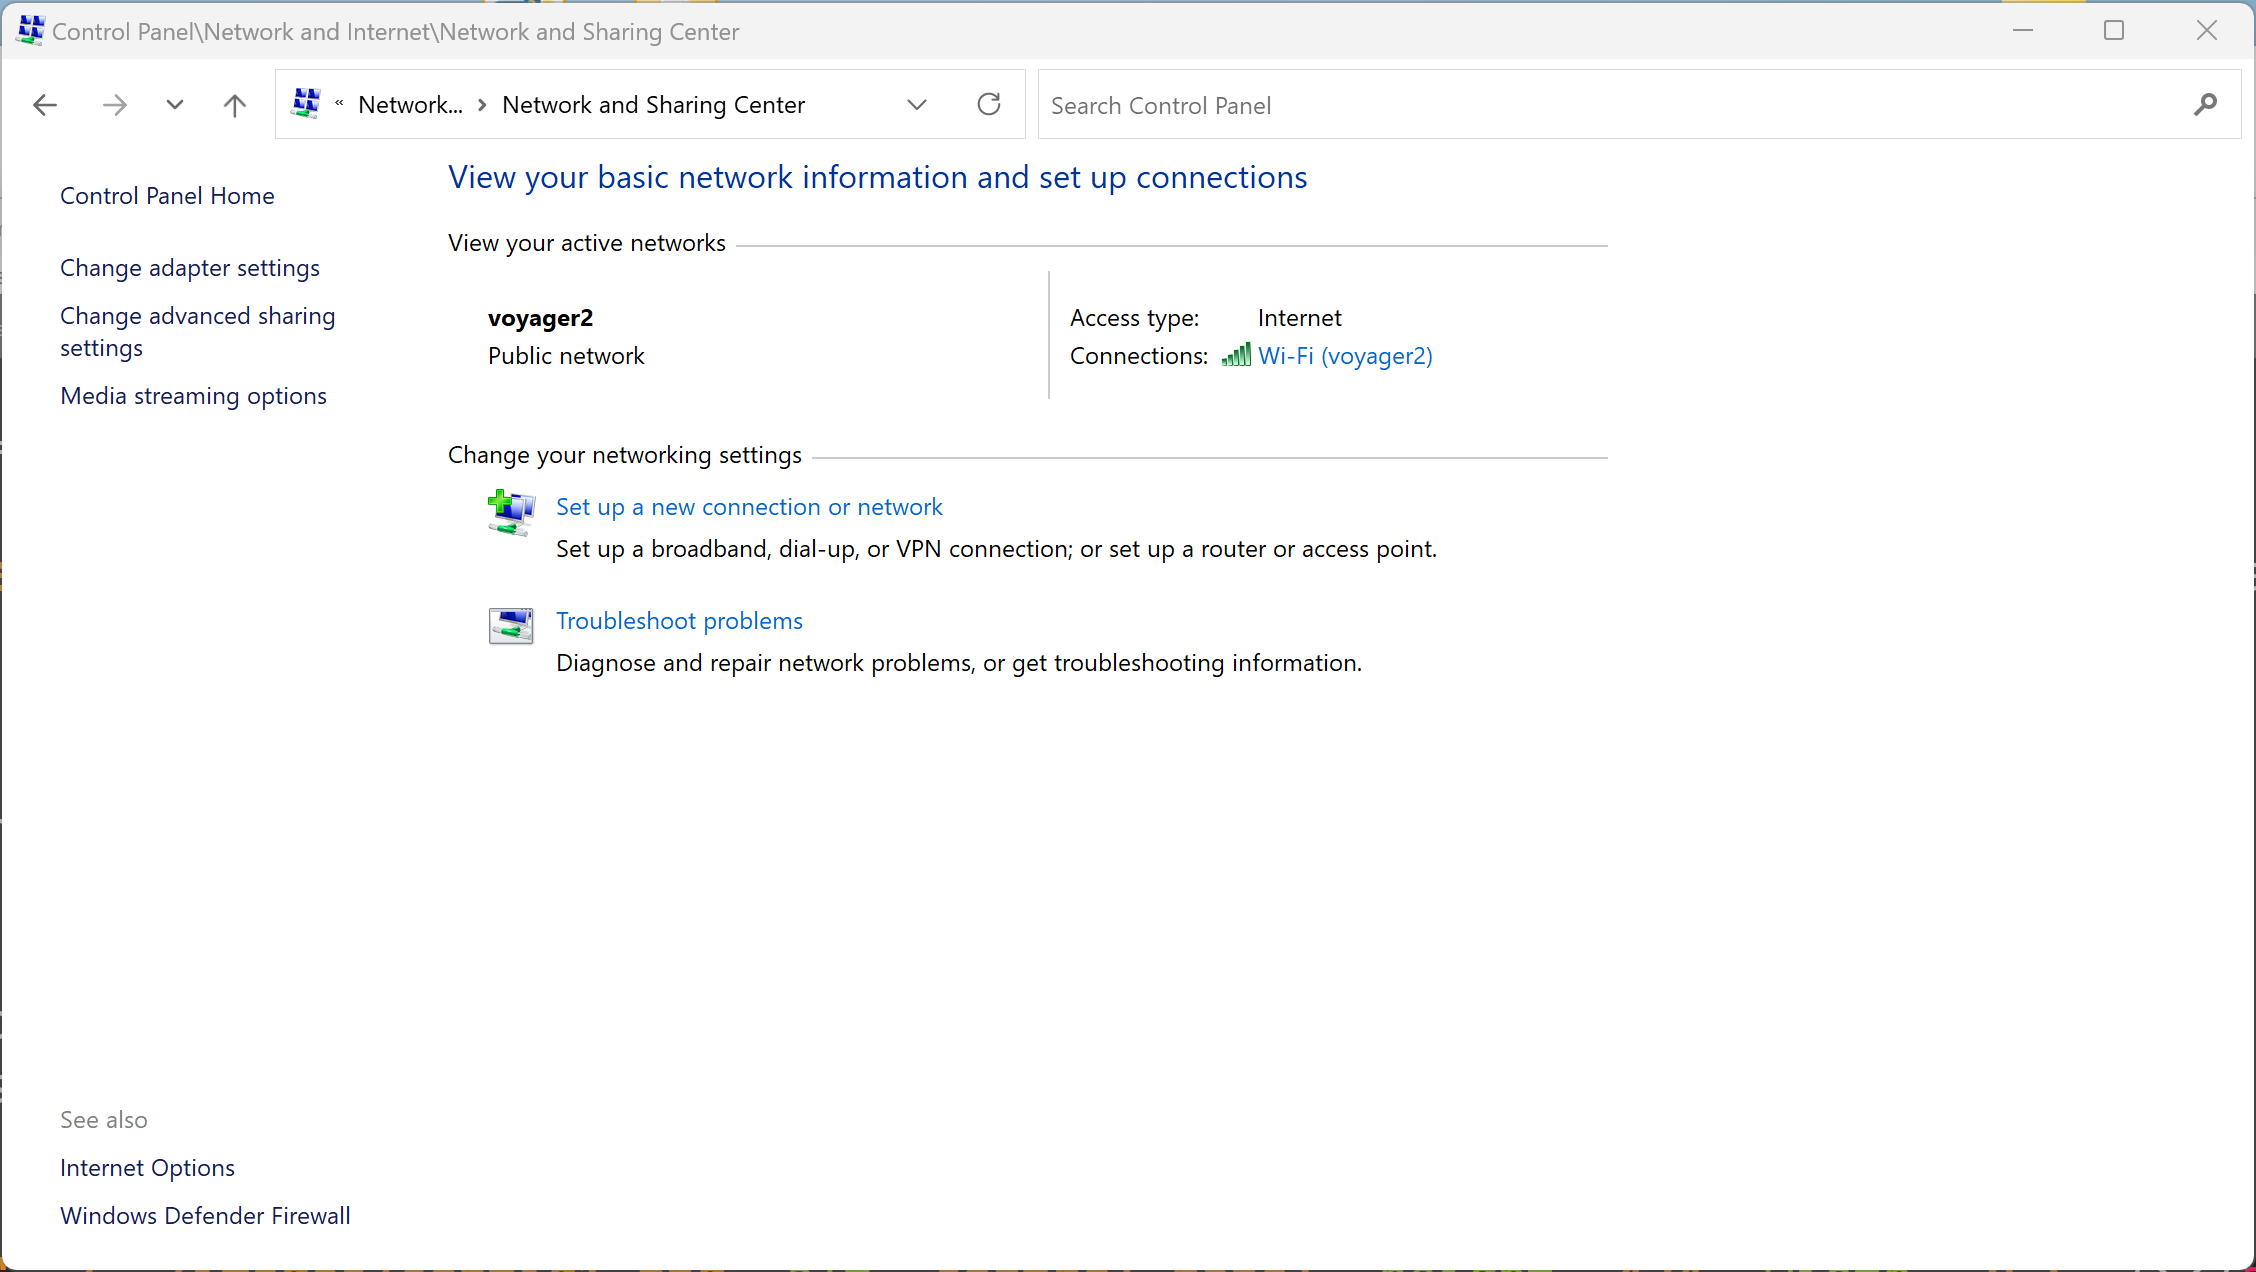 STEP 5: In the left side panel, click on Change adapter settings
 STEP 6: Now, locate the Ethernet connection corresponding to the adapter
you recently plugged-in to your PC/laptop computer (it should be labelled "Ethernet 3" or "Ethernet 4", etc.)
STEP 6: Now, locate the Ethernet connection corresponding to the adapter
you recently plugged-in to your PC/laptop computer (it should be labelled "Ethernet 3" or "Ethernet 4", etc.)
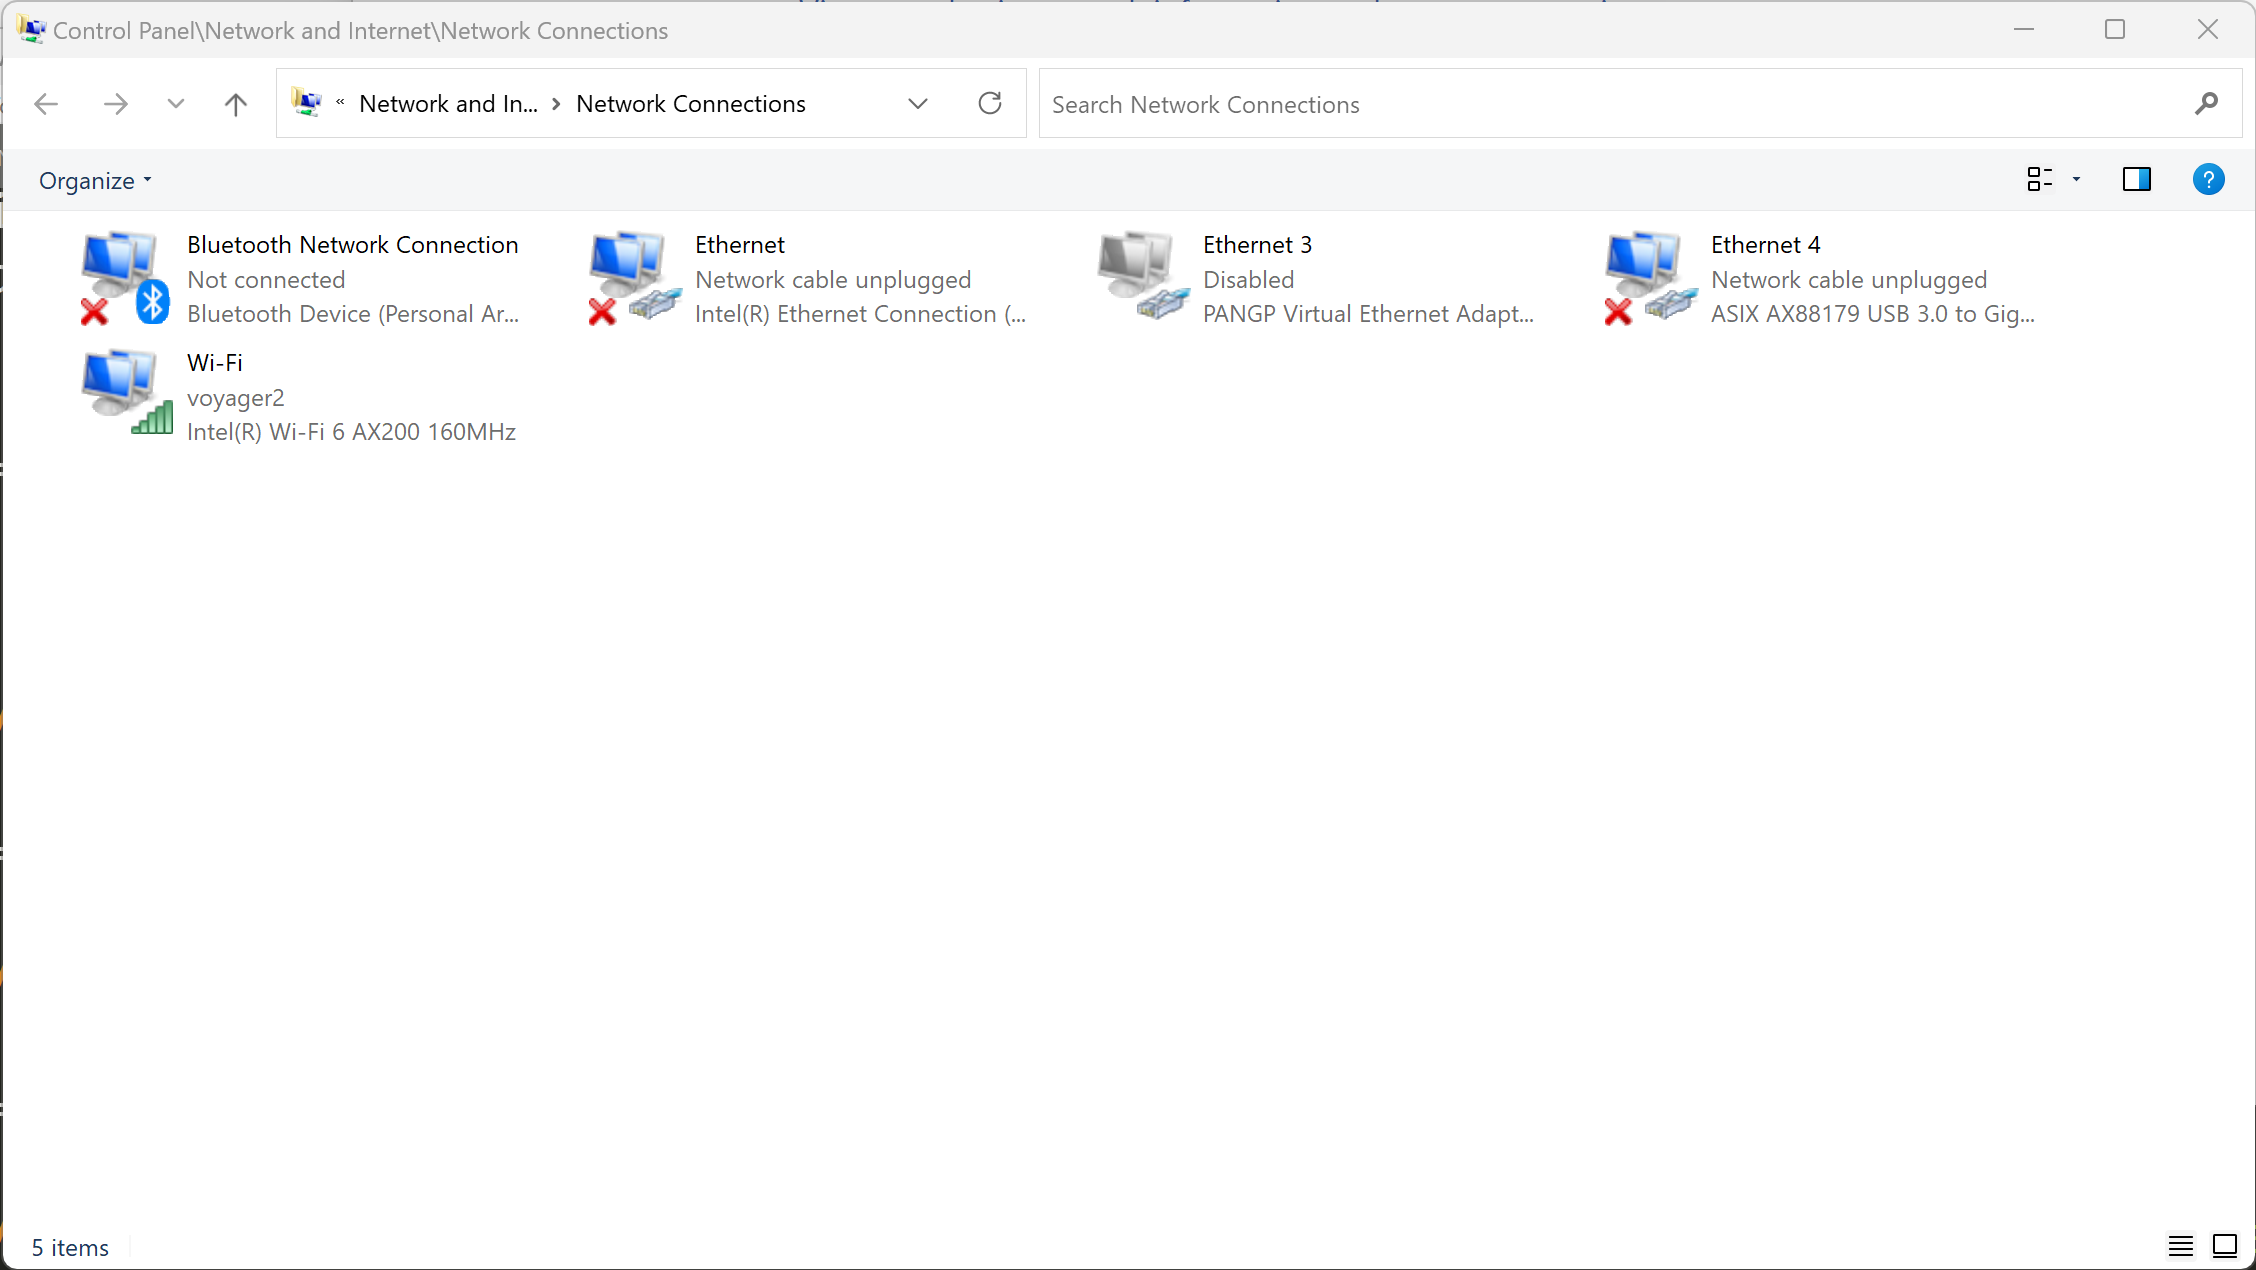
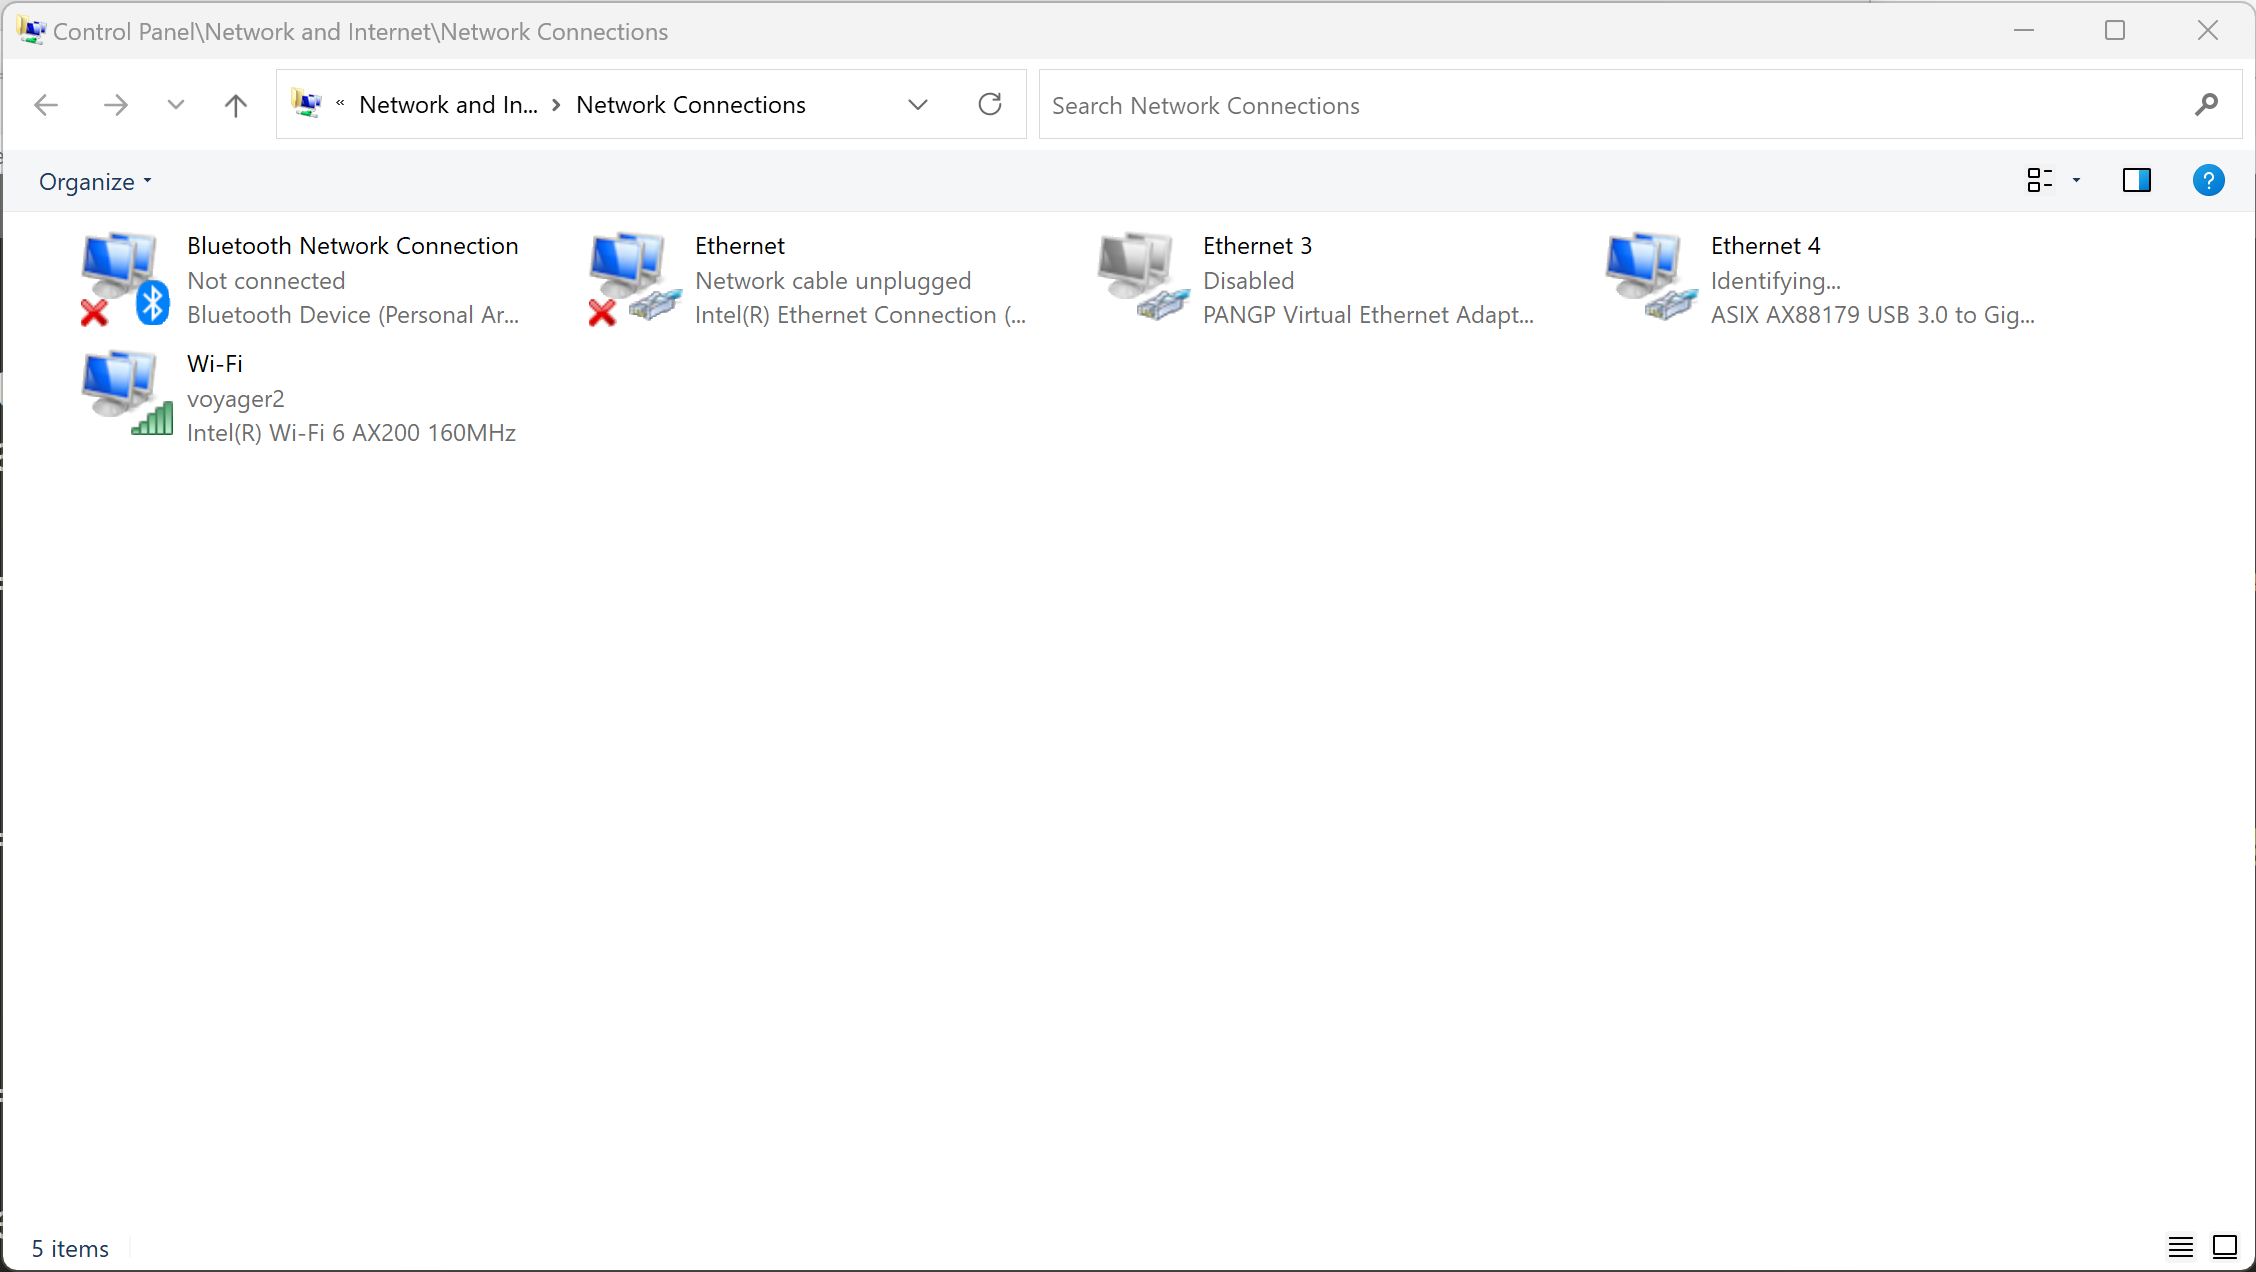 In the example using the UGreen USB-A to Ethernet adapter (image above), the adapter
should be specified as: "ASIX AX88179 USB 3.0 to Gigabit Ethernet Adapter" as "Ethernet 4"
STEP 7: Now, right-click on the internet source you wish to share
(in the example above, the WiFi connection will be shared) and choose Properties.
In the example using the UGreen USB-A to Ethernet adapter (image above), the adapter
should be specified as: "ASIX AX88179 USB 3.0 to Gigabit Ethernet Adapter" as "Ethernet 4"
STEP 7: Now, right-click on the internet source you wish to share
(in the example above, the WiFi connection will be shared) and choose Properties.
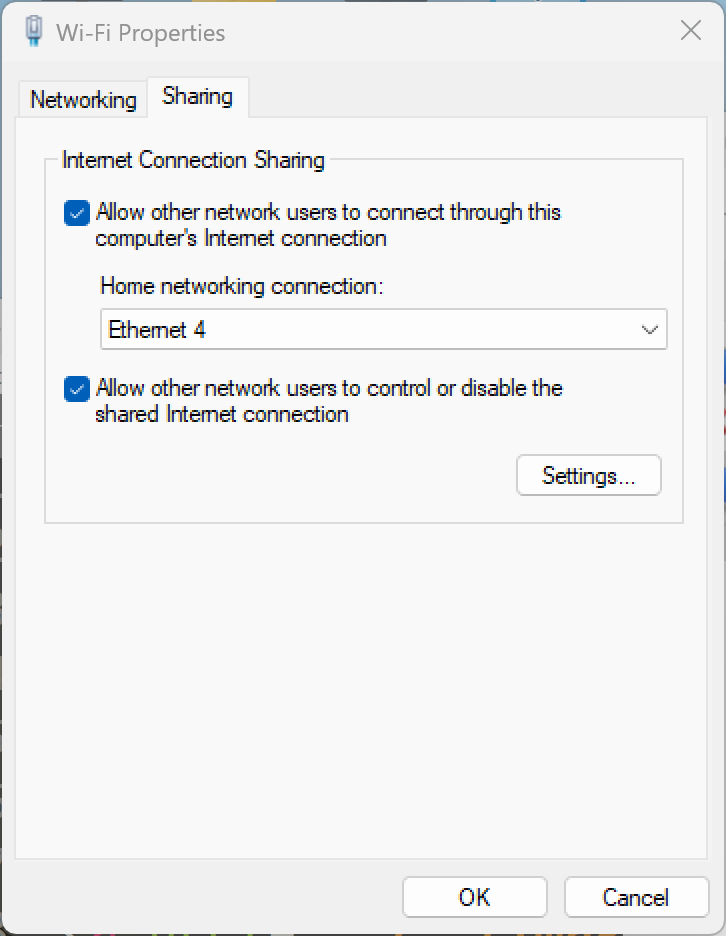
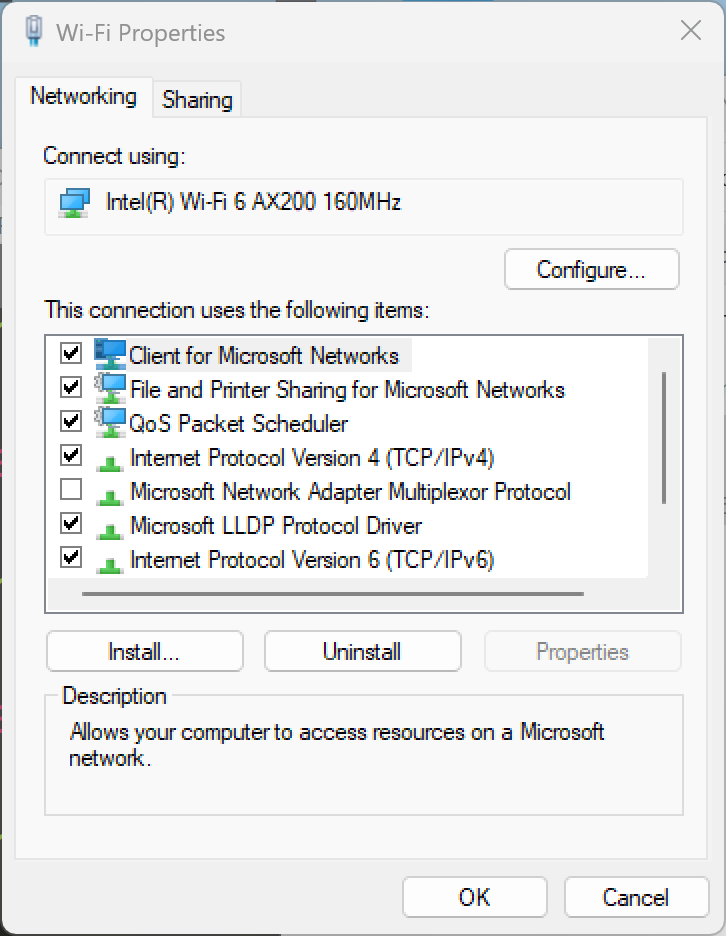 STEP 8: In the WiFI Properties dialog box, select the Sharing tab and
then click on the "Allow other network users to connect through this computer's Internet connection"
check box to select it.
Then, from the "Home networking conection:" drop-down list, select the Ethernet adapter
corresponding to the device you recently attached (Ethernet 4 in the example above) and
click OK.
STEP 8: In the WiFI Properties dialog box, select the Sharing tab and
then click on the "Allow other network users to connect through this computer's Internet connection"
check box to select it.
Then, from the "Home networking conection:" drop-down list, select the Ethernet adapter
corresponding to the device you recently attached (Ethernet 4 in the example above) and
click OK.
 STEP 9: Now, using Putty (or other SSH client) or the Windows
command prompt, SSH to the connected Raspberry Pi using the command:
ssh pi@voyagerPi.local
and hit the Enter key and enter your password when prompted.
STEP 9: Now, using Putty (or other SSH client) or the Windows
command prompt, SSH to the connected Raspberry Pi using the command:
ssh pi@voyagerPi.local
and hit the Enter key and enter your password when prompted.
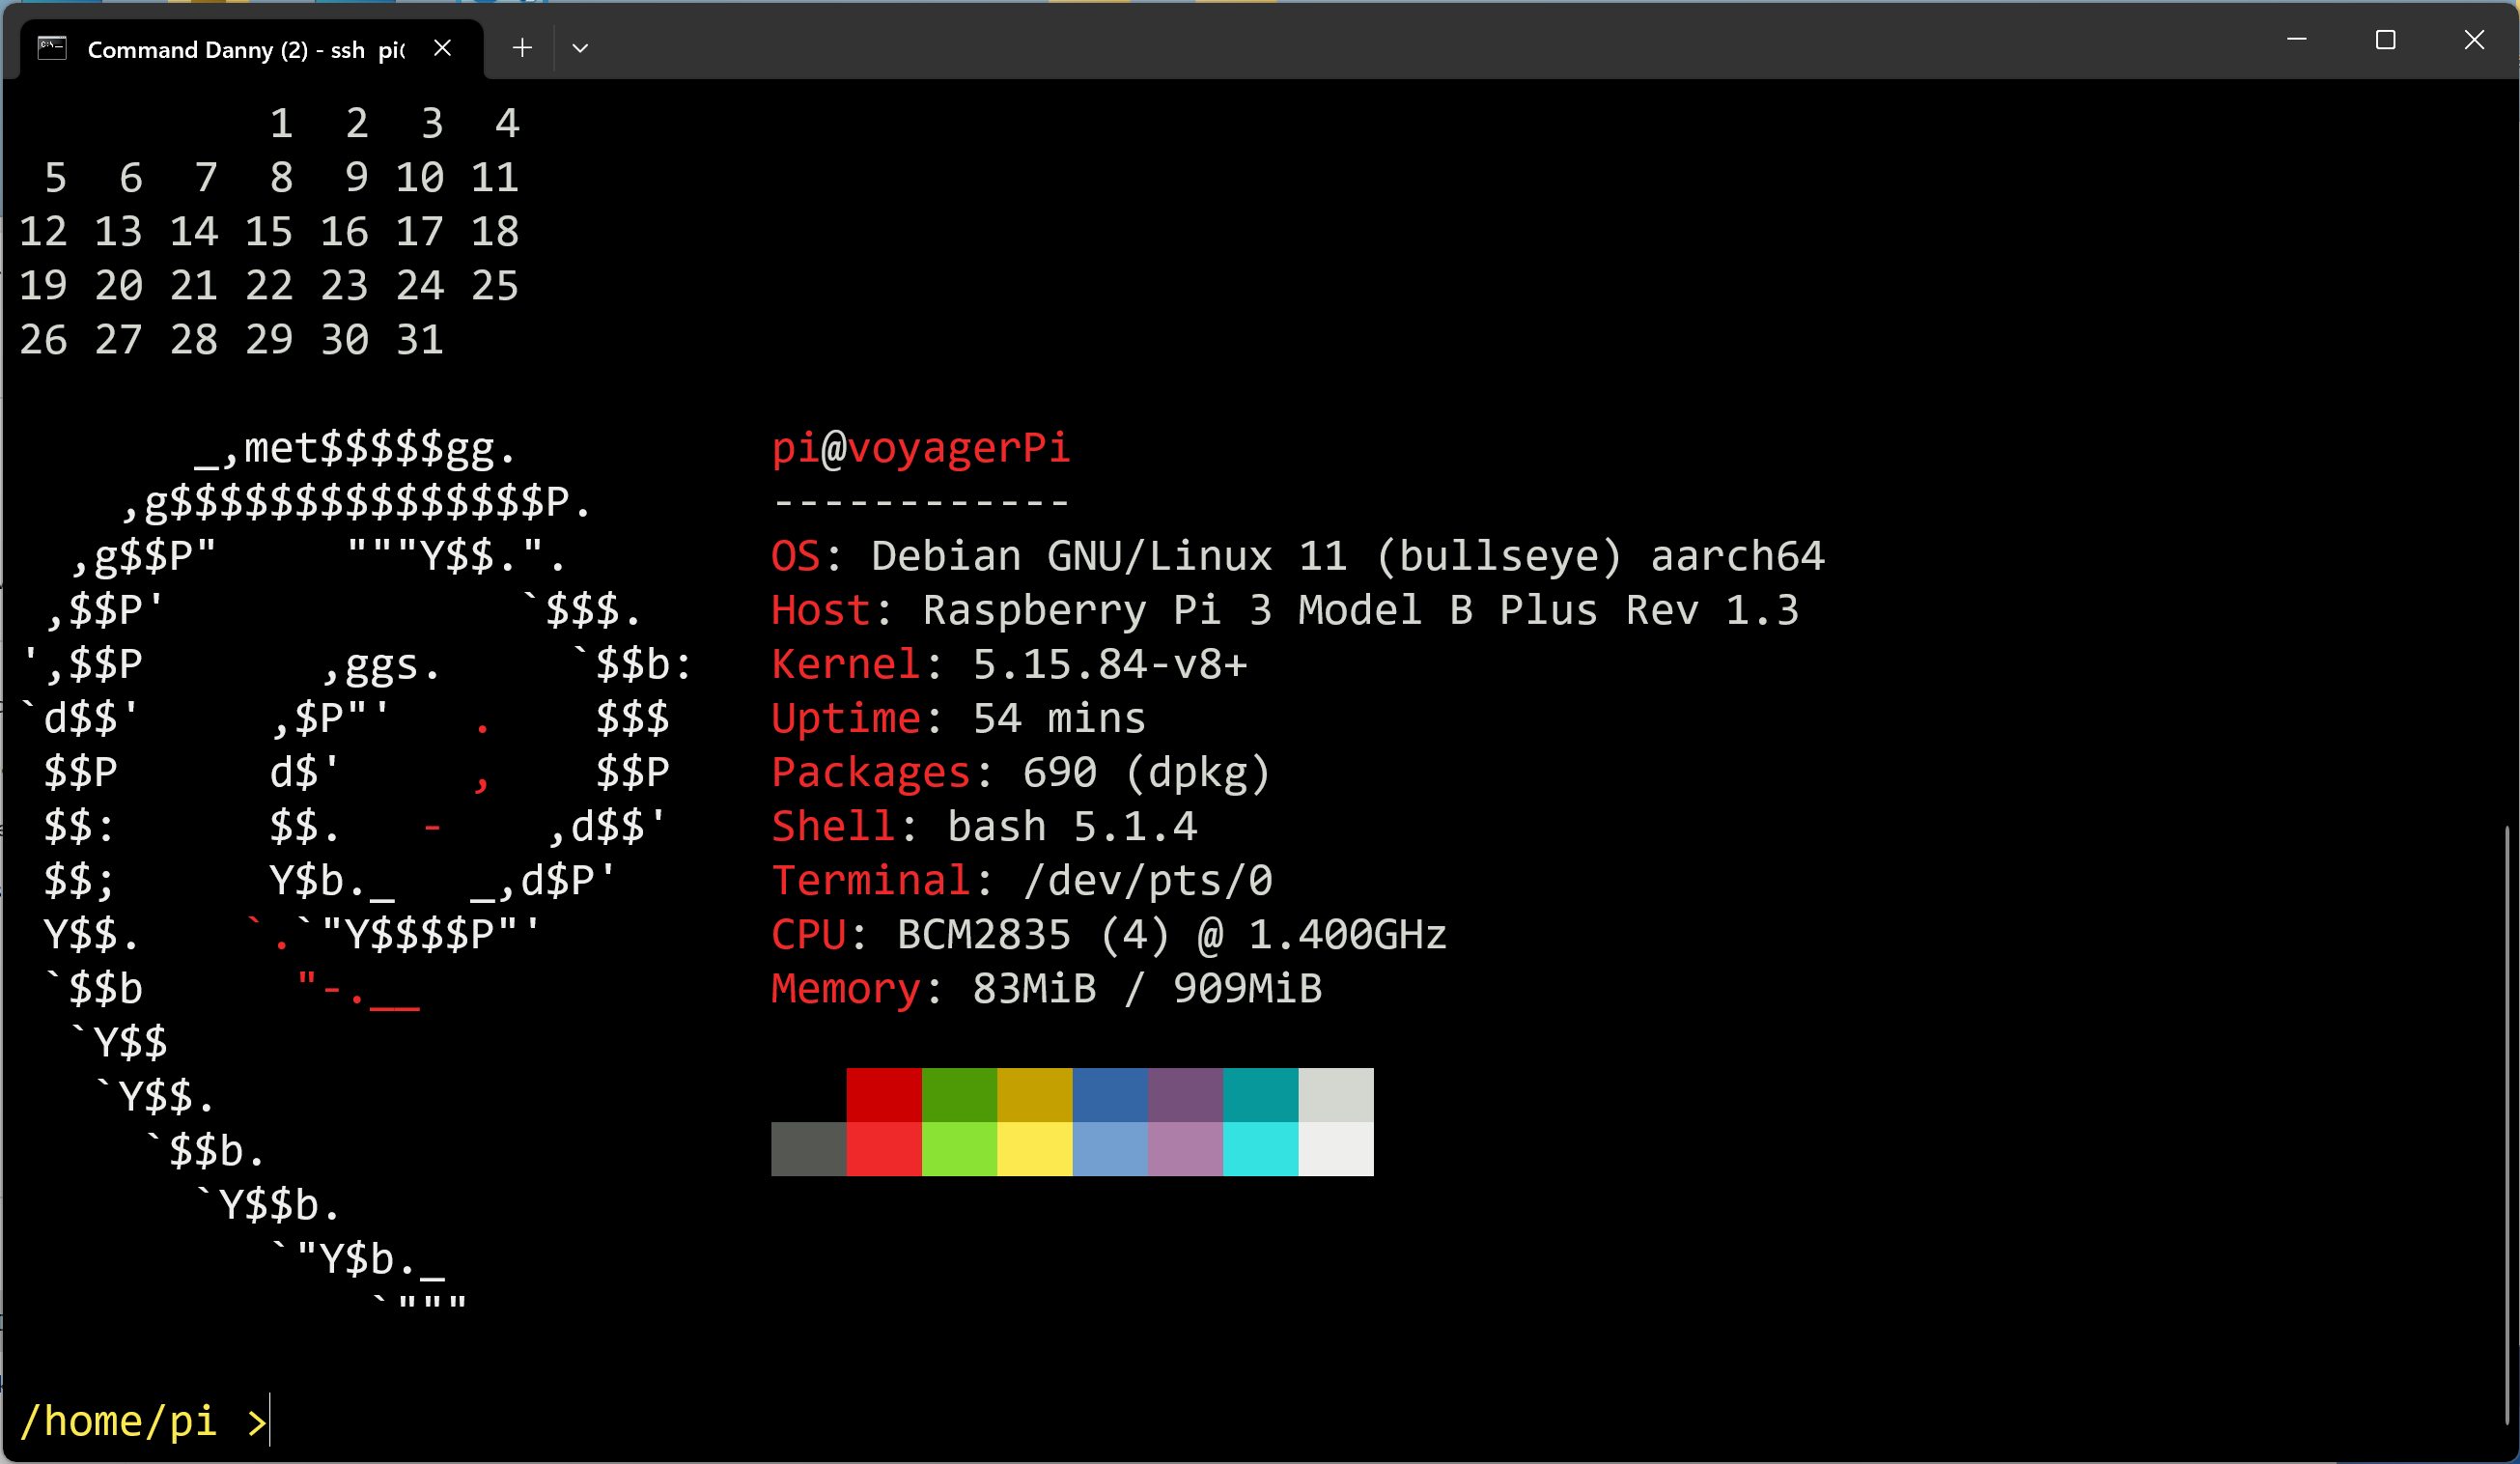
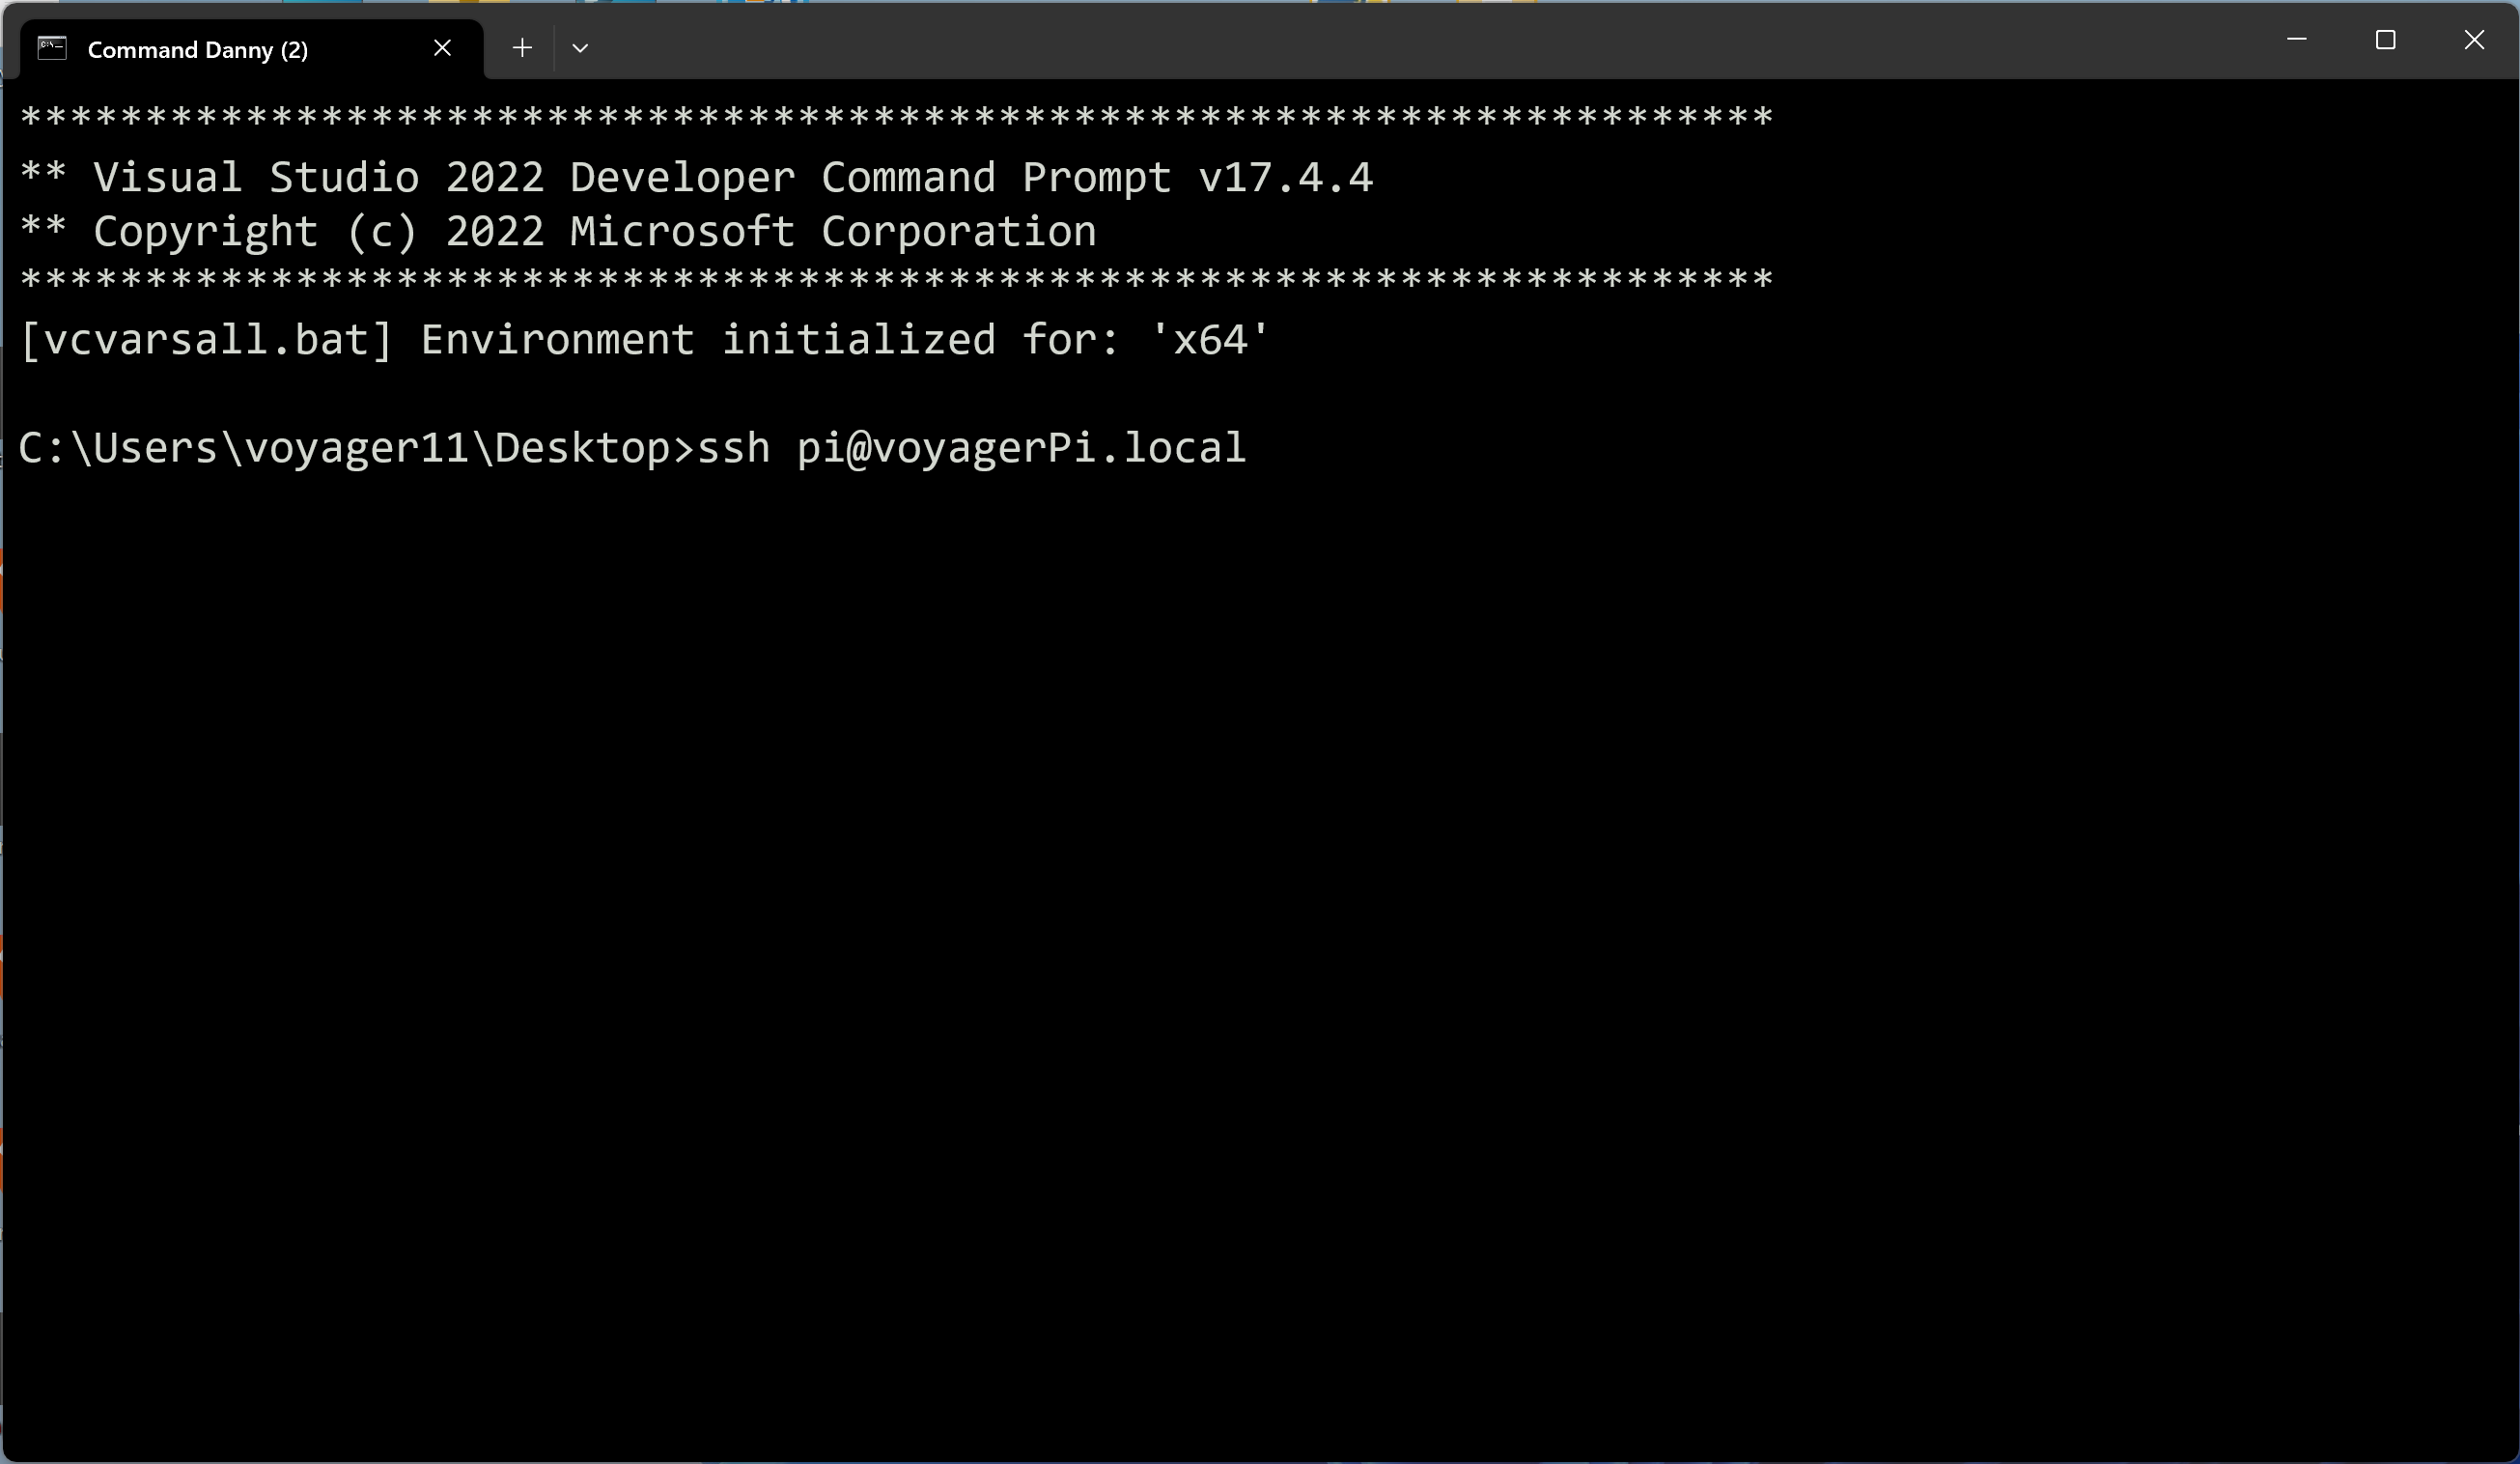 If the connection was successful, you should be logged in as user pi.
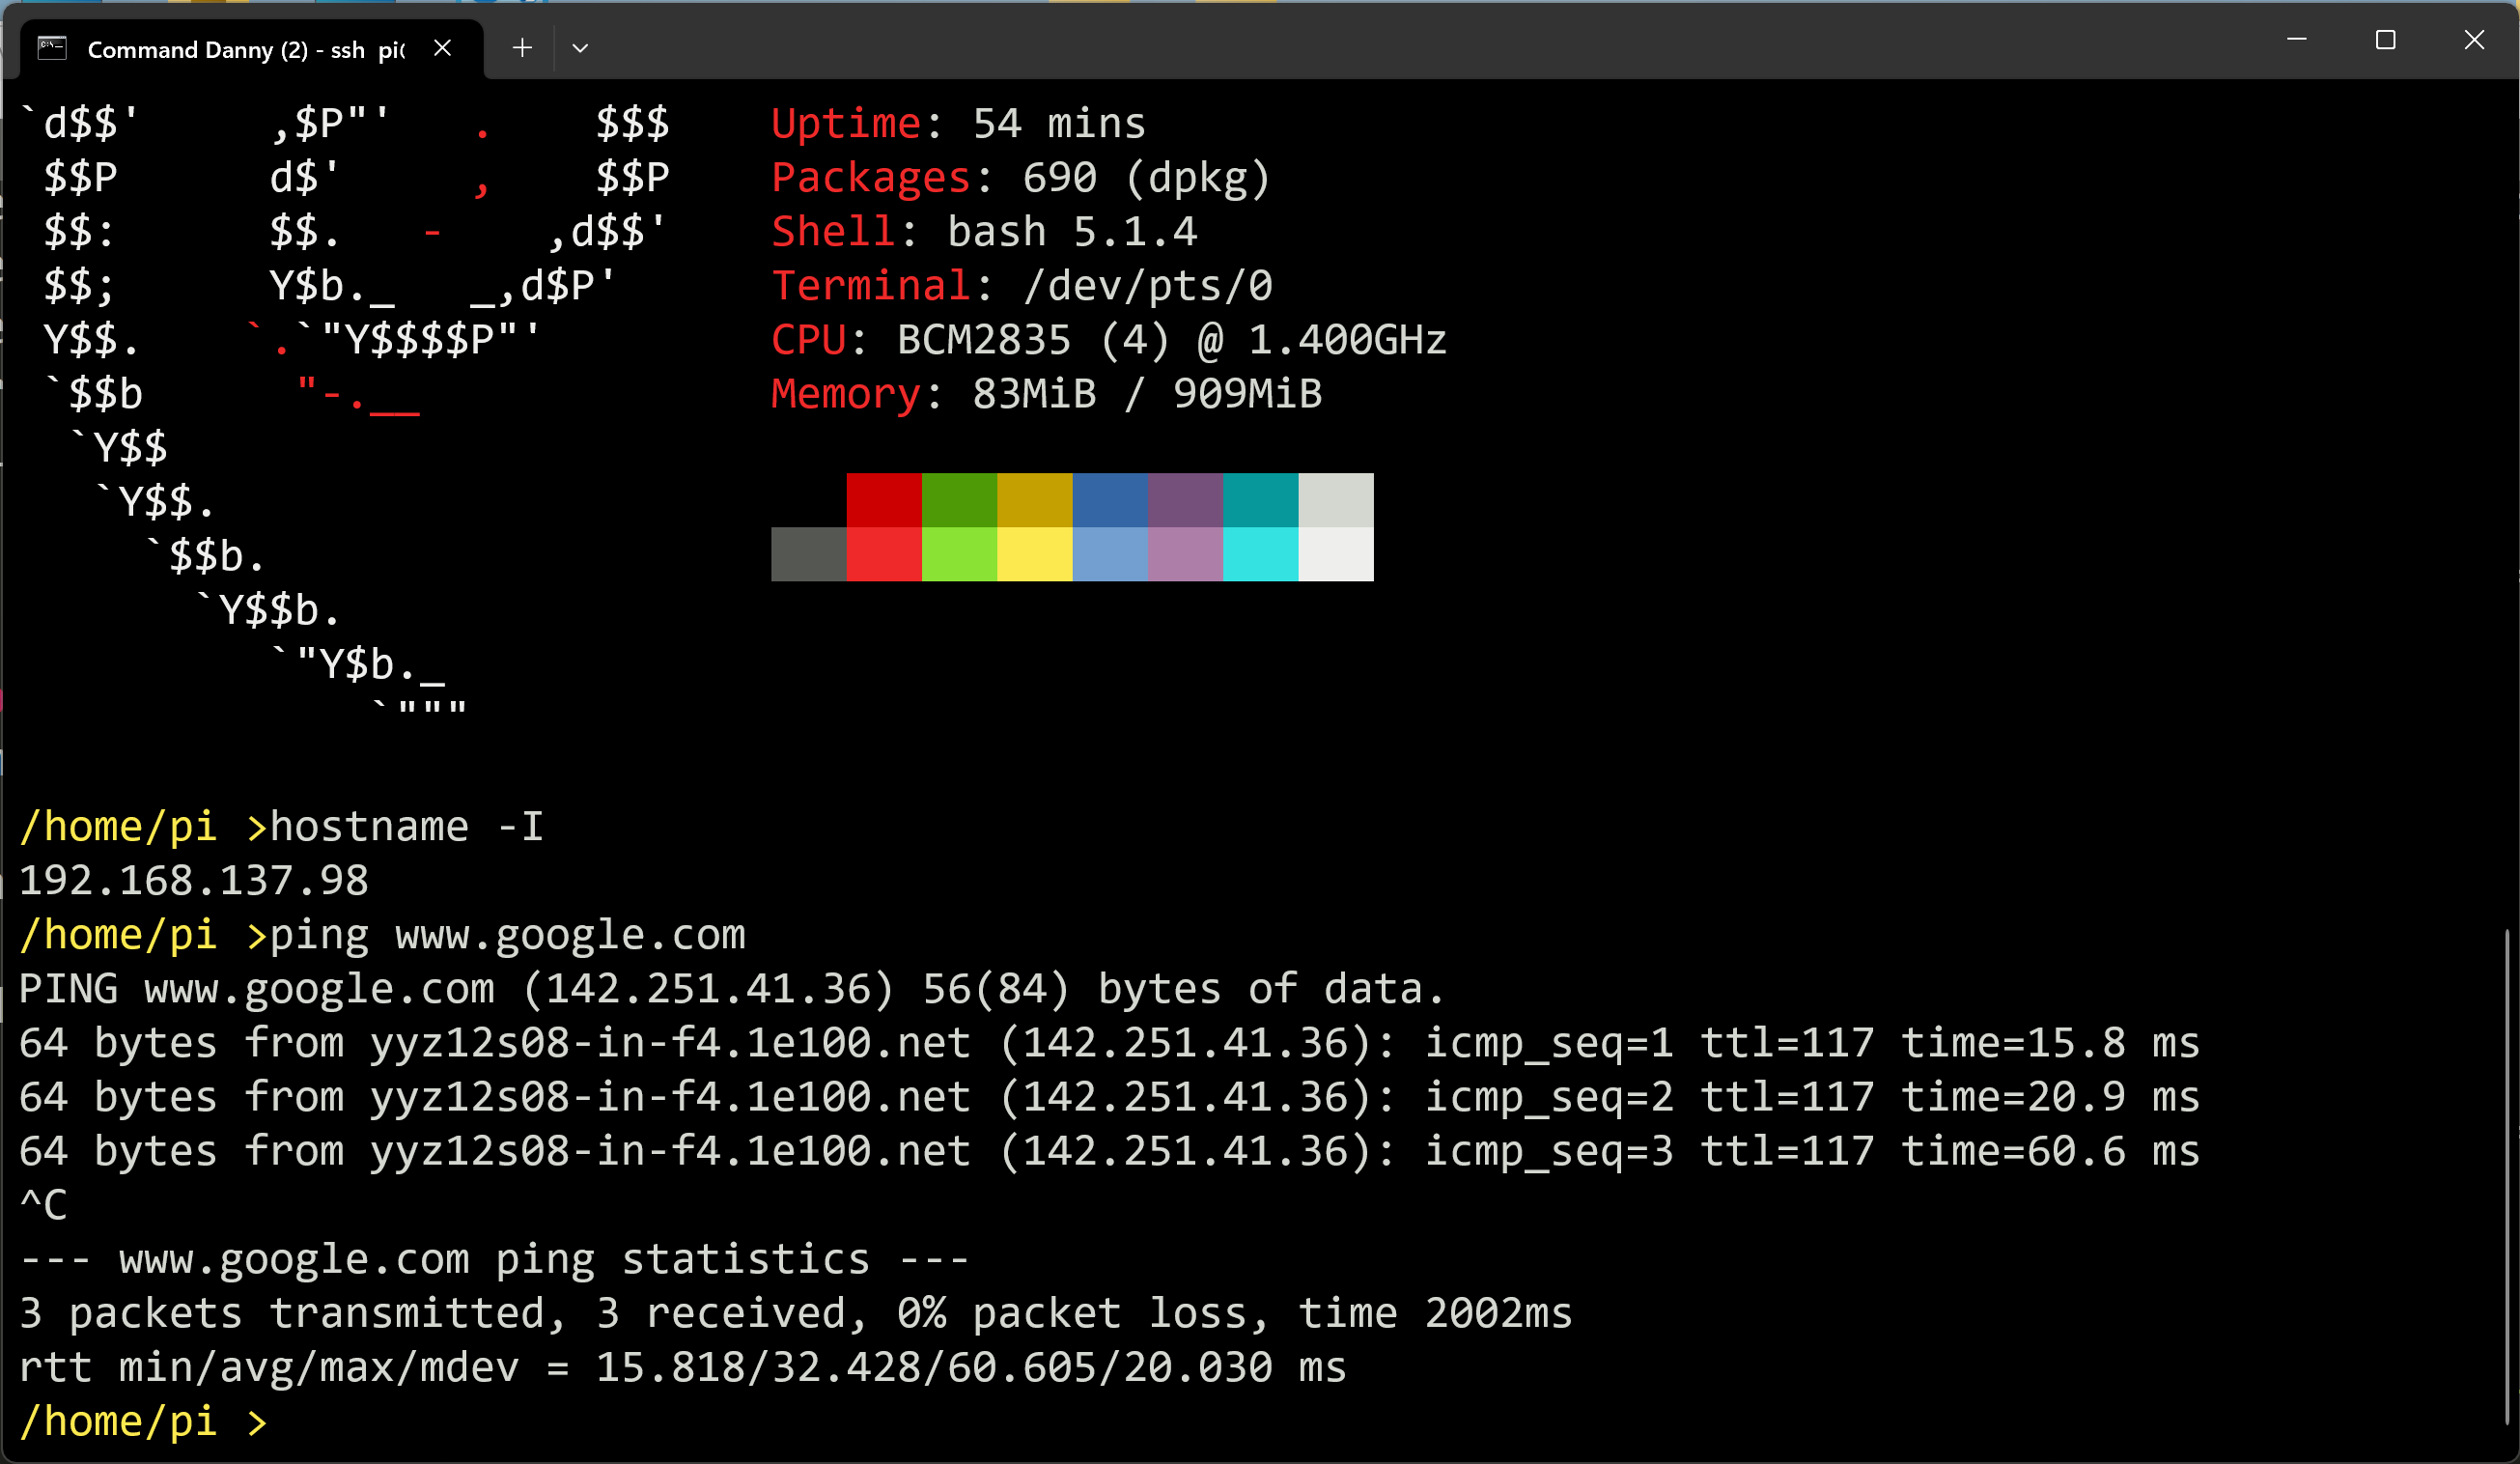
 Issuing the command: hostname -I
will display the internal (local) ip address that was automatically assigned to your Raspberry Pi
from the Windows Network Sharing protocol.
This ip address will be network translated so that outside connections to the internet
will be allowed using the interface shared by Windows.
For example, issuing the command: ping www.google.com will yield:
Issuing the command: hostname -I
will display the internal (local) ip address that was automatically assigned to your Raspberry Pi
from the Windows Network Sharing protocol.
This ip address will be network translated so that outside connections to the internet
will be allowed using the interface shared by Windows.
For example, issuing the command: ping www.google.com will yield:
 And to ensure that the correct Python version is being used, use the command: python3 -V
 If the version of python3 displayed is: 3.10.5, then everything is correct.
You will now be able to access your Raspberry Pi and the internet via a direct ethernet
connection to your PC/laptop!
If the version of python3 displayed is: 3.10.5, then everything is correct.
You will now be able to access your Raspberry Pi and the internet via a direct ethernet
connection to your PC/laptop!

