 Installing Jupyter Notebooks on a Raspberry Pi 3B+/4/400/5
 This page describes how to install, configure, and test a Jupyter Notebook
on a Raspberry Pi (running the 64-bit Raspbian Lite OS and Python version 3.13.11).
NOTE: Please ensure that you have previously installed Python 3.13.11 on your
Raspberry Pi in the /home/pi/software/bin directory and that your path is
properly specified so that the current active python3 executable is the
one located in the user-defined directory specified above.
In addition, you will also require that your Raspberry Pi is connected to
the internet in order to download and install additional dependencies that
this software requires.
For instructions on how to share your Windows 10/11 WiFi or ethernet network
connection from your PC with the Raspberry Pi, please follow these instructions:
Windows 10/11/Mac OS Internet Sharing
For instructions on how to share your Mac OS X (13.x Ventura) WiFi or ethernet network
connection from your PC with the Raspberry Pi, please follow these instructions:
Mac OS X Ventura Internet Sharing
NOTE: Once the install has completed, you will have to ensure that
you have the path to the Python interpretor (3.13.11) listed in your $PATH
environment variable.
Therefore, please FIRST follow this tutorial for setting up your terminal environment
BEFORE proceeding with this installation!
https://matrix.senecapolytechnic.ca/~danny.abesdris/utils/installs/raspberryPiConfig.html
STEP 1: Login to your Raspberry Pi (the default user id should
be pi and the default password will be "raspberry". The password can be changed using
the passwd command (if necessary).
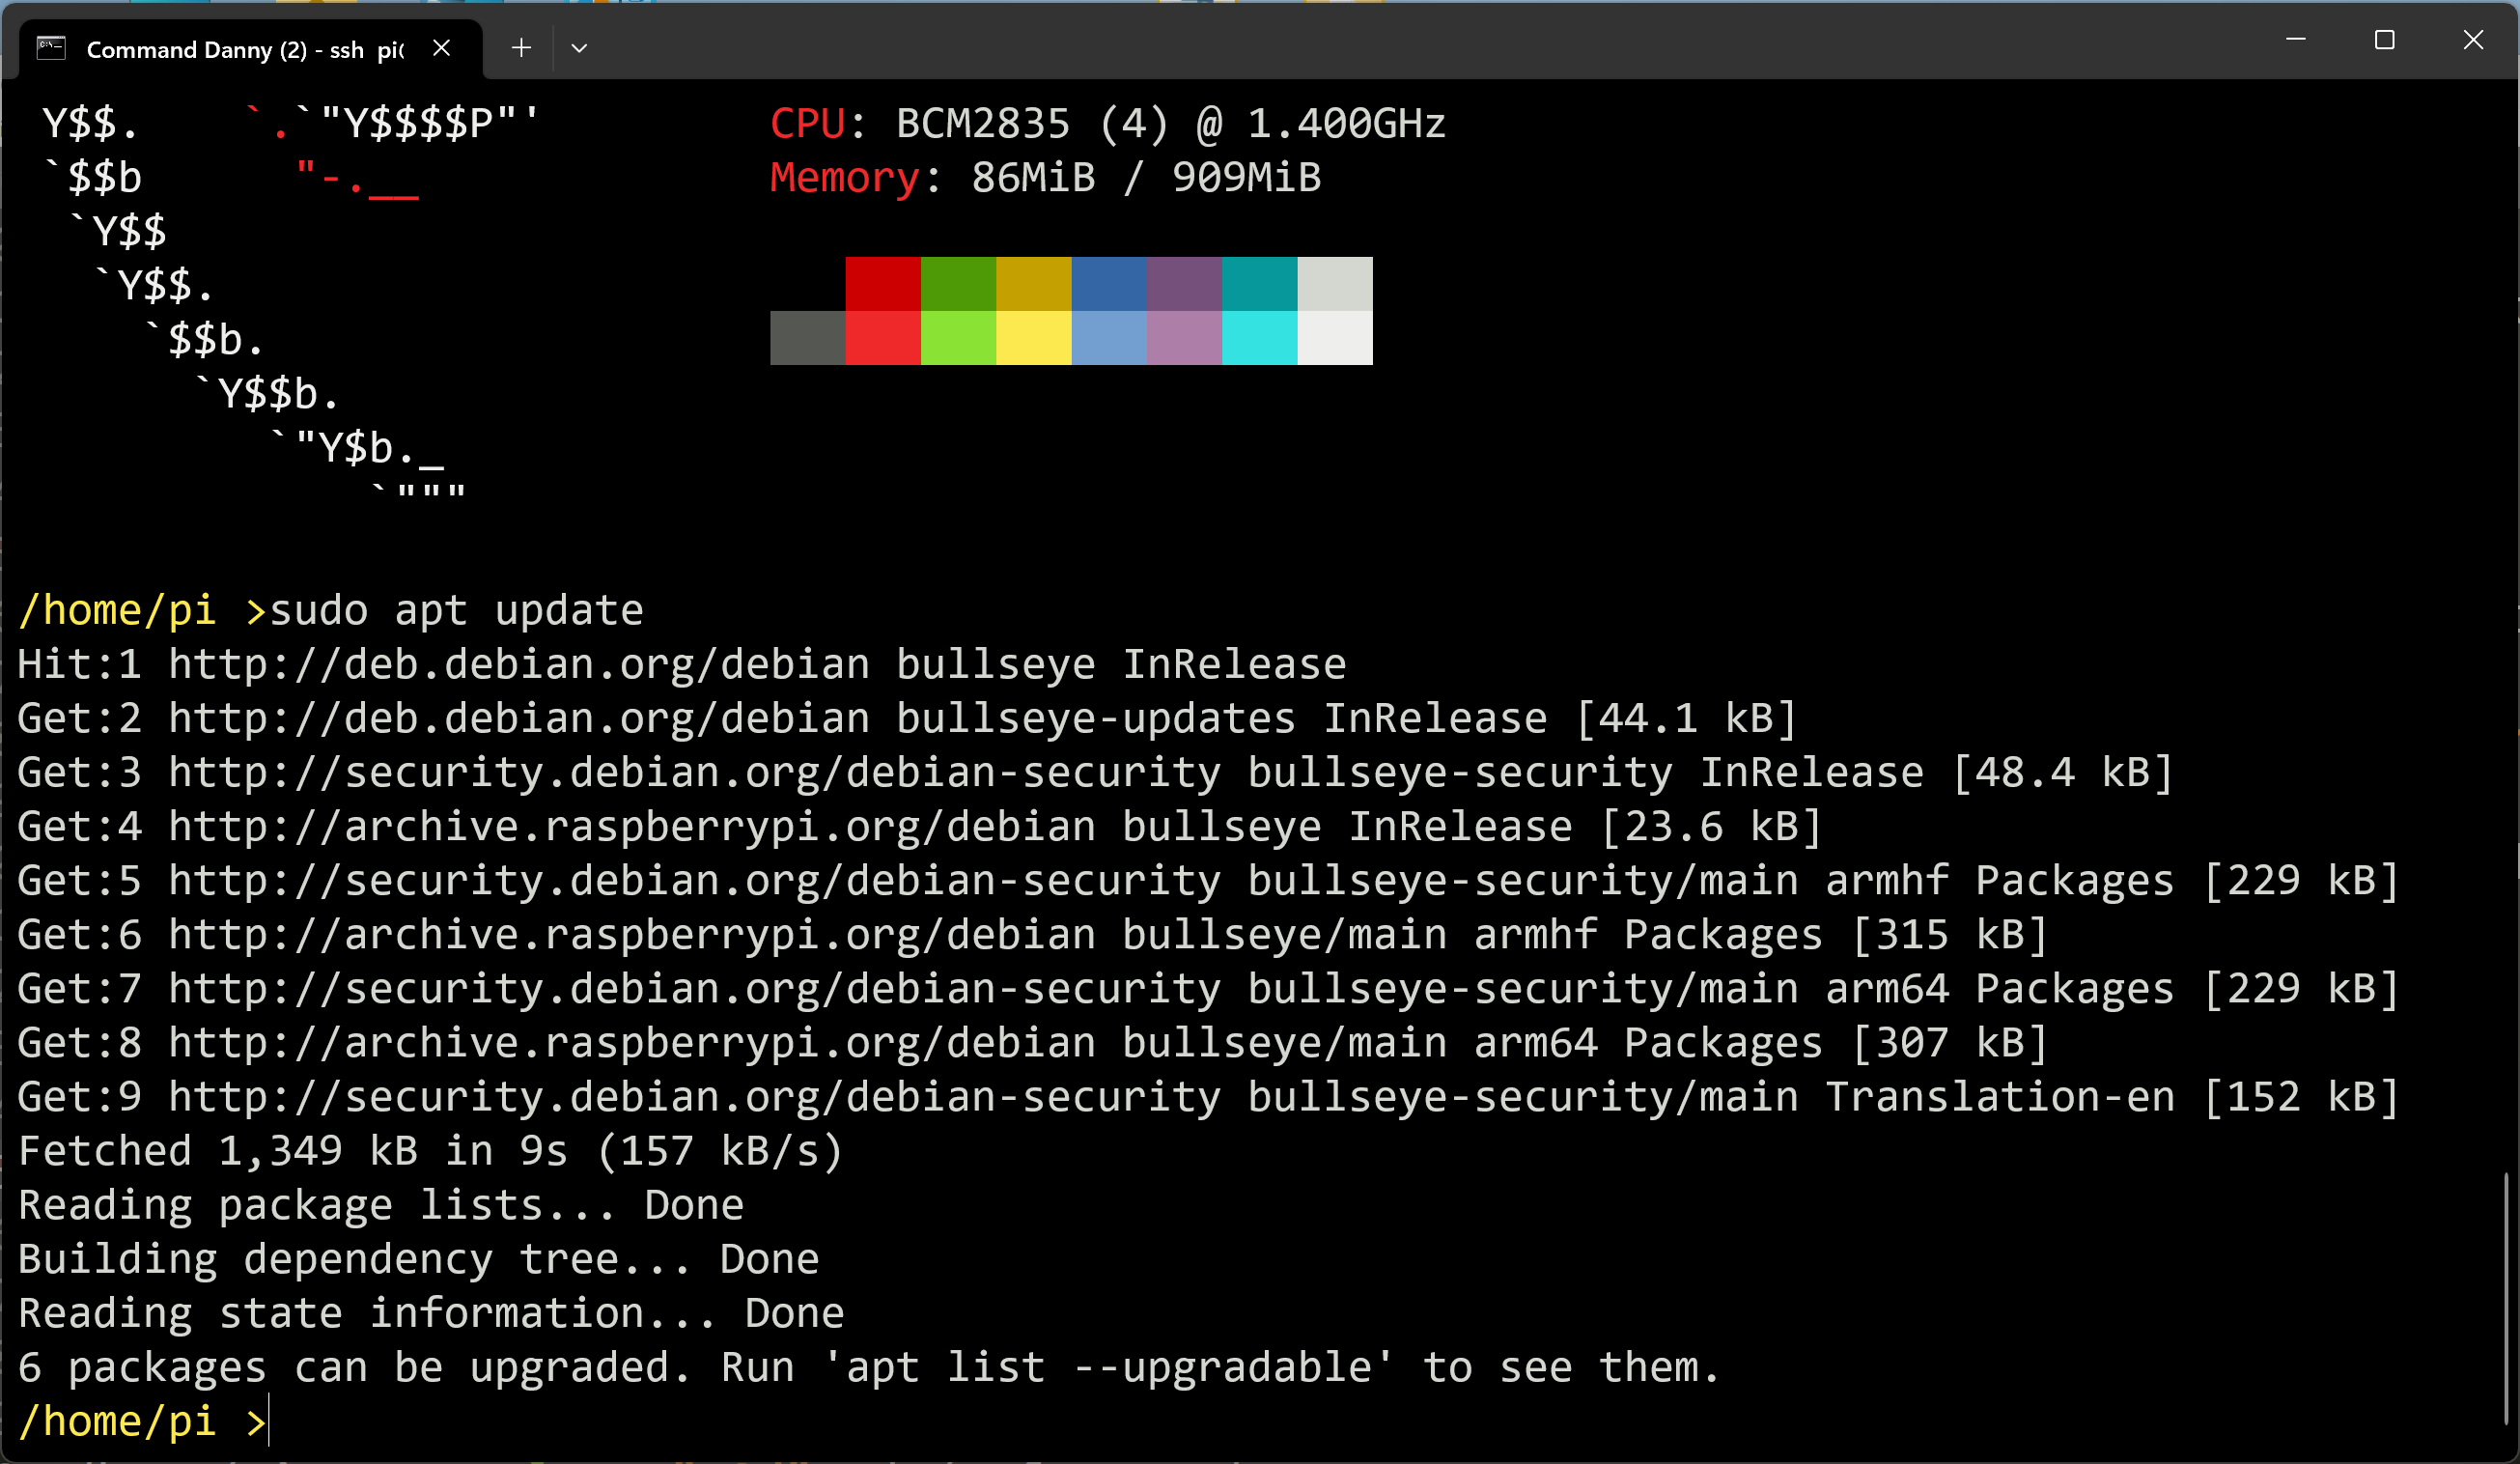
STEP 2: Execute the following commands:
/home/pi>sudo apt update
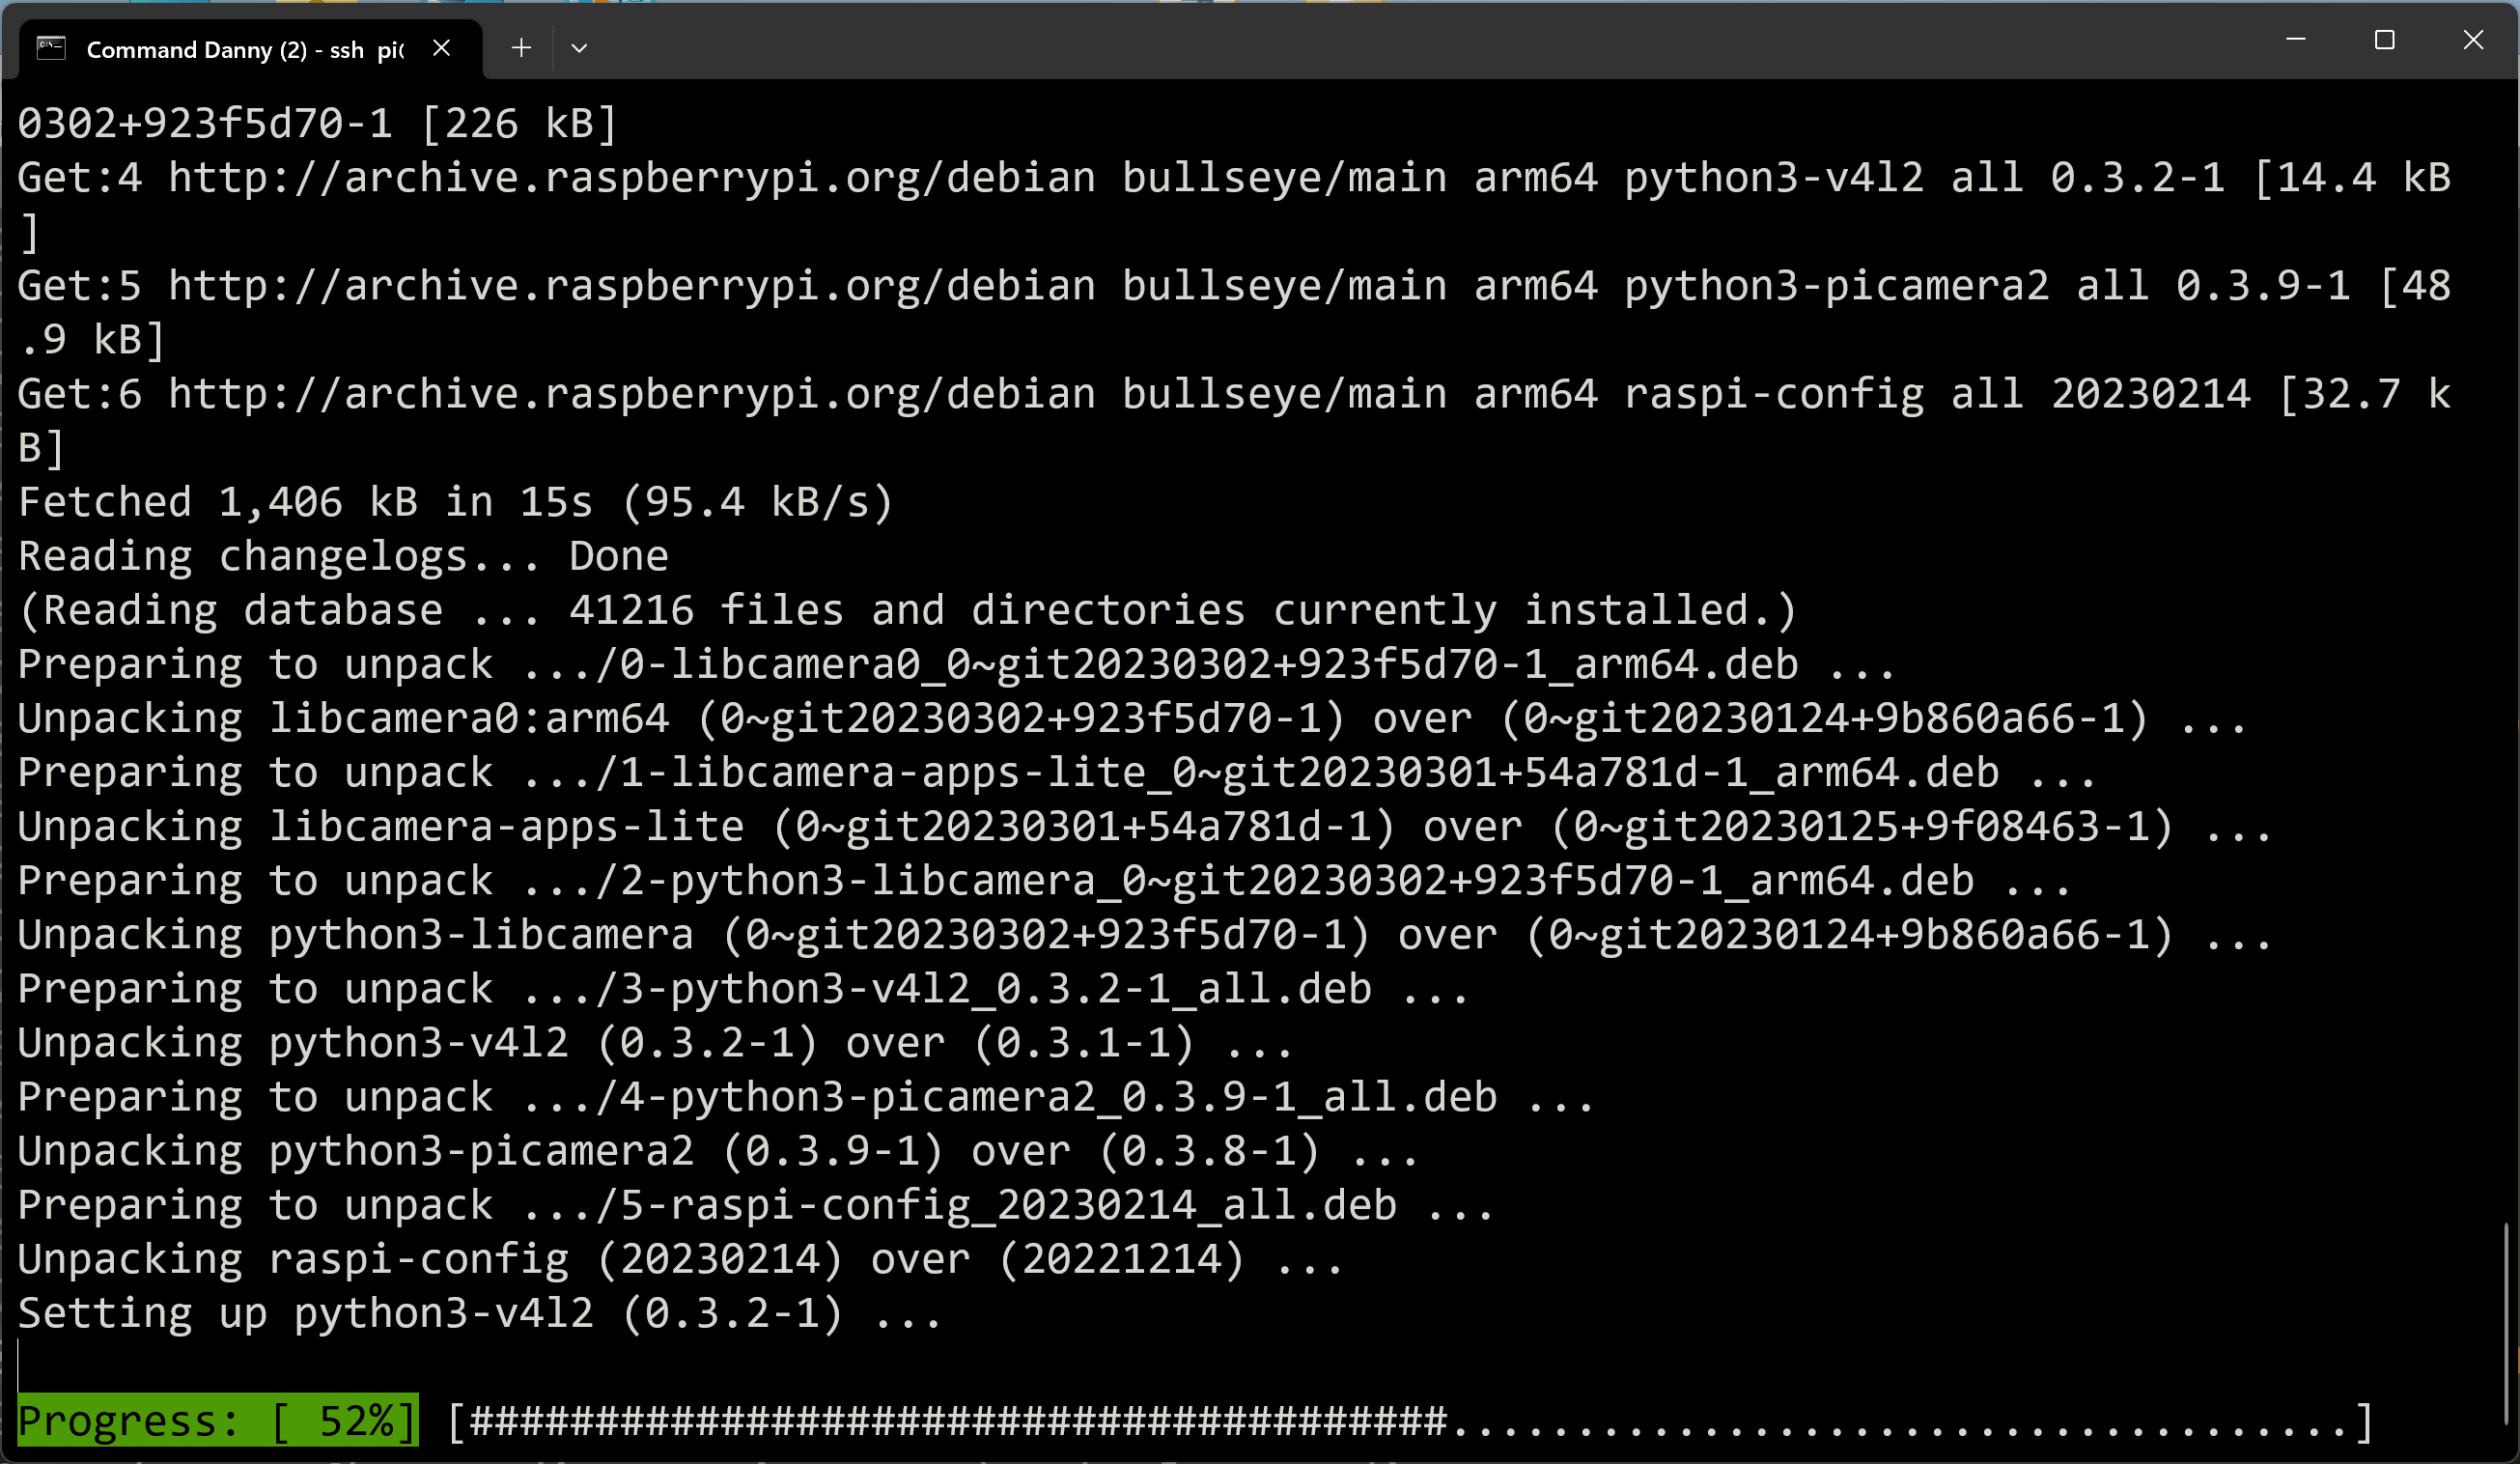
/home/pi>sudo apt full-upgrade
This page describes how to install, configure, and test a Jupyter Notebook
on a Raspberry Pi (running the 64-bit Raspbian Lite OS and Python version 3.13.11).
NOTE: Please ensure that you have previously installed Python 3.13.11 on your
Raspberry Pi in the /home/pi/software/bin directory and that your path is
properly specified so that the current active python3 executable is the
one located in the user-defined directory specified above.
In addition, you will also require that your Raspberry Pi is connected to
the internet in order to download and install additional dependencies that
this software requires.
For instructions on how to share your Windows 10/11 WiFi or ethernet network
connection from your PC with the Raspberry Pi, please follow these instructions:
Windows 10/11/Mac OS Internet Sharing
For instructions on how to share your Mac OS X (13.x Ventura) WiFi or ethernet network
connection from your PC with the Raspberry Pi, please follow these instructions:
Mac OS X Ventura Internet Sharing
NOTE: Once the install has completed, you will have to ensure that
you have the path to the Python interpretor (3.13.11) listed in your $PATH
environment variable.
Therefore, please FIRST follow this tutorial for setting up your terminal environment
BEFORE proceeding with this installation!
https://matrix.senecapolytechnic.ca/~danny.abesdris/utils/installs/raspberryPiConfig.html
STEP 1: Login to your Raspberry Pi (the default user id should
be pi and the default password will be "raspberry". The password can be changed using
the passwd command (if necessary).
STEP 2: Execute the following commands:
/home/pi>sudo apt update
/home/pi>sudo apt full-upgrade
 STEP 3: Install the following development packages (highlight all 8 lines).
/home/pi>sudo apt-get install libncursesw5-dev -y \
libssl-dev -y \
libsqlite3-dev -y \
tk-dev -y \
libgdbm-dev -y \
libc6-dev -y \
libbz2-dev -y \
libopenblas-dev -y \
liblapack-dev -y
STEP 4a: Installation prerequisites: Make sure that the Python
package manager is up to date and that the wheel module is installed.
/home/pi>
python3 -m pip install --upgrade pip
pip3 install wheel
STEP 4b: Installation prerequisites: Make sure that the following dependencies
and prerequisites are installed globally on your Raspberry Pi and then upgrade
pandoc for your Python distribution to allow for PDF creation within your Jupyter Notebooks.
/home/pi>sudo apt-get install texlive texlive-latex-extra texlive-xetex texlive-fonts-recommended texlive-plain-generic pandoc
/home/pi>pip3 install --upgrade pandoc
STEP 4c: Install the following Python* packages.
* YOU MUST ensure that the Python distribution being used to install these packages
is 3.13.11 (the python3 distribution that was configured and installed from source
on your Raspberry Pi at the beginning of the semester).
/home/pi>
pip3 install matplotlib scipy numpy pandas pandas-datareader scikit-learn seaborn yfinance yahoofinancials openpyxl bs4 requests
NOTE: These installations will also automatically install any needed dependencies.
The entire installation may take up to 20 minutes with a slower internet connection.
In addition, when sharing your internet connection with the Raspberry Pi, please
be aware that because another operating system is performing network address translation
(NAT) with the assigned ip address, that the connection speed will be diminshed.
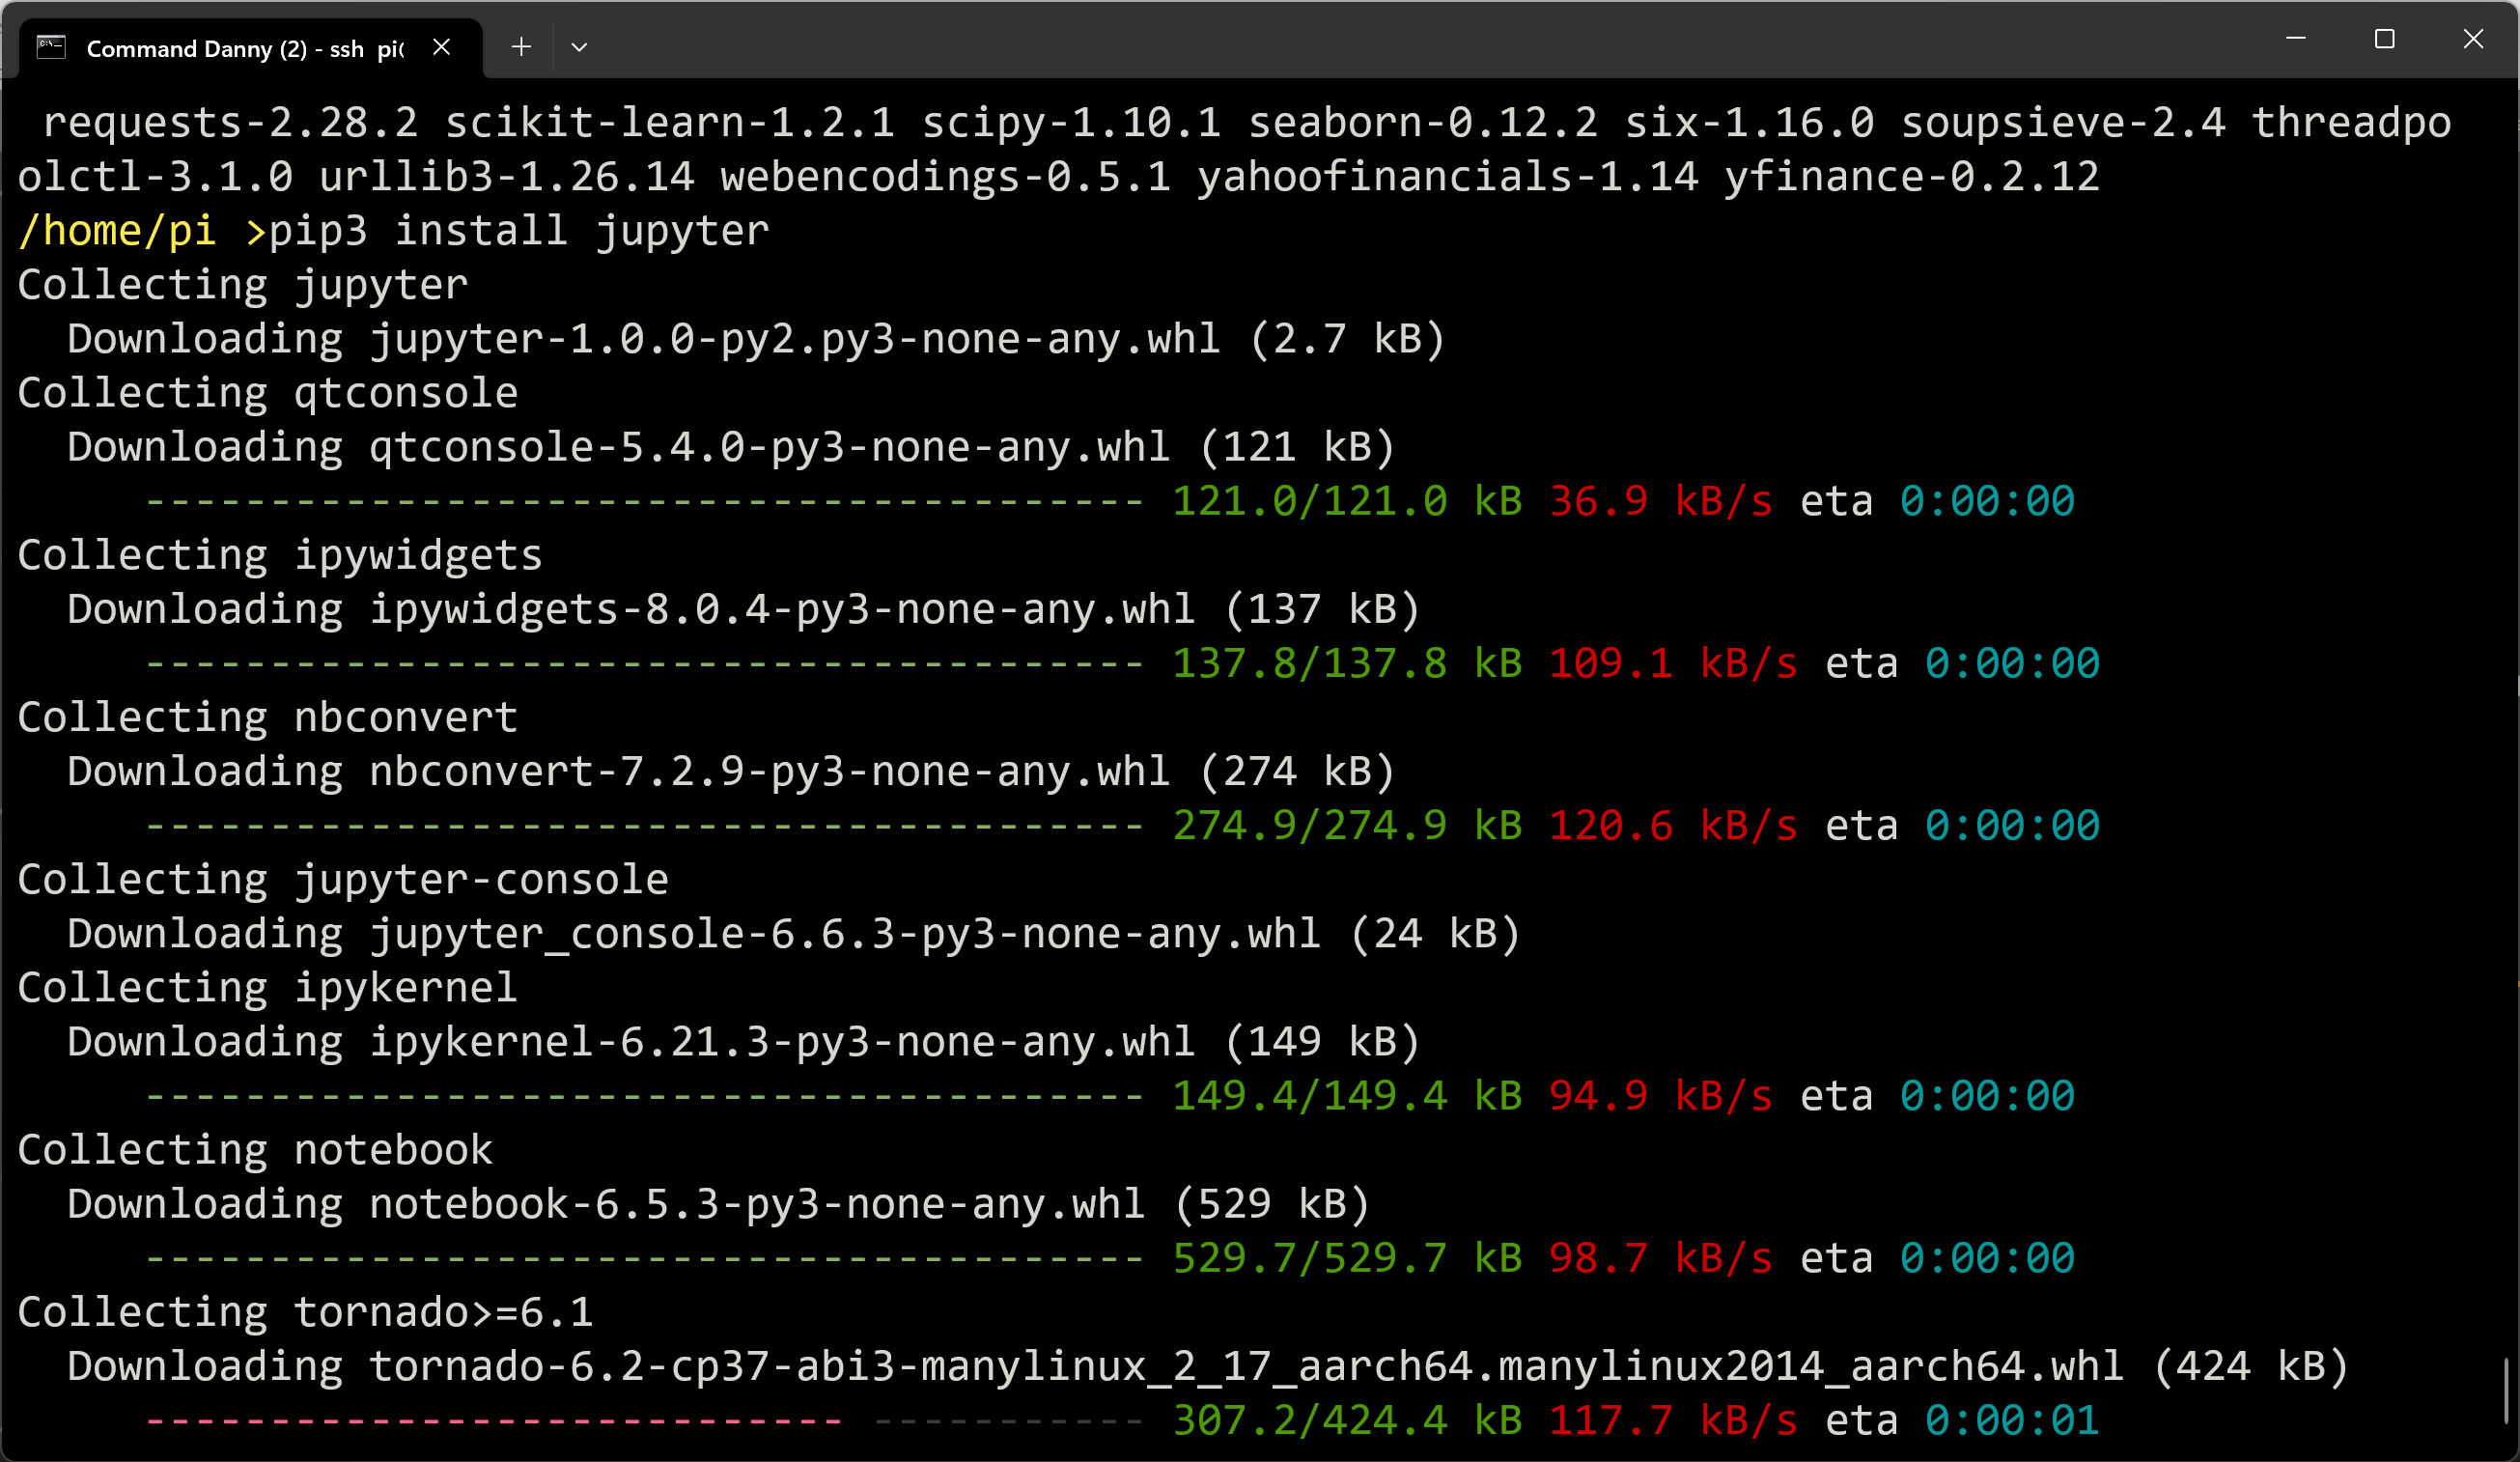
STEP 5: Install the Jupyter Notebook Package
/home/pi>pip3 install jupyter
STEP 3: Install the following development packages (highlight all 8 lines).
/home/pi>sudo apt-get install libncursesw5-dev -y \
libssl-dev -y \
libsqlite3-dev -y \
tk-dev -y \
libgdbm-dev -y \
libc6-dev -y \
libbz2-dev -y \
libopenblas-dev -y \
liblapack-dev -y
STEP 4a: Installation prerequisites: Make sure that the Python
package manager is up to date and that the wheel module is installed.
/home/pi>
python3 -m pip install --upgrade pip
pip3 install wheel
STEP 4b: Installation prerequisites: Make sure that the following dependencies
and prerequisites are installed globally on your Raspberry Pi and then upgrade
pandoc for your Python distribution to allow for PDF creation within your Jupyter Notebooks.
/home/pi>sudo apt-get install texlive texlive-latex-extra texlive-xetex texlive-fonts-recommended texlive-plain-generic pandoc
/home/pi>pip3 install --upgrade pandoc
STEP 4c: Install the following Python* packages.
* YOU MUST ensure that the Python distribution being used to install these packages
is 3.13.11 (the python3 distribution that was configured and installed from source
on your Raspberry Pi at the beginning of the semester).
/home/pi>
pip3 install matplotlib scipy numpy pandas pandas-datareader scikit-learn seaborn yfinance yahoofinancials openpyxl bs4 requests
NOTE: These installations will also automatically install any needed dependencies.
The entire installation may take up to 20 minutes with a slower internet connection.
In addition, when sharing your internet connection with the Raspberry Pi, please
be aware that because another operating system is performing network address translation
(NAT) with the assigned ip address, that the connection speed will be diminshed.
STEP 5: Install the Jupyter Notebook Package
/home/pi>pip3 install jupyter
 STEP 6a: Create a Jupyter Notebook development directory in /home/pi/
/home/pi>mkdir workspace
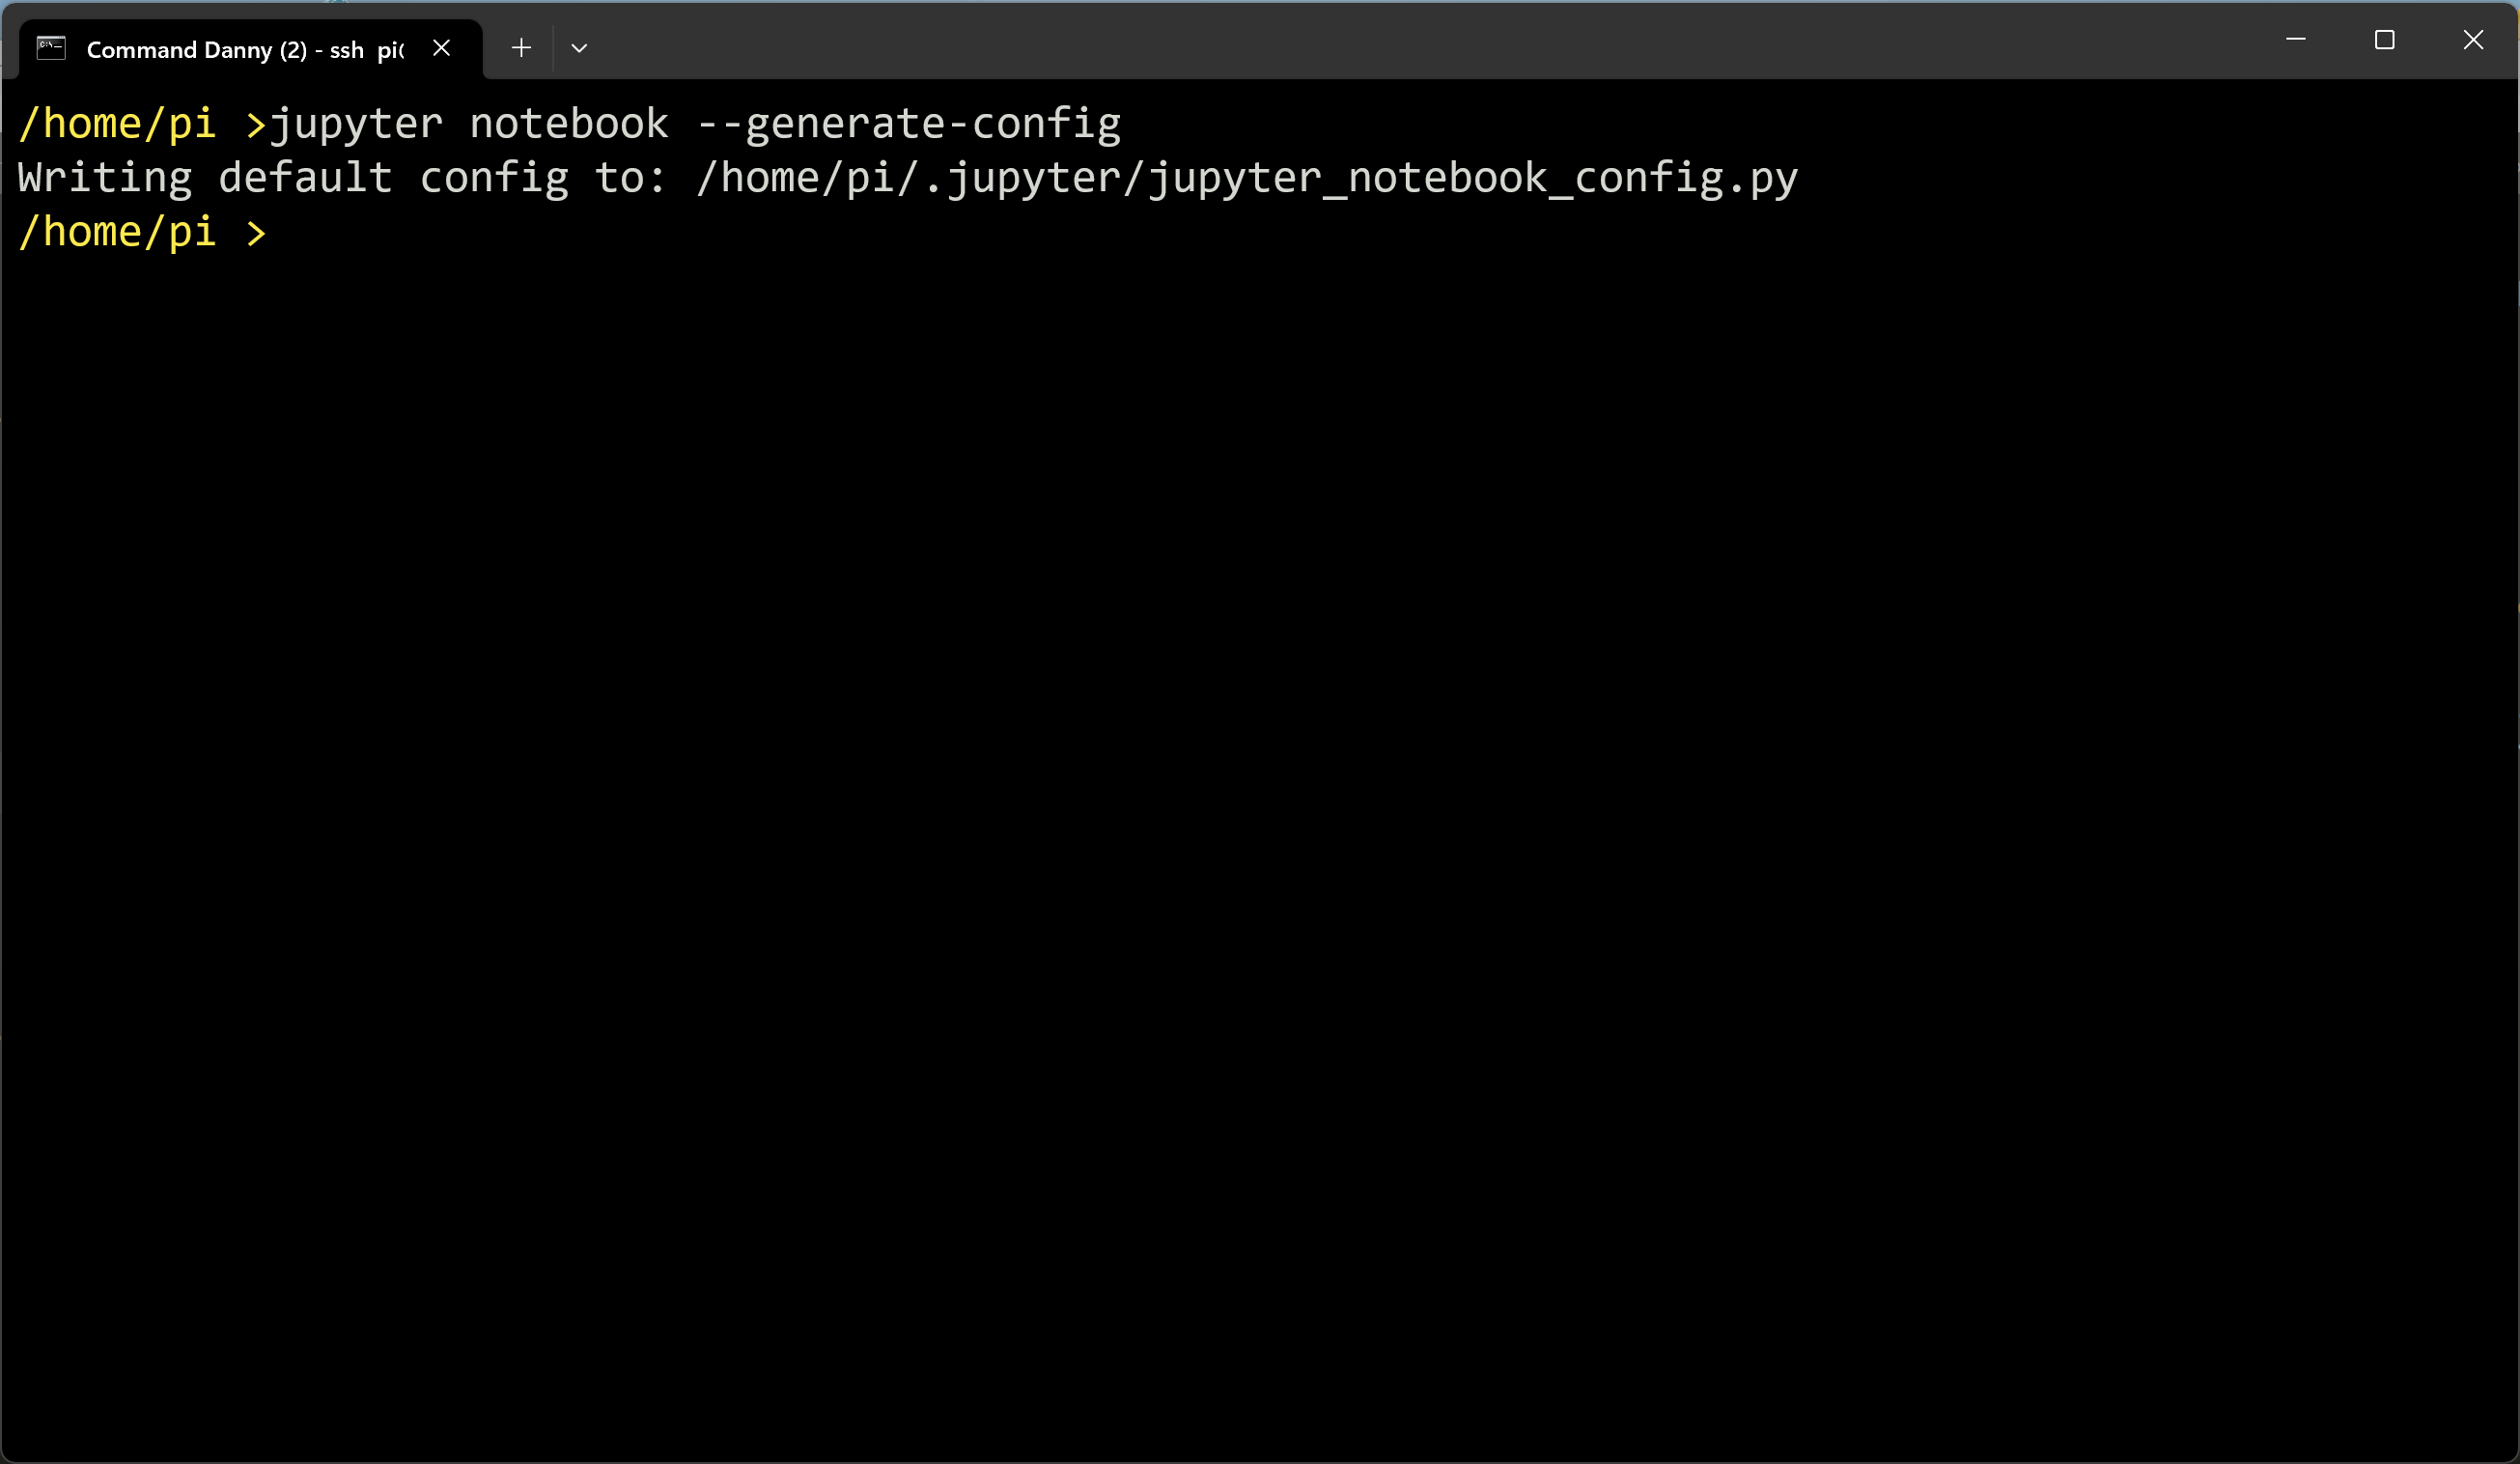
STEP 6b: Generate a Jupyter Notebook config file in /home/pi/.jupyter
/home/pi>jupyter notebook --generate-config
STEP 6a: Create a Jupyter Notebook development directory in /home/pi/
/home/pi>mkdir workspace
STEP 6b: Generate a Jupyter Notebook config file in /home/pi/.jupyter
/home/pi>jupyter notebook --generate-config
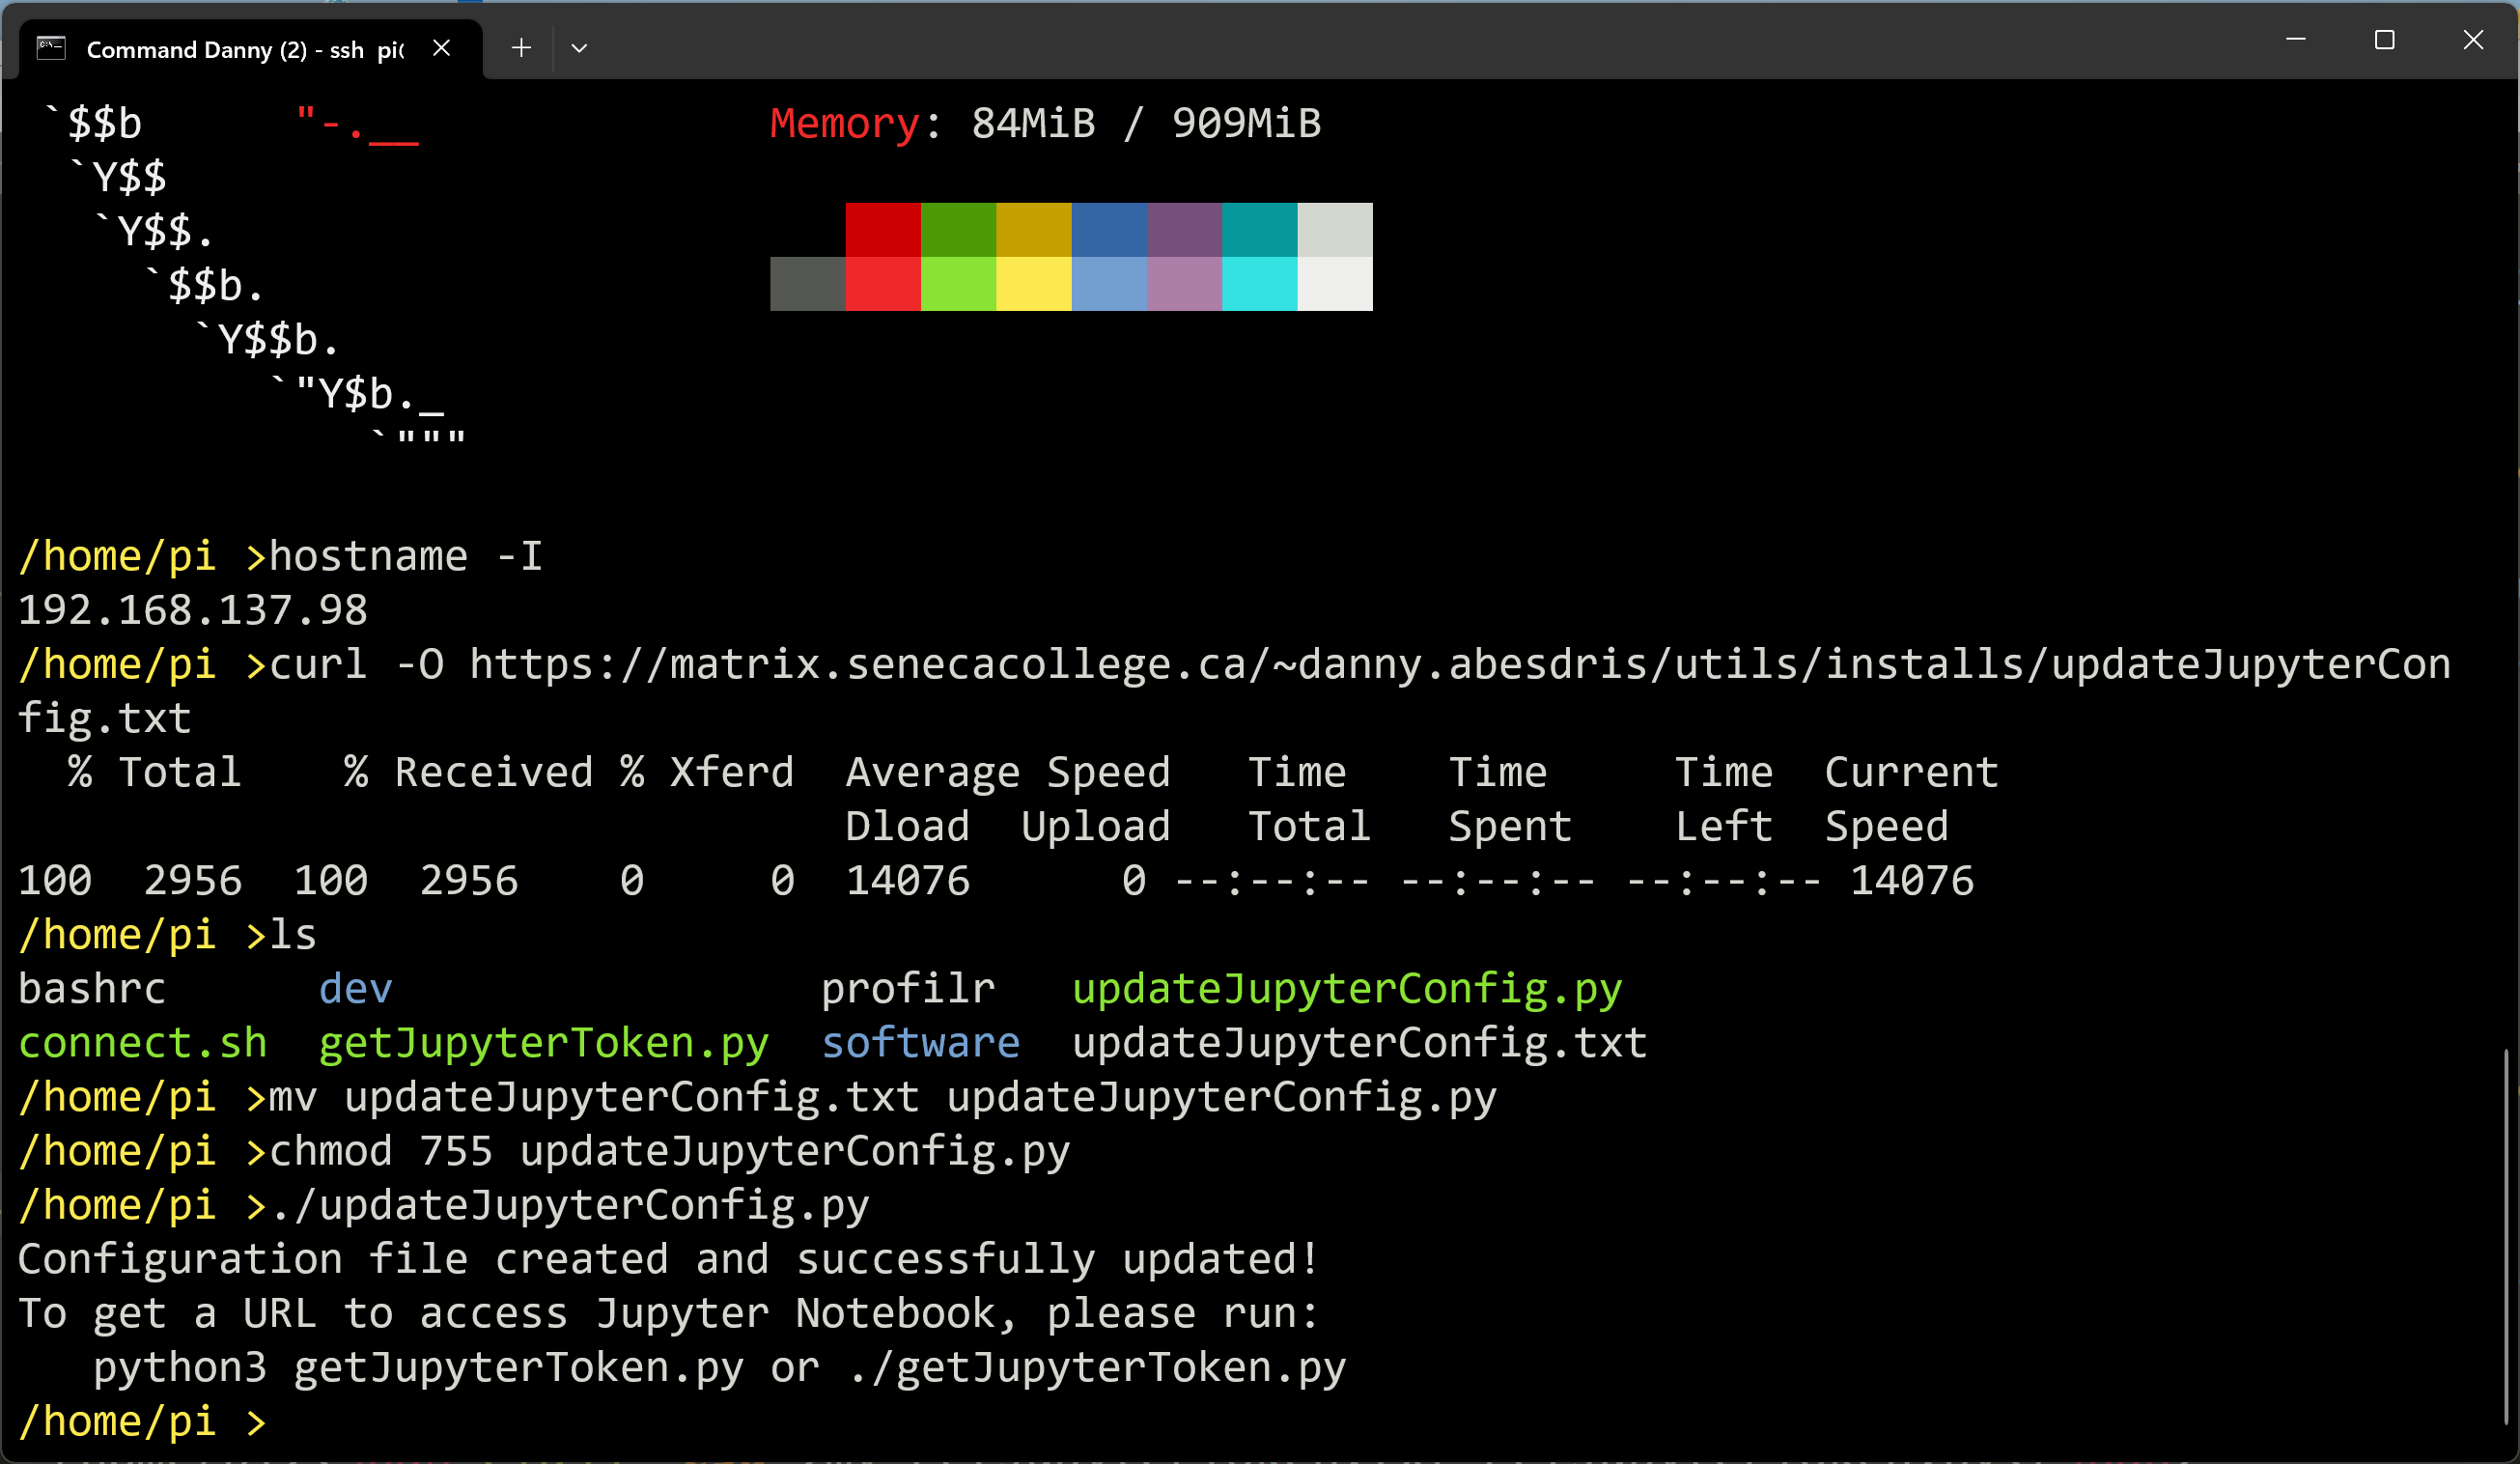
 STEP 7a: Download python program to automatically configure Jupyter Notebook
/home/pi>curl -O https://matrix.senecapolytechnic.ca/~danny.abesdris/utils/installs/updateJupyterConfig.txt
STEP 7b: Rename file, change permissions, and execute program
/home/pi>mv updateJupyterConfig.txt updateJupyterConfig.py
/home/pi>chmod 755 updateJupyterConfig.py
/home/pi>./updateJupyterConfig.py
STEP 7a: Download python program to automatically configure Jupyter Notebook
/home/pi>curl -O https://matrix.senecapolytechnic.ca/~danny.abesdris/utils/installs/updateJupyterConfig.txt
STEP 7b: Rename file, change permissions, and execute program
/home/pi>mv updateJupyterConfig.txt updateJupyterConfig.py
/home/pi>chmod 755 updateJupyterConfig.py
/home/pi>./updateJupyterConfig.py
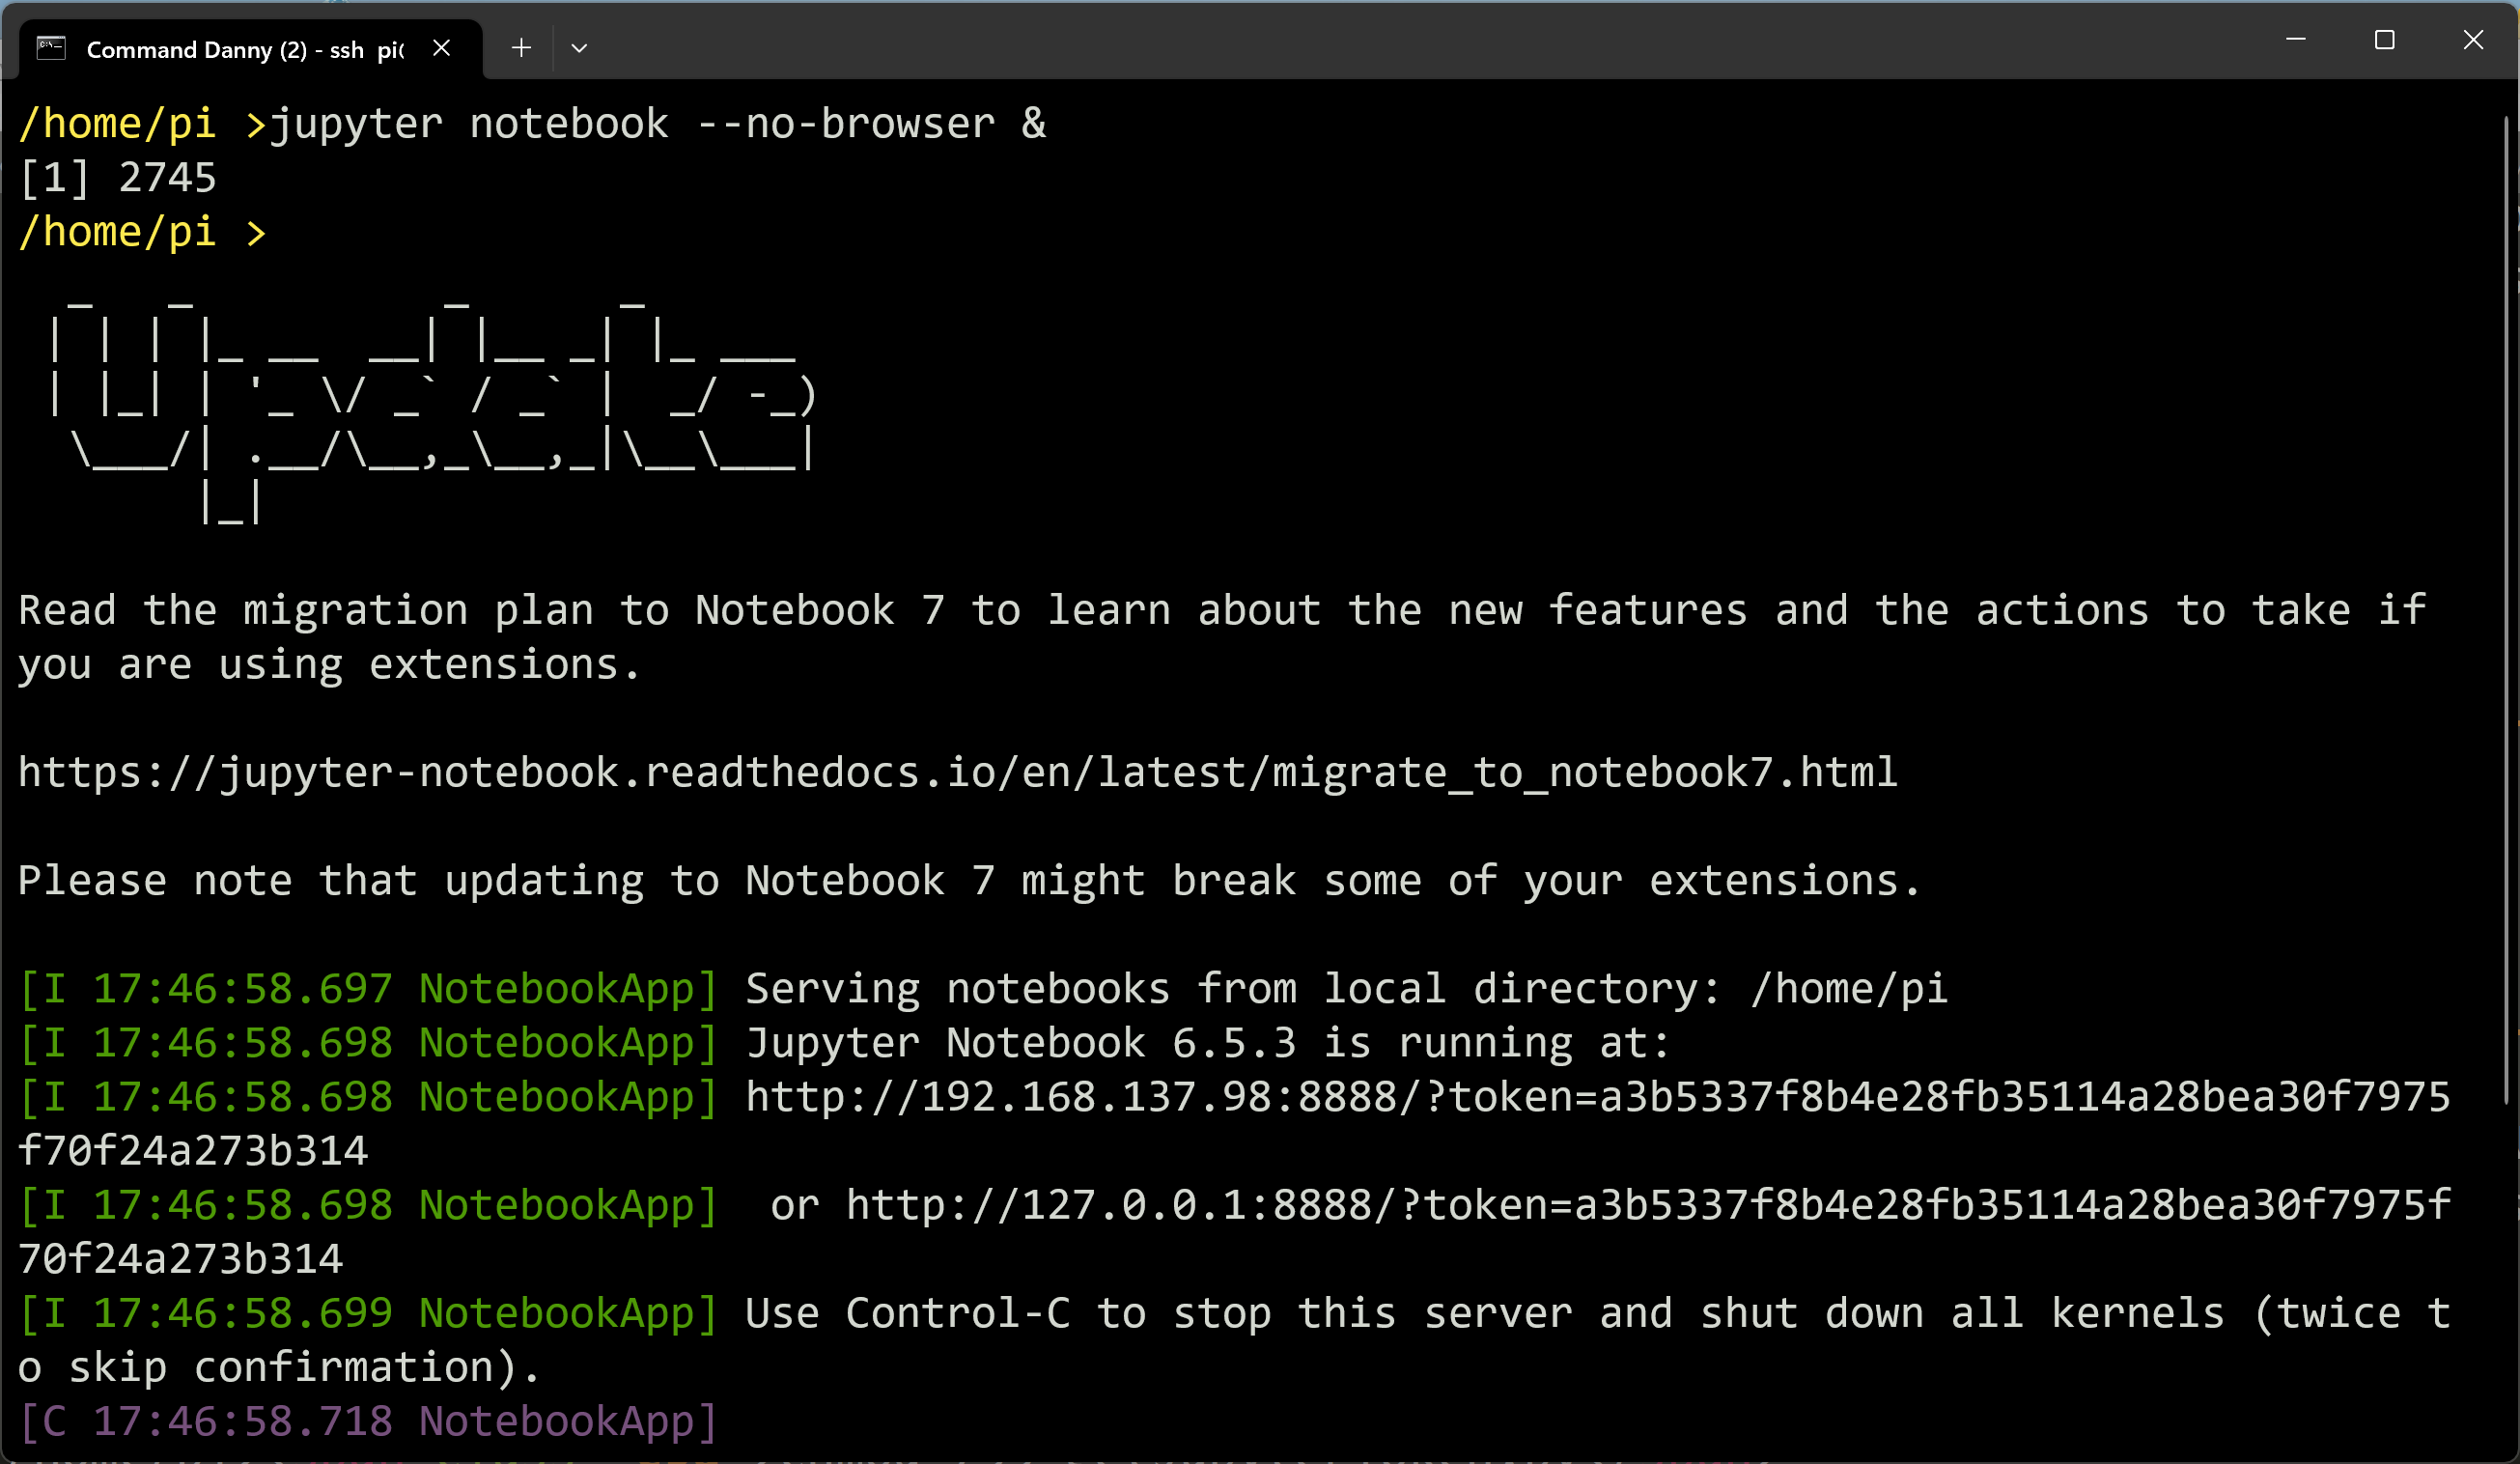
 STEP 8: Start Jupyter Notebook locally on Raspberry Pi without browser (background)
in the /home/pi/workspace directory
/home/pi>jupyter notebook --no-browser --notebook-dir=/home/pi/workspace &
Copy the URL (including the extra token characters/code) using CTRL + C
STEP 8: Start Jupyter Notebook locally on Raspberry Pi without browser (background)
in the /home/pi/workspace directory
/home/pi>jupyter notebook --no-browser --notebook-dir=/home/pi/workspace &
Copy the URL (including the extra token characters/code) using CTRL + C
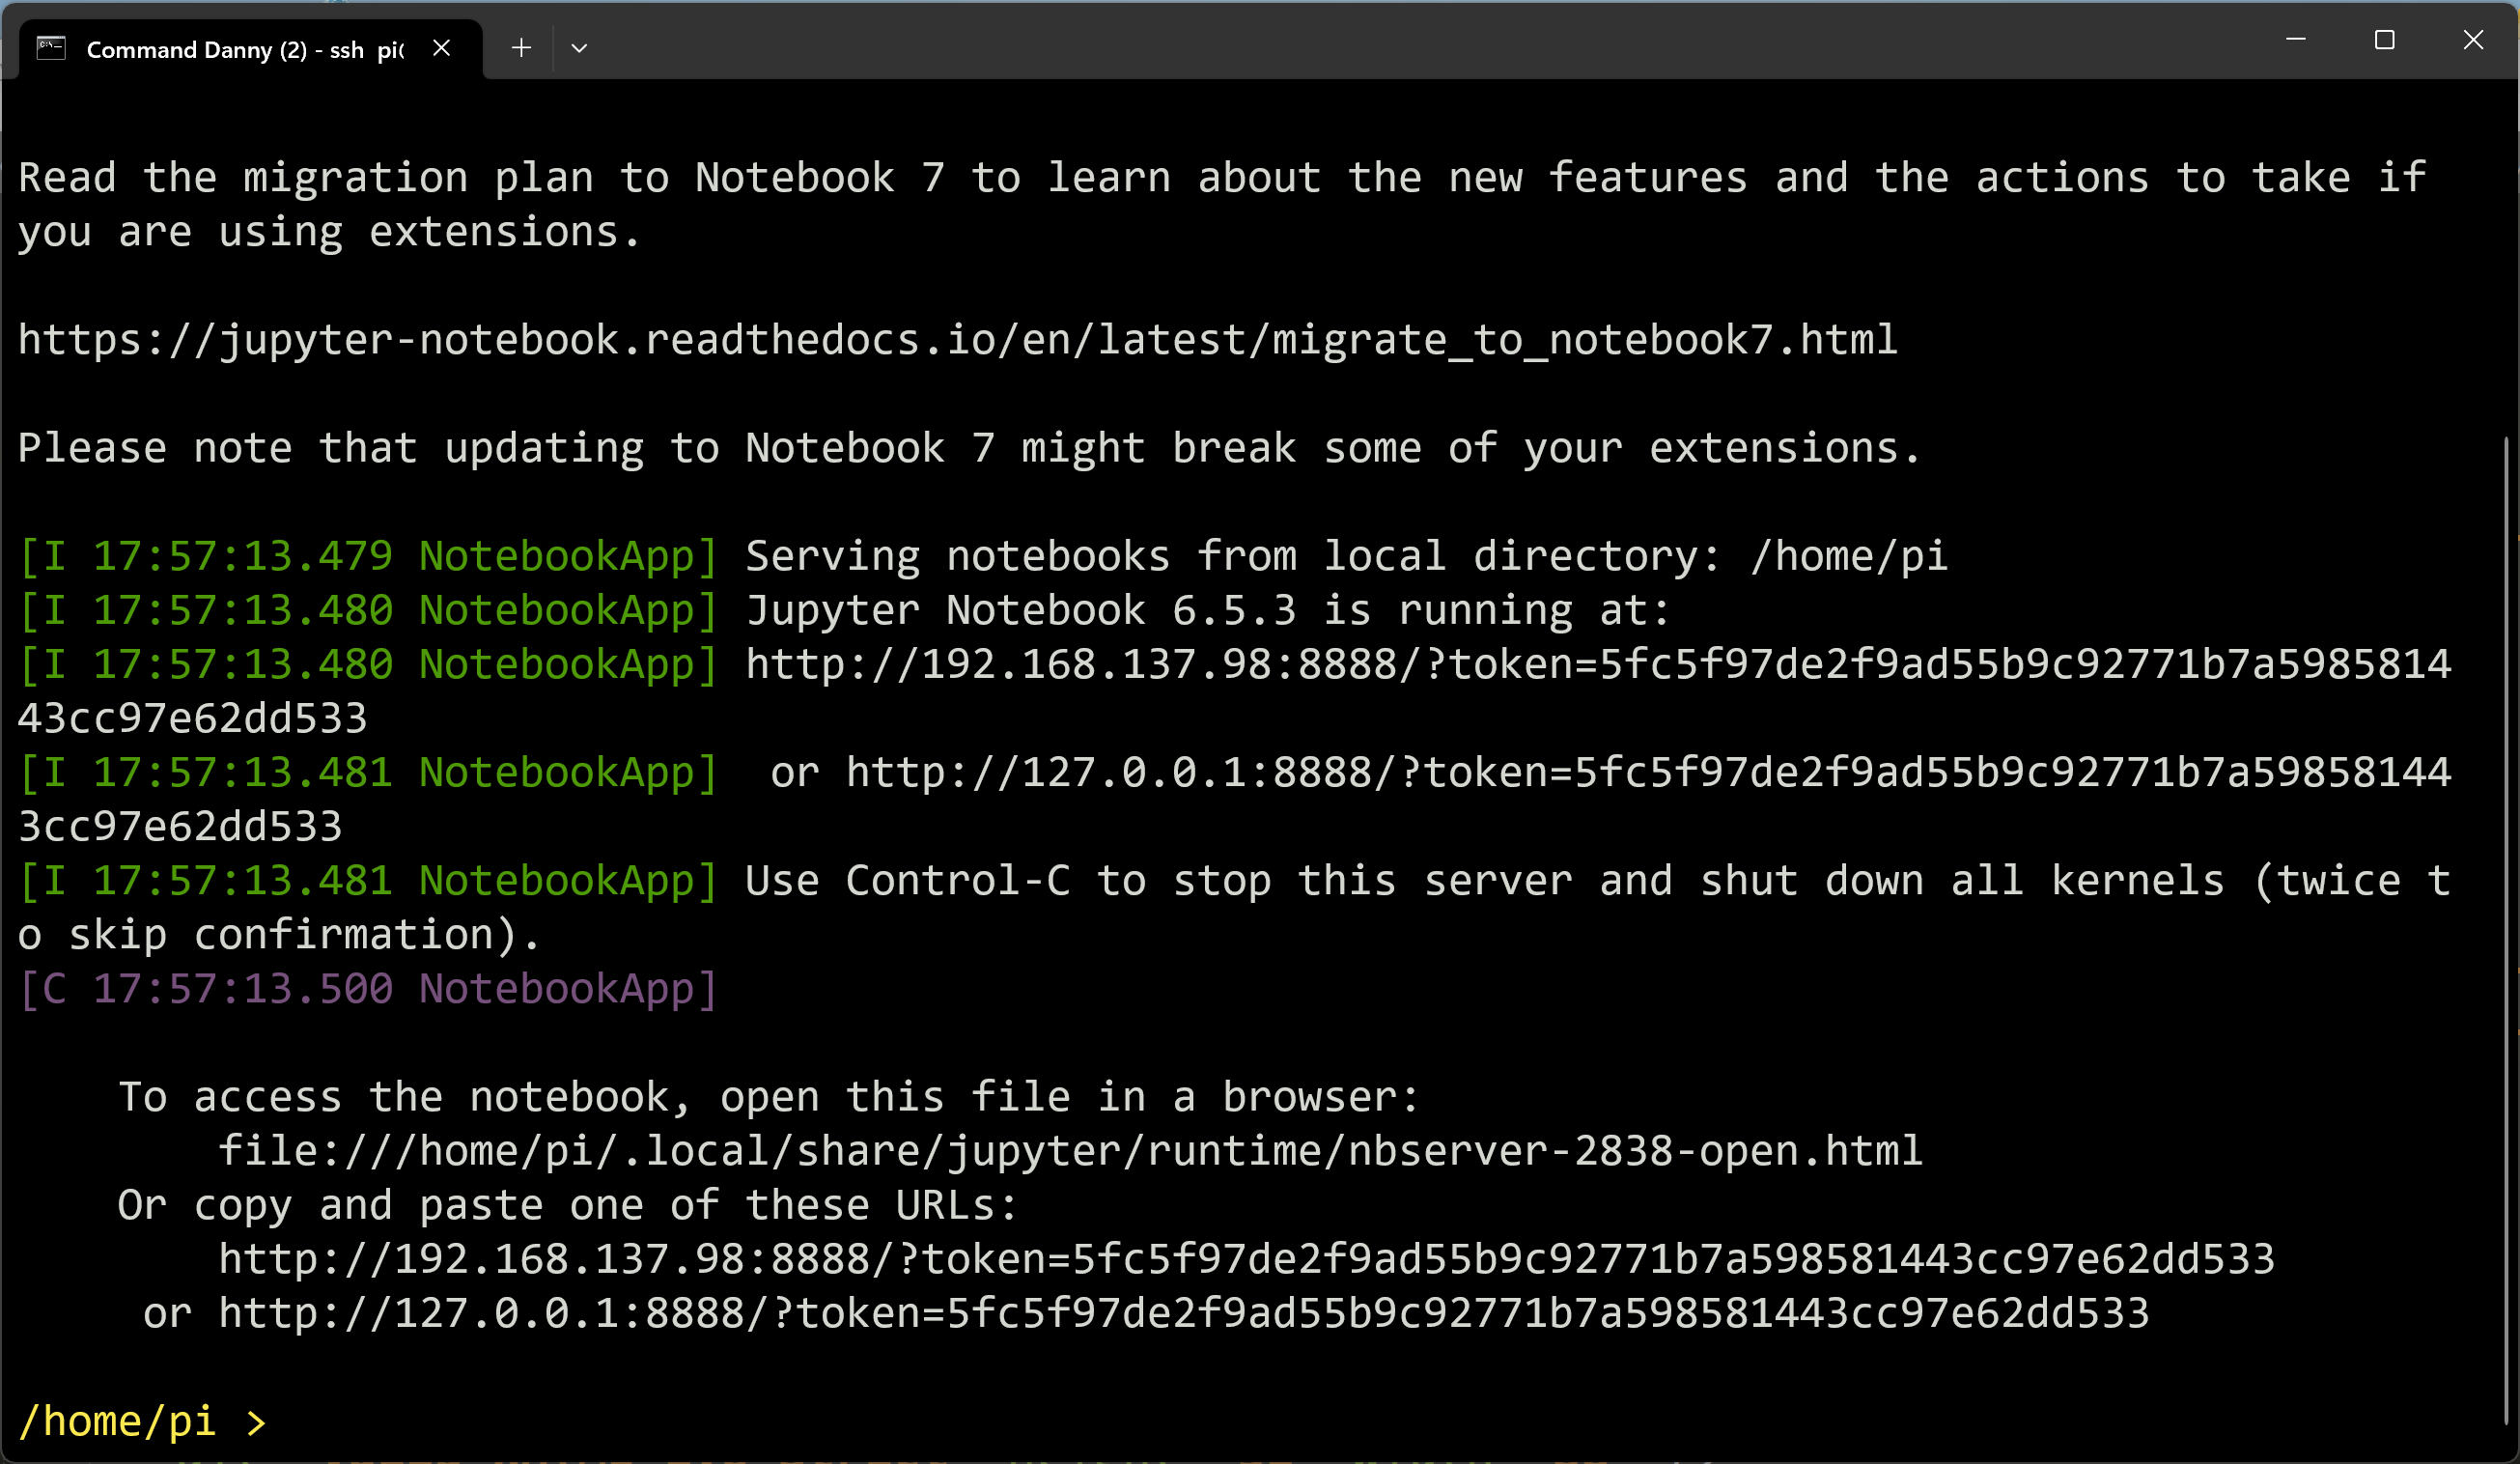 Using the example above the URL and token would be:
http://192.168.137.98:8888/?token=5fc5f97de2f9ad55b9c92771b7a598581443cc97e62dd533
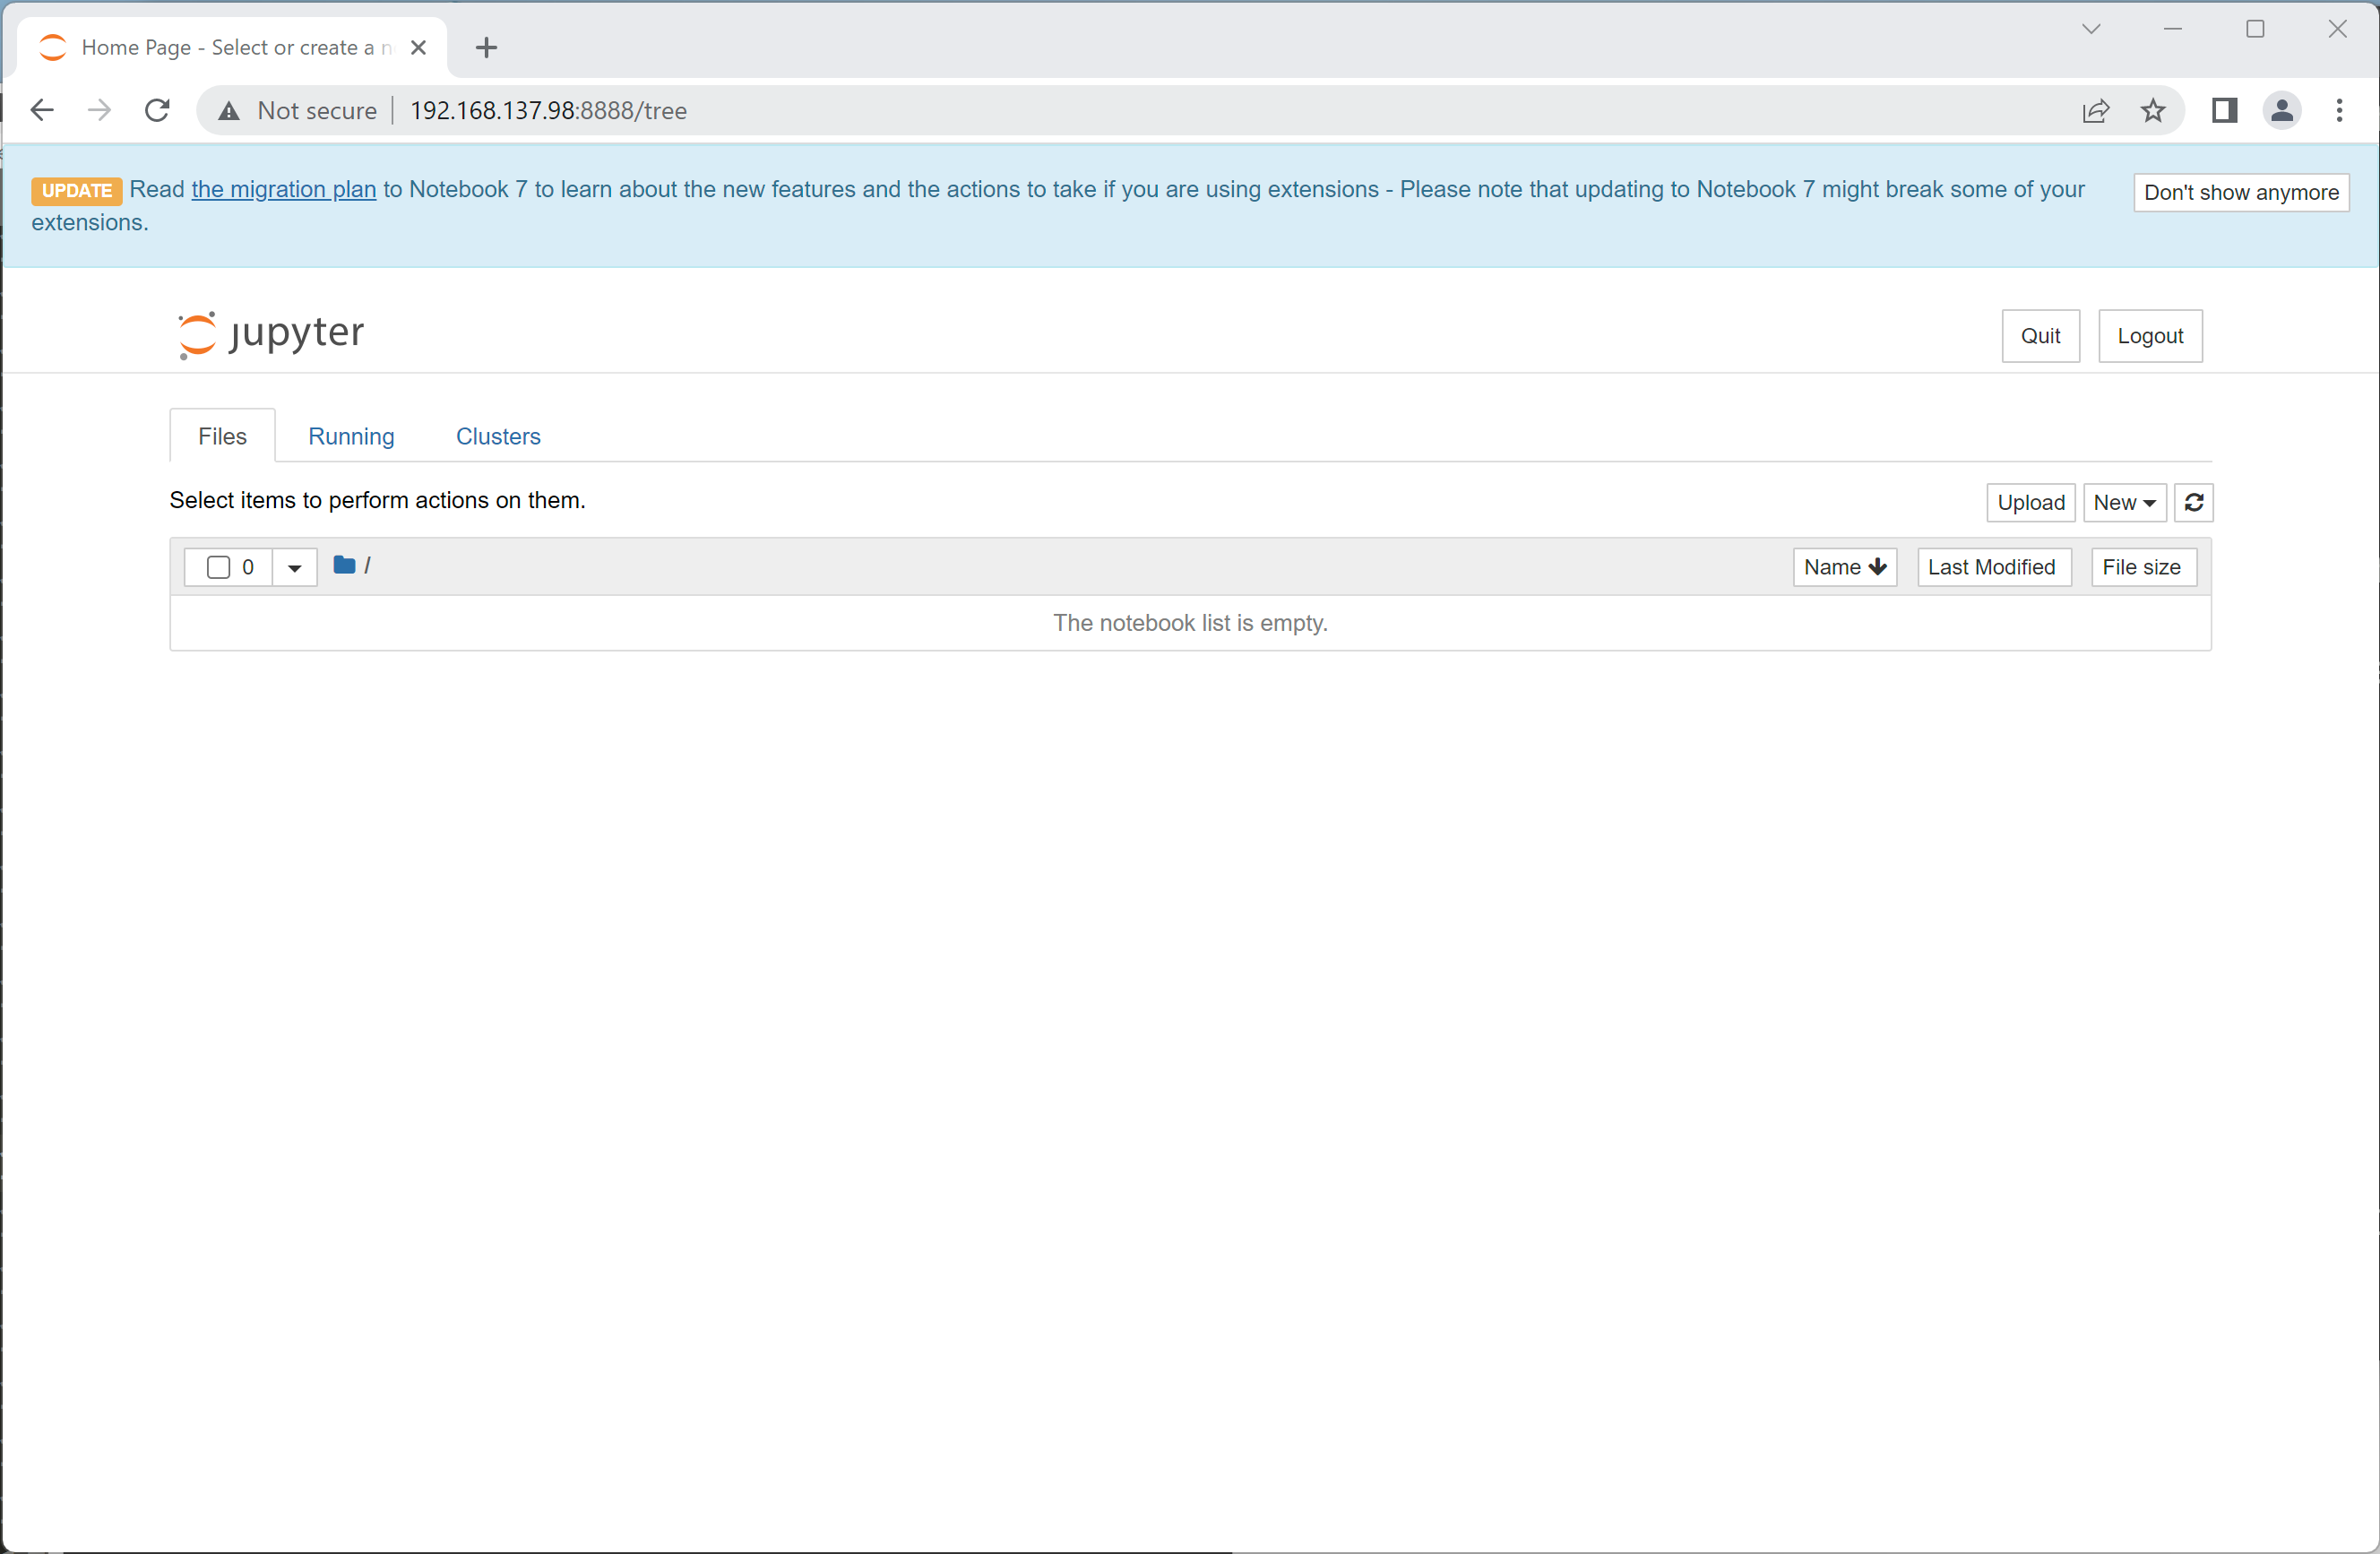
STEP 10: Paste URL into ANY browser on your local network and
you should see your running Jupyter Notebook!
Using the example above the URL and token would be:
http://192.168.137.98:8888/?token=5fc5f97de2f9ad55b9c92771b7a598581443cc97e62dd533
STEP 10: Paste URL into ANY browser on your local network and
you should see your running Jupyter Notebook!
 Advanced Configuration:
In order to avoid manually starting the Jupyter Notebook every time you login
to your Raspberry Pi, the process can be automated as a running service.
To have an active Jupyter Notebook process run automatically upon login to your
Raspberry Pi, follow the steps below EXACTLY and MAKE SURE that you run the commands
from your HOME DIRECTORY of /home/pi:
curl -O https://matrix.senecapolytechnic.ca/~danny.abesdris/utils/installs/jupyter.service
chmod 755 jupyter.service
sudo cp jupyter.service /etc/systemd/system/jupyter.service
sudo systemctl enable jupyter.service
sudo systemctl daemon-reload
curl -O https://matrix.senecapolytechnic.ca/~danny.abesdris/utils/installs/getJupyterToken.txt
mv getJupyterToken.txt getJupyterToken.py
chmod 755 getJupyterToken.py
mv getJupyterToken.py /home/pi/software/bin
curl -O https://matrix.senecapolytechnic.ca/~danny.abesdris/utils/installs/updateJupyterConfig.txt
mv updateJupyterConfig.txt updateJupyterConfig.py
chmod 755 updateJupyterConfig.py
mv updateJupyterConfig.py /home/pi/software/bin
curl -O https://matrix.senecapolytechnic.ca/~danny.abesdris/utils/installs/.profile
mv .profile ~/
Logout of the Raspberry Pi and log back in.
If all of the steps were performed correctly, you should see a message upon
login with a URL and token that can be used to access your running Jupyter Notebook!
Advanced Configuration:
In order to avoid manually starting the Jupyter Notebook every time you login
to your Raspberry Pi, the process can be automated as a running service.
To have an active Jupyter Notebook process run automatically upon login to your
Raspberry Pi, follow the steps below EXACTLY and MAKE SURE that you run the commands
from your HOME DIRECTORY of /home/pi:
curl -O https://matrix.senecapolytechnic.ca/~danny.abesdris/utils/installs/jupyter.service
chmod 755 jupyter.service
sudo cp jupyter.service /etc/systemd/system/jupyter.service
sudo systemctl enable jupyter.service
sudo systemctl daemon-reload
curl -O https://matrix.senecapolytechnic.ca/~danny.abesdris/utils/installs/getJupyterToken.txt
mv getJupyterToken.txt getJupyterToken.py
chmod 755 getJupyterToken.py
mv getJupyterToken.py /home/pi/software/bin
curl -O https://matrix.senecapolytechnic.ca/~danny.abesdris/utils/installs/updateJupyterConfig.txt
mv updateJupyterConfig.txt updateJupyterConfig.py
chmod 755 updateJupyterConfig.py
mv updateJupyterConfig.py /home/pi/software/bin
curl -O https://matrix.senecapolytechnic.ca/~danny.abesdris/utils/installs/.profile
mv .profile ~/
Logout of the Raspberry Pi and log back in.
If all of the steps were performed correctly, you should see a message upon
login with a URL and token that can be used to access your running Jupyter Notebook!


